Frunkly LT & LTX Guide
For the Tesla Model 3 from July 2020 and the Tesla Model Y including Juniper. Step-by-step installation in a few minutes, and the tool you need is in the box.
Your set
Choose your set: the parts in the box and a few steps depend on the product and the model. Until then you see all steps, with the differences marked.
Installation
Most photos show the fit in a Model 3. In a Model Y you work the same way.
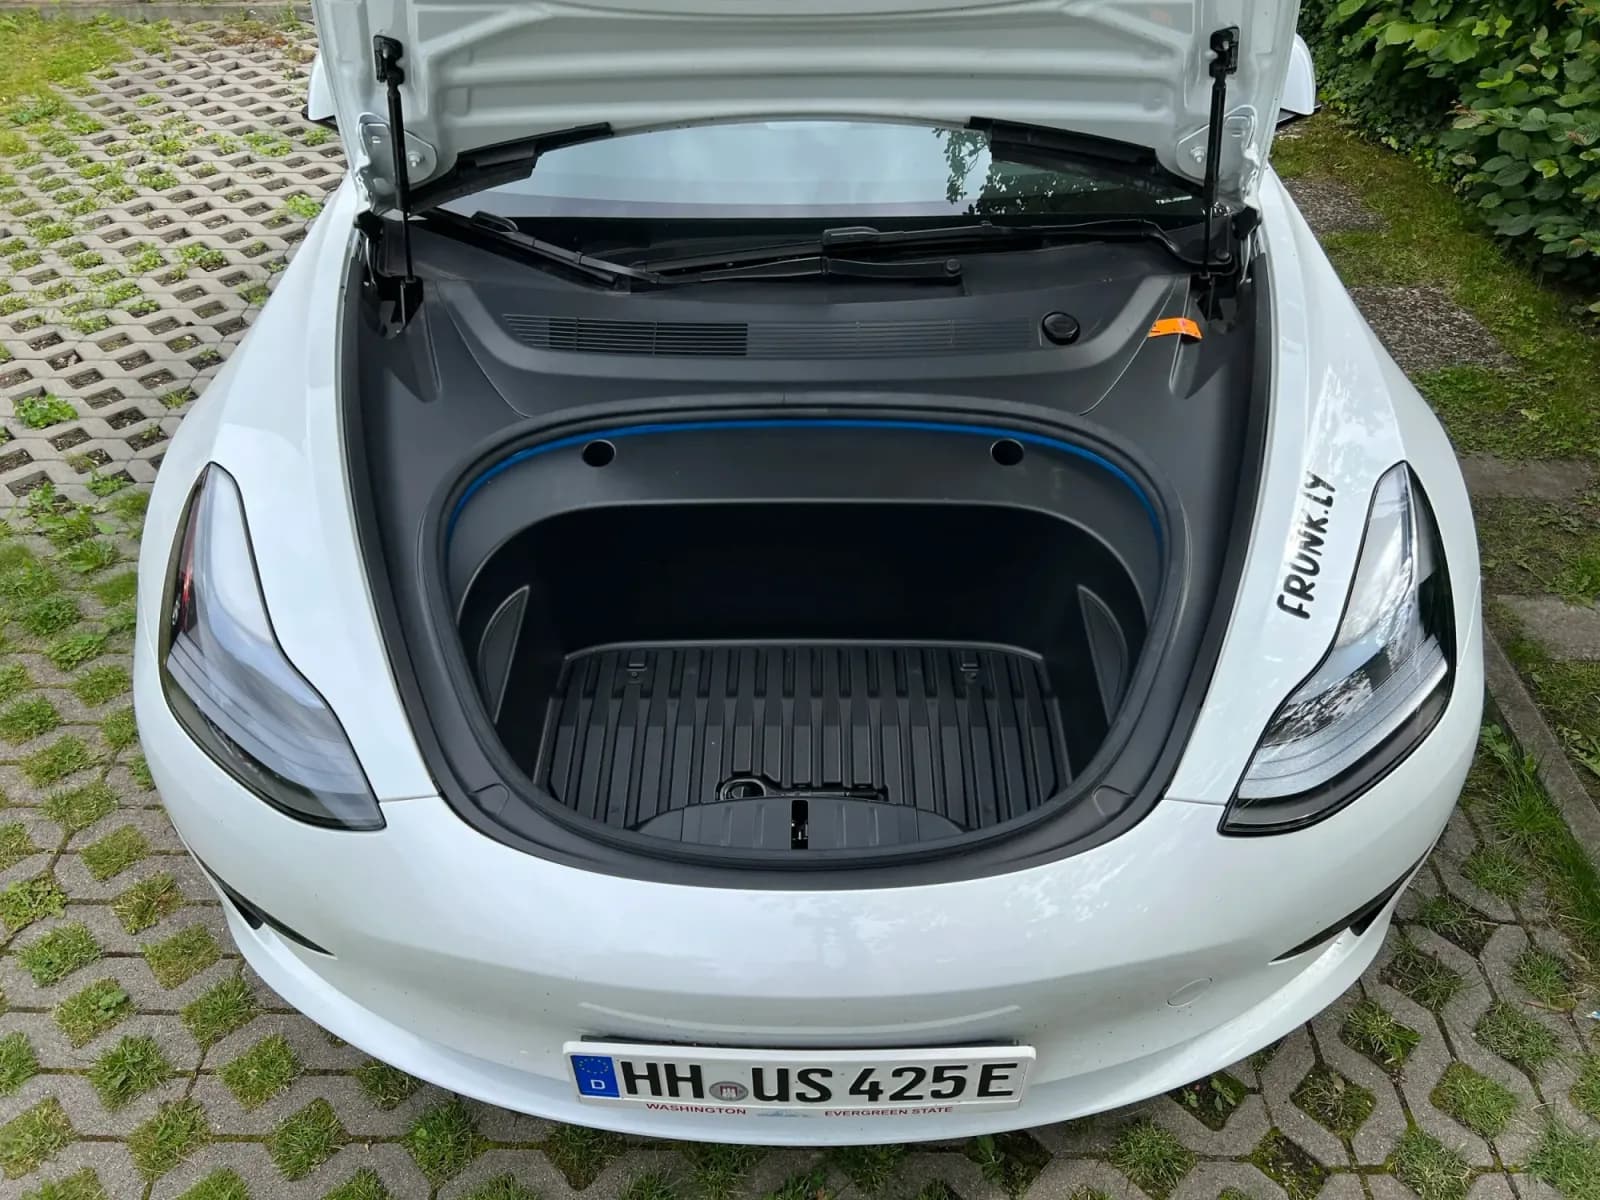
Step 1
Empty the frunk completely.
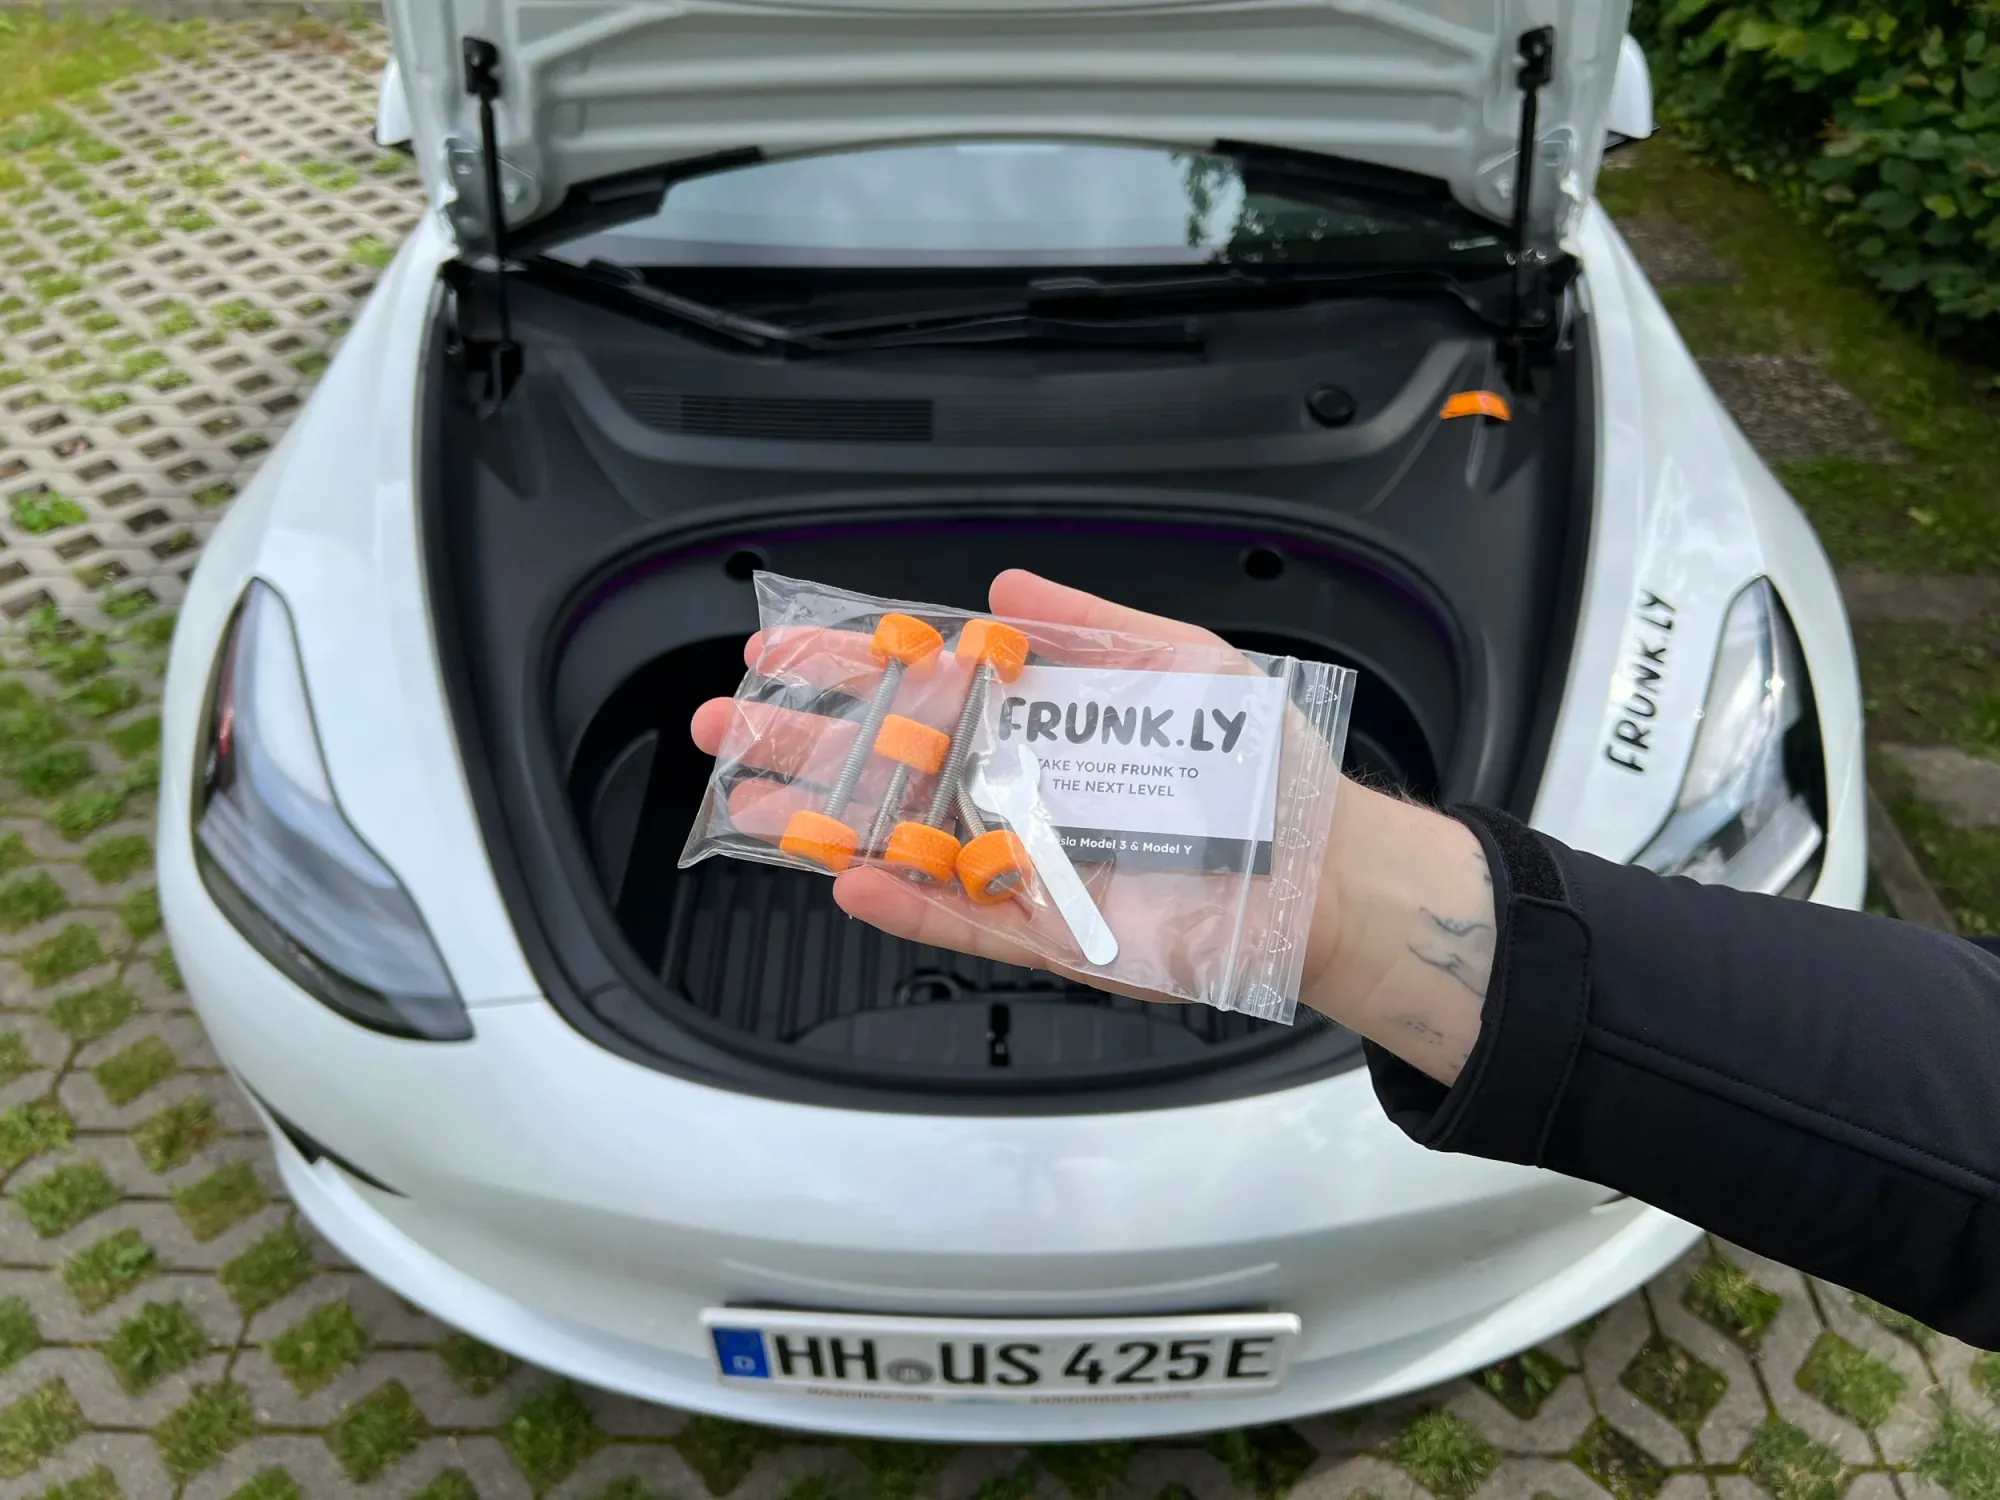
Step 2a
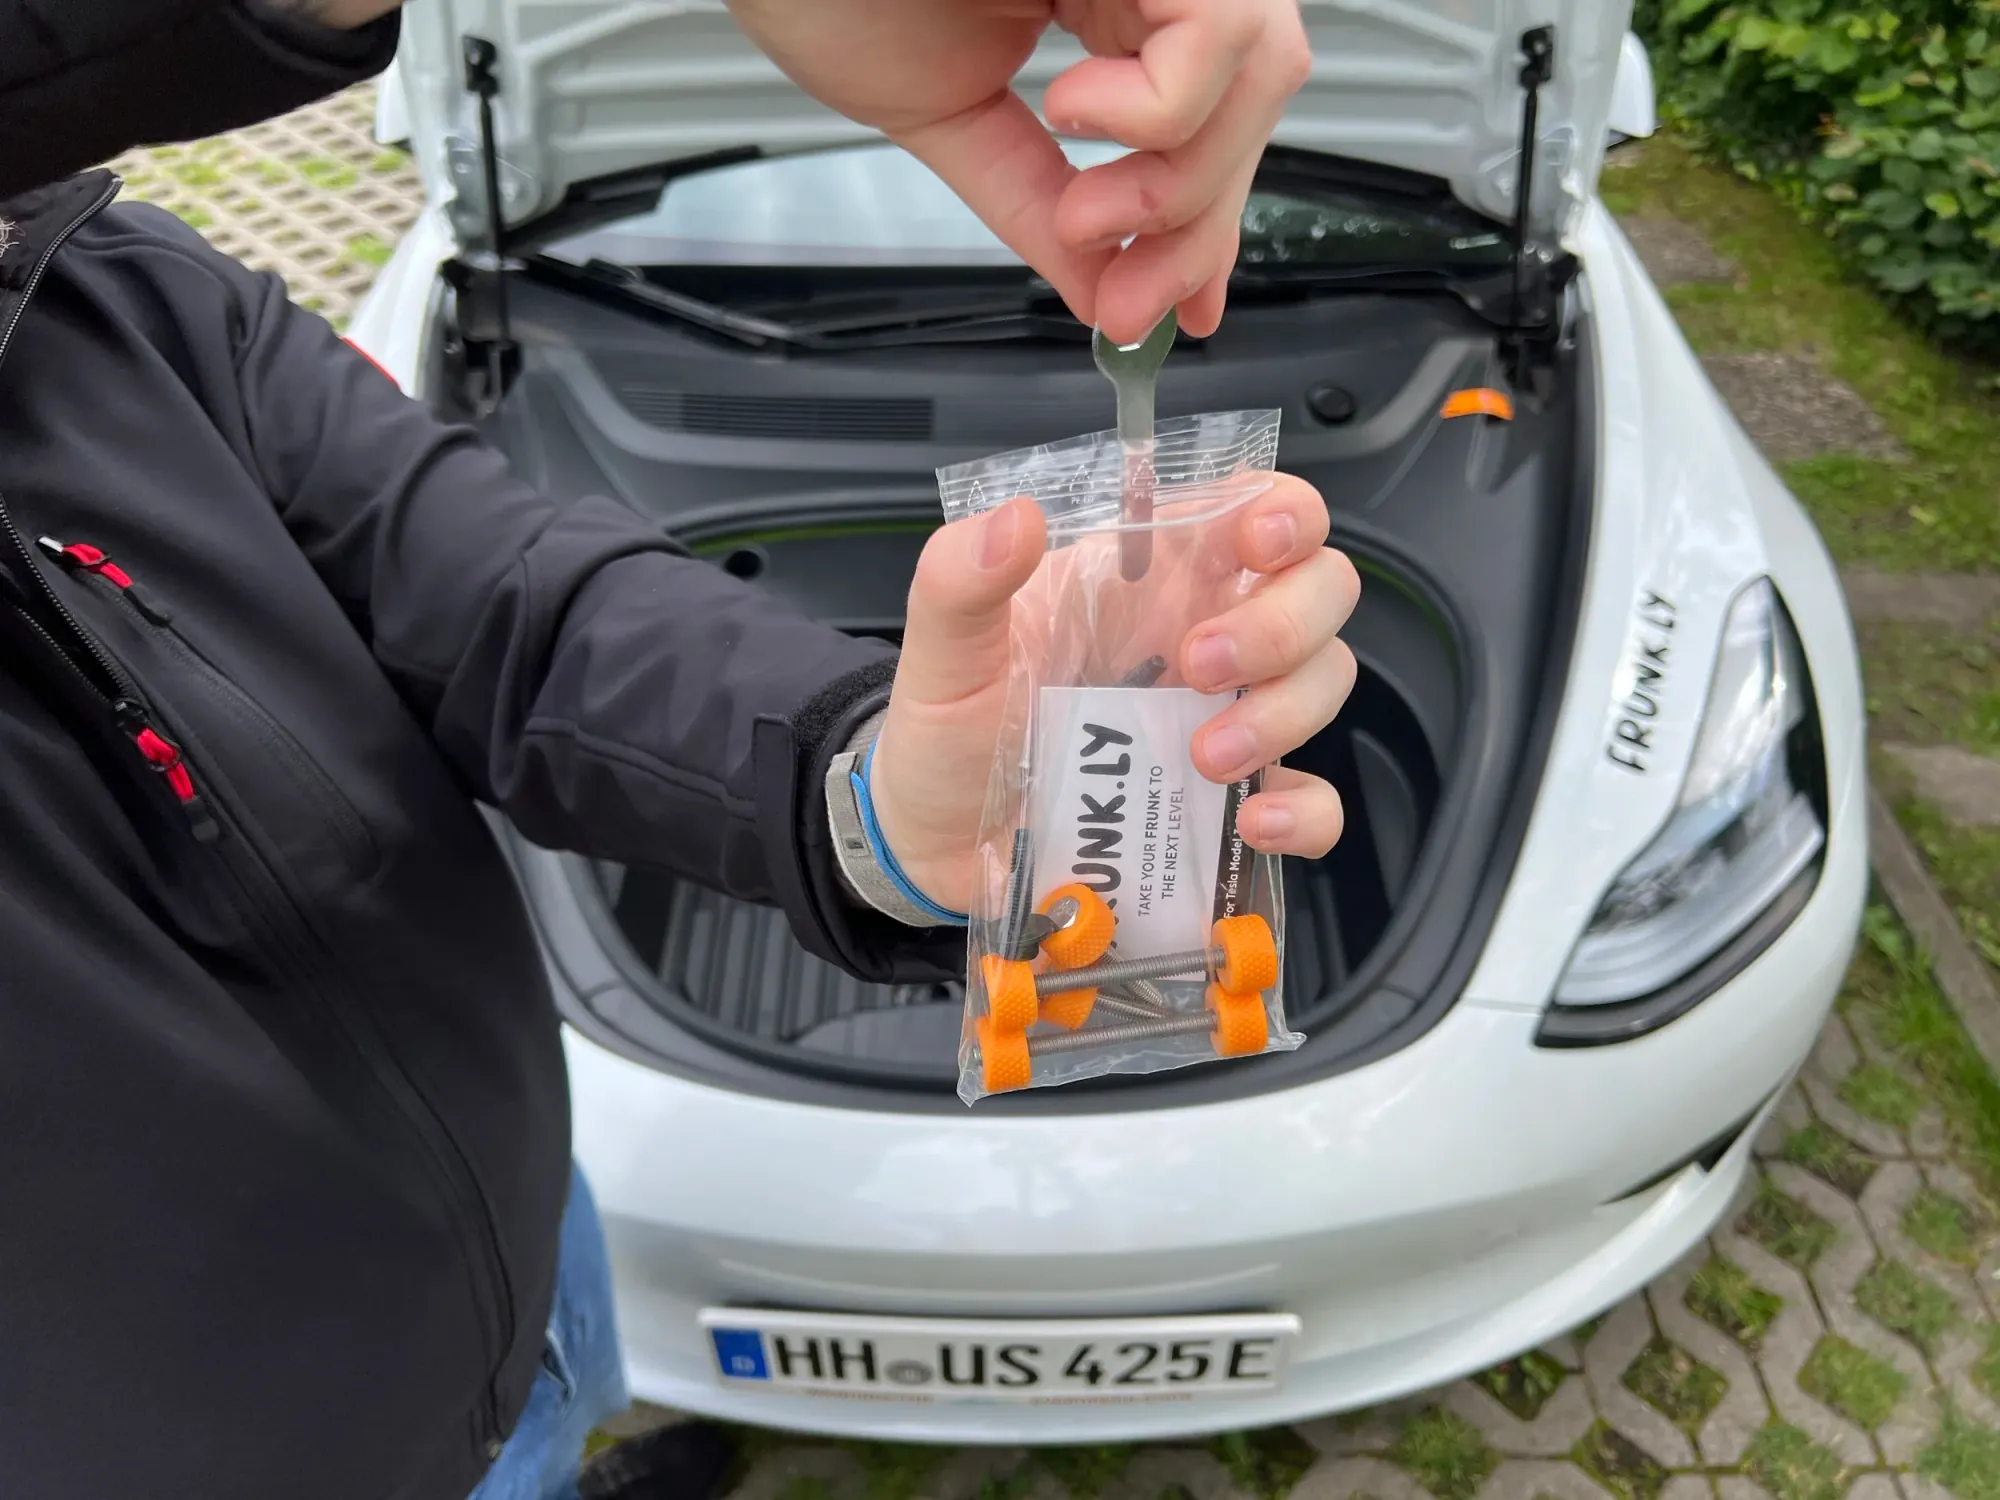
Get the bag with screws and tool.
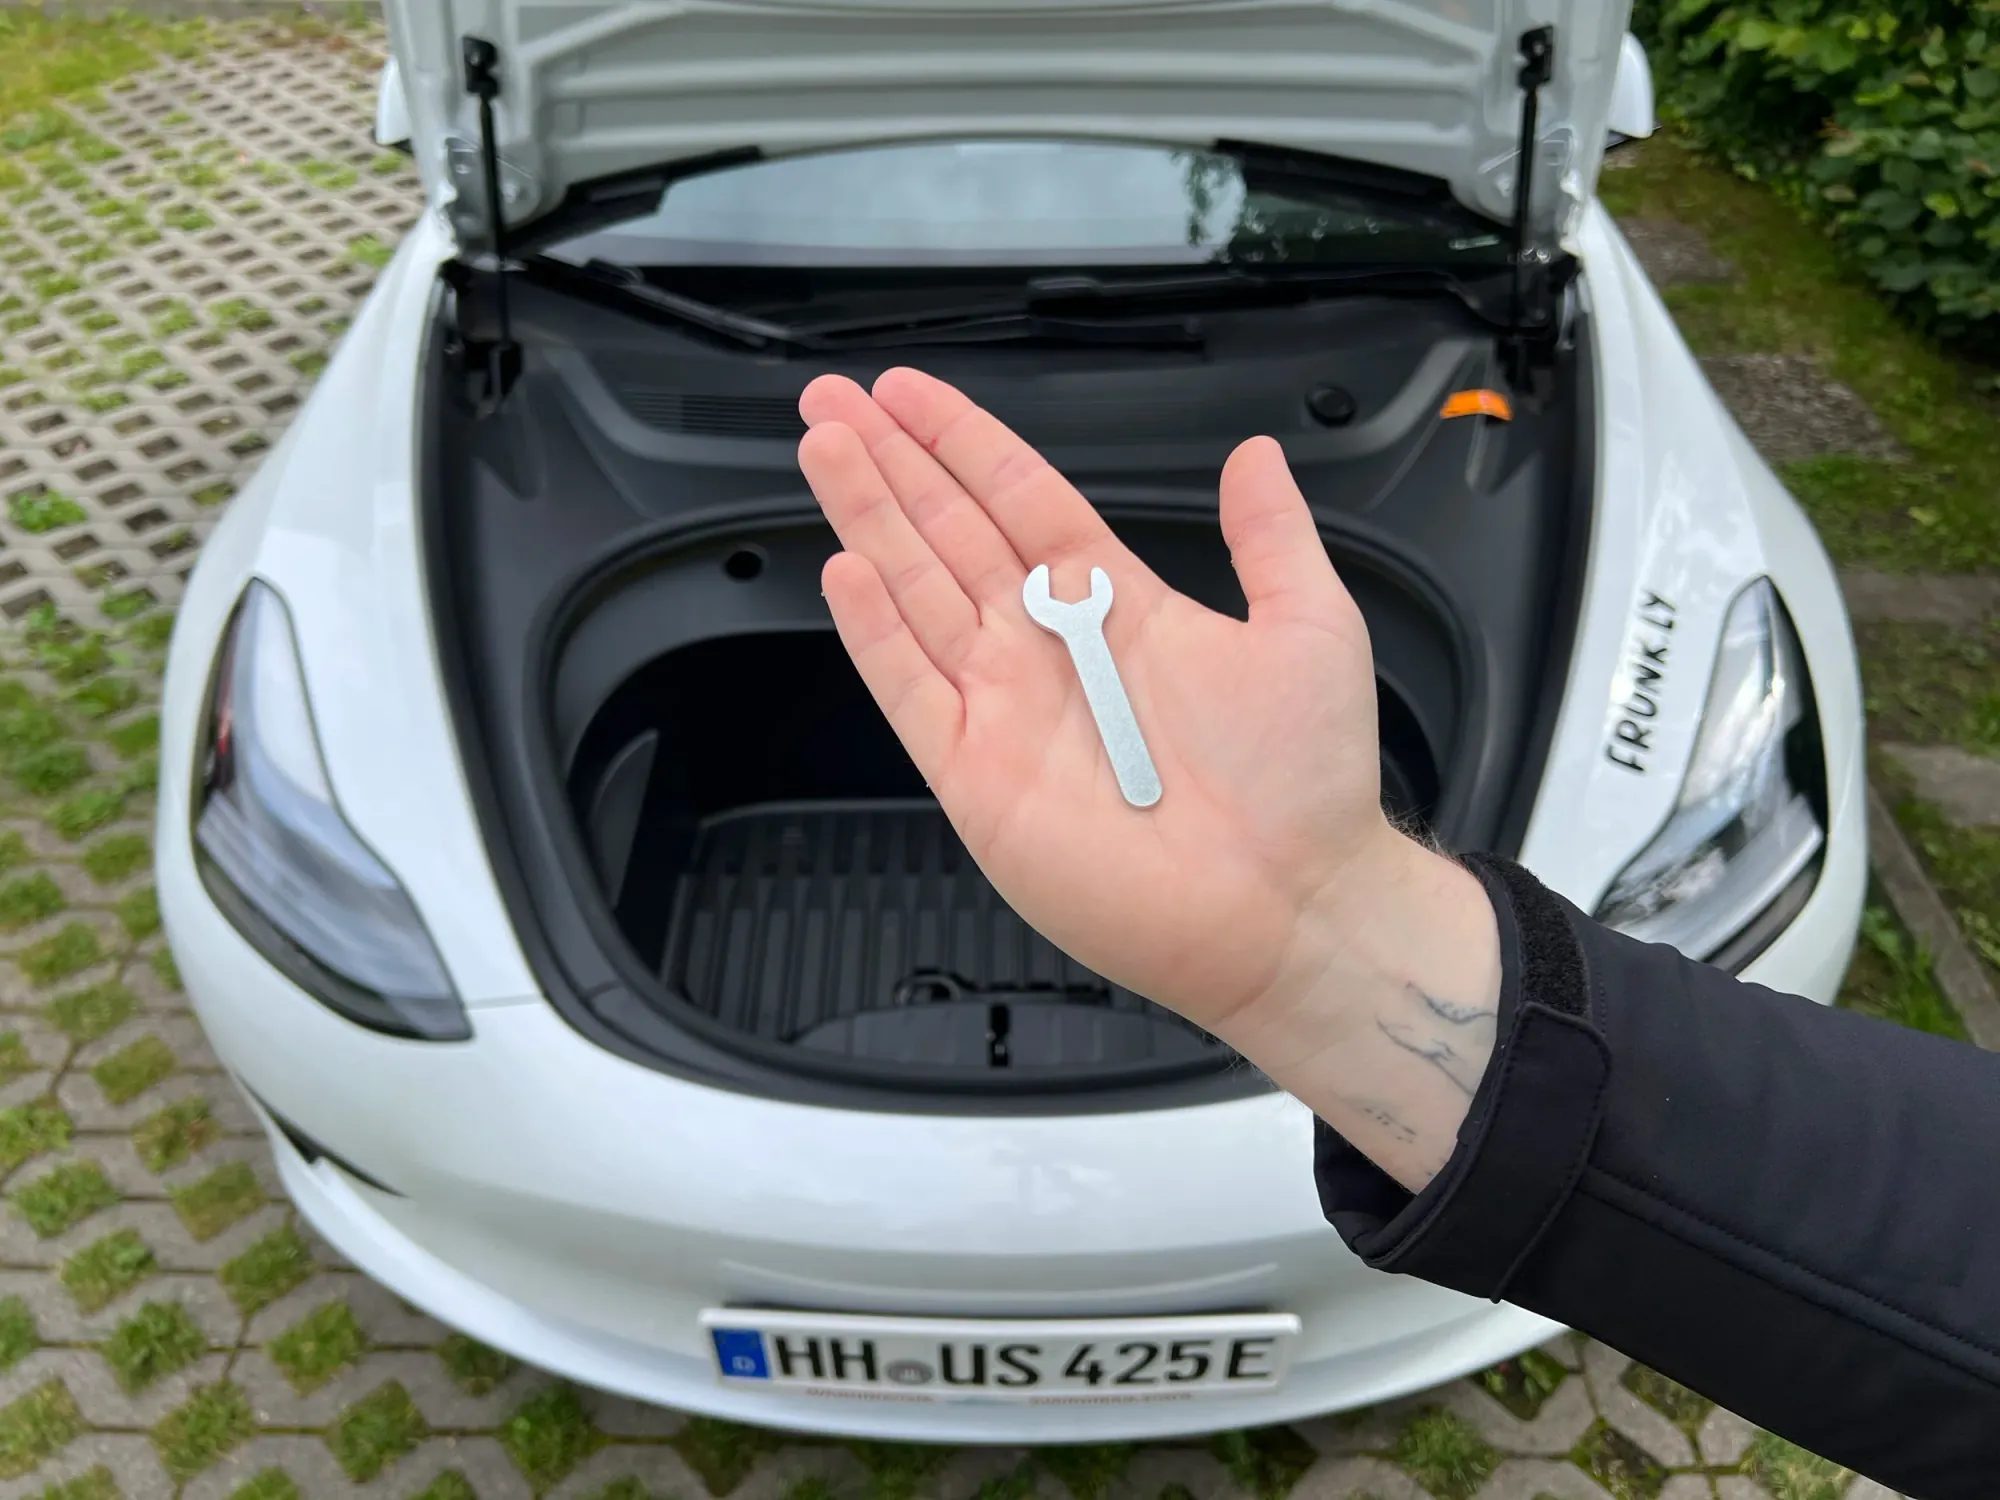
Step 2b
Take the wrench out of the bag.
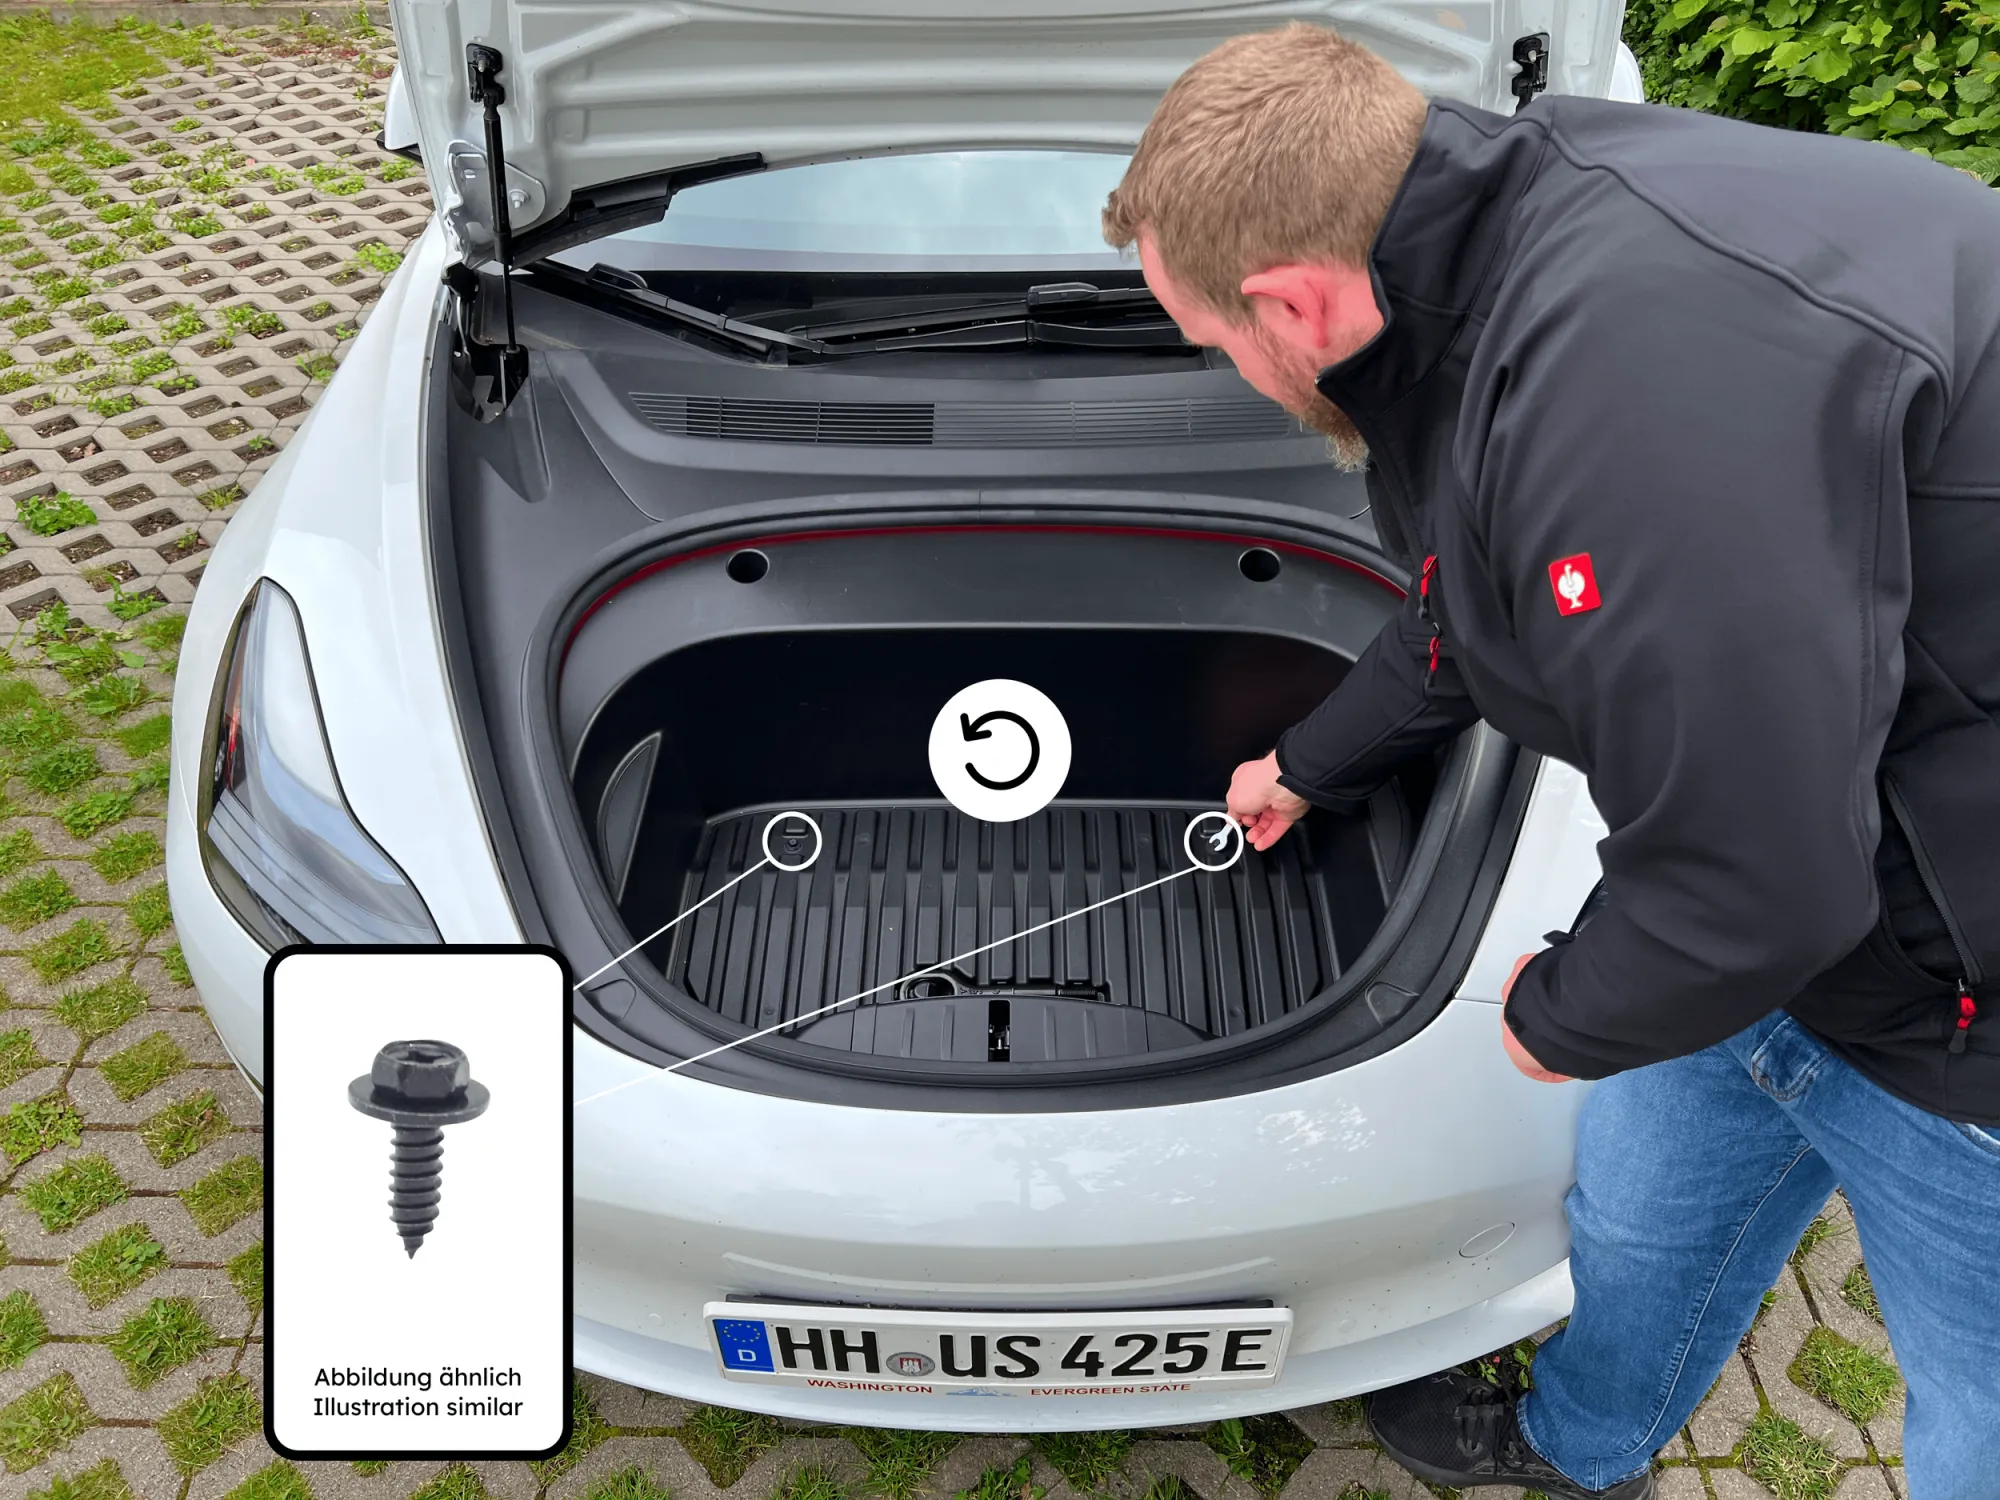
Step 2c
There are two screws in the floor of the frunk. Loosen them with the wrench (10 mm end), counterclockwise, and take them out.
Step 2d
Put the screws and the wrench back in the bag. Keep the screws safe: they go back in once the base frames are removed.
Step 3a
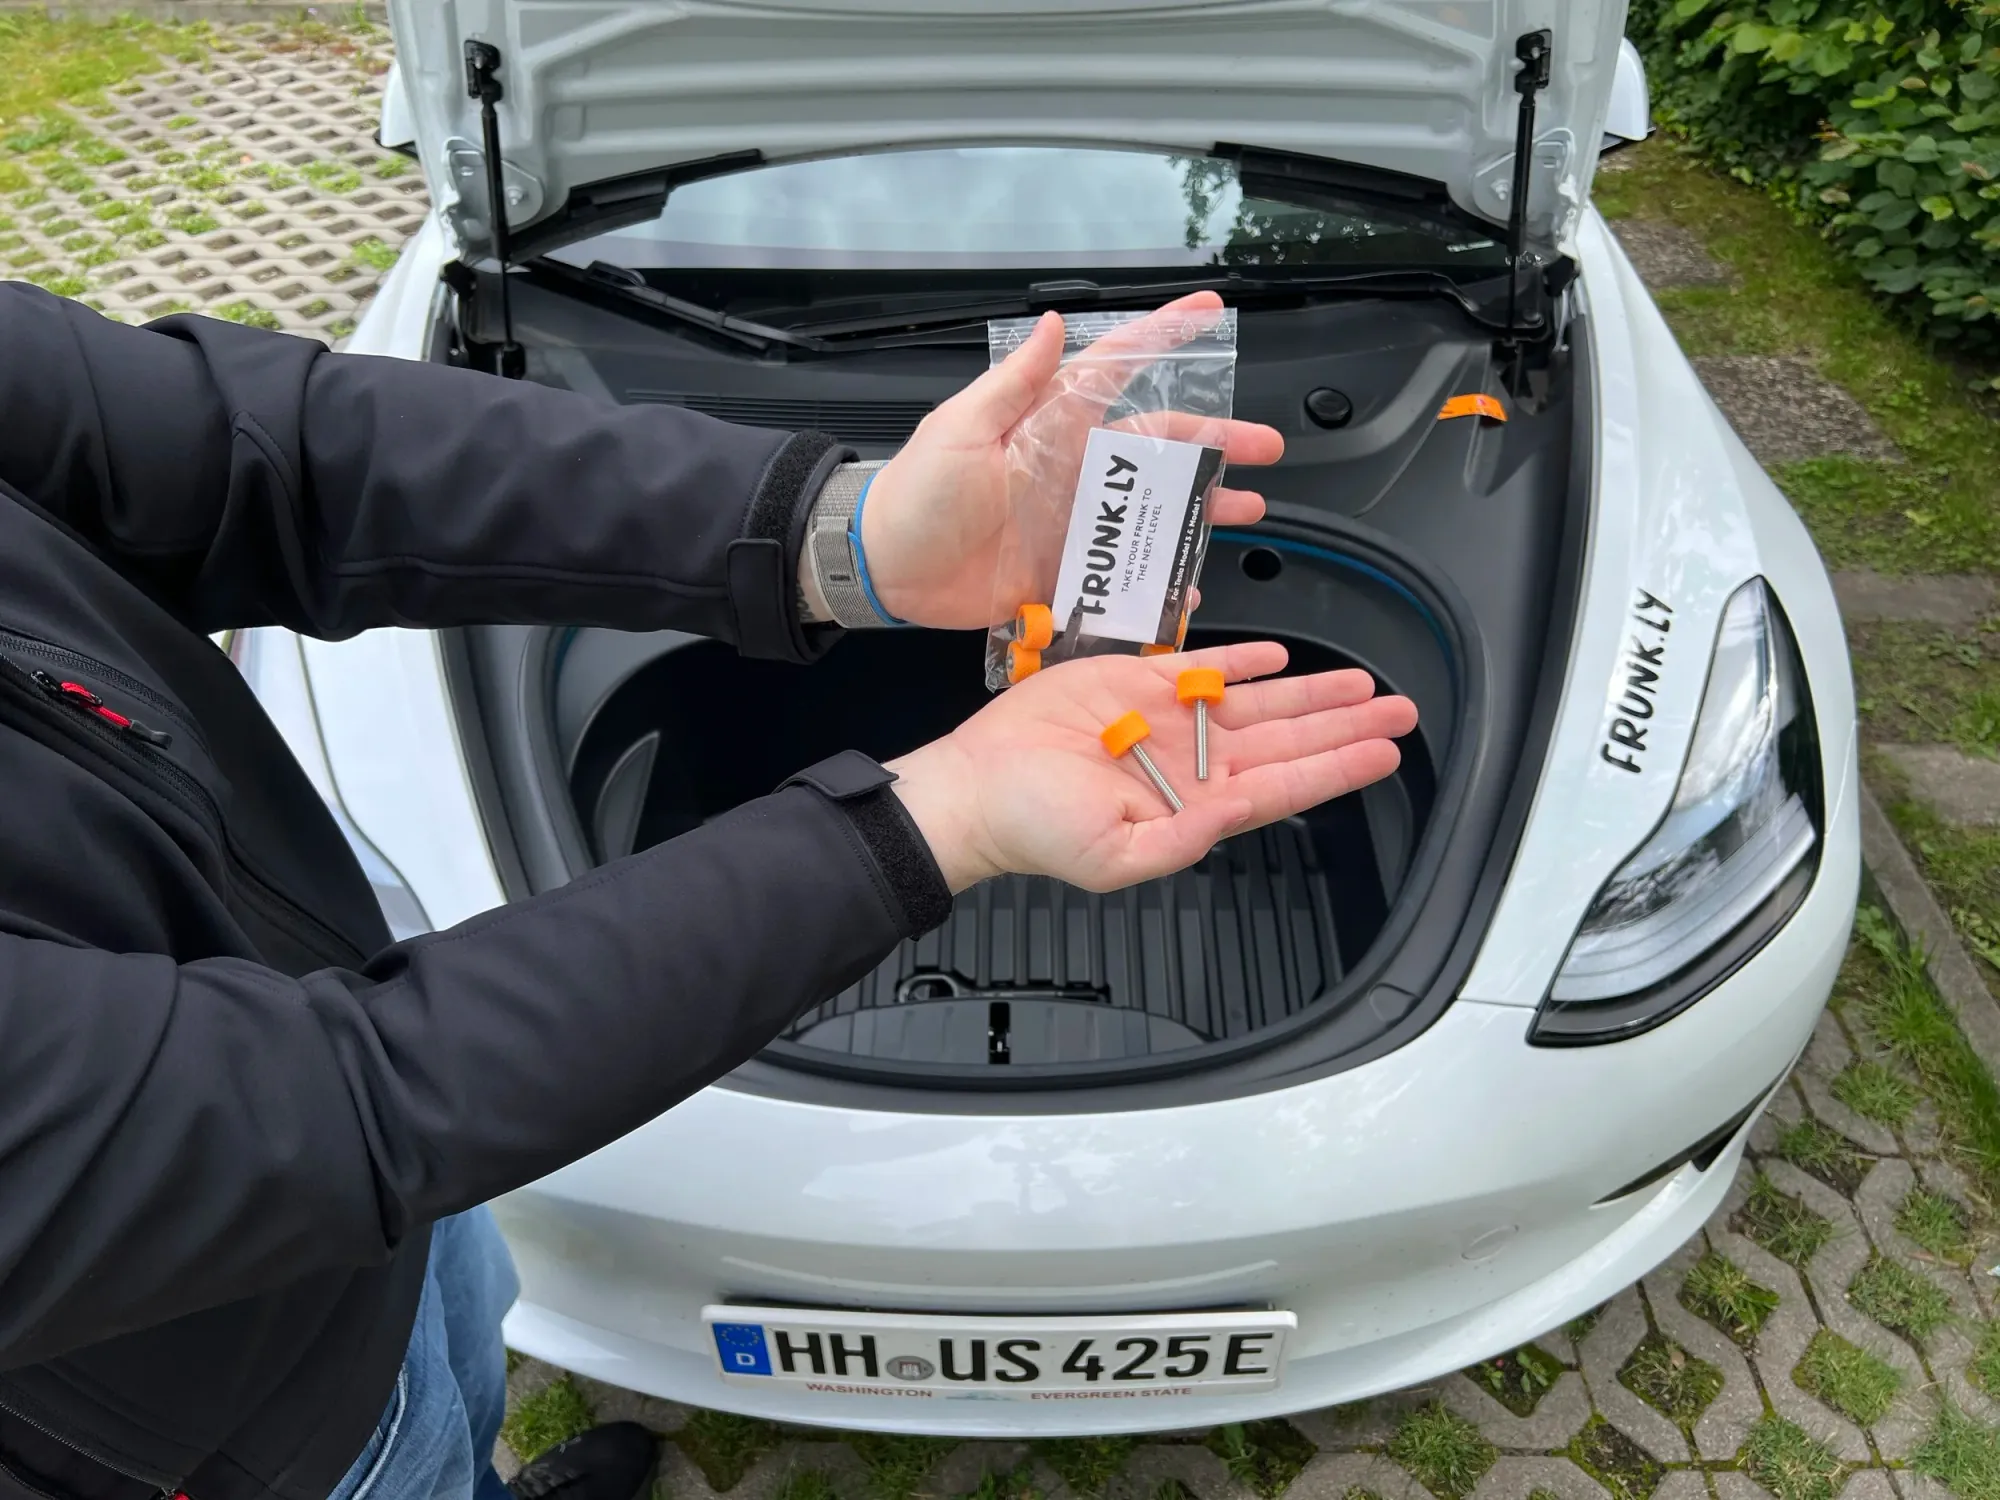
Take the two short screws with handle out of the bag.
Step 3b
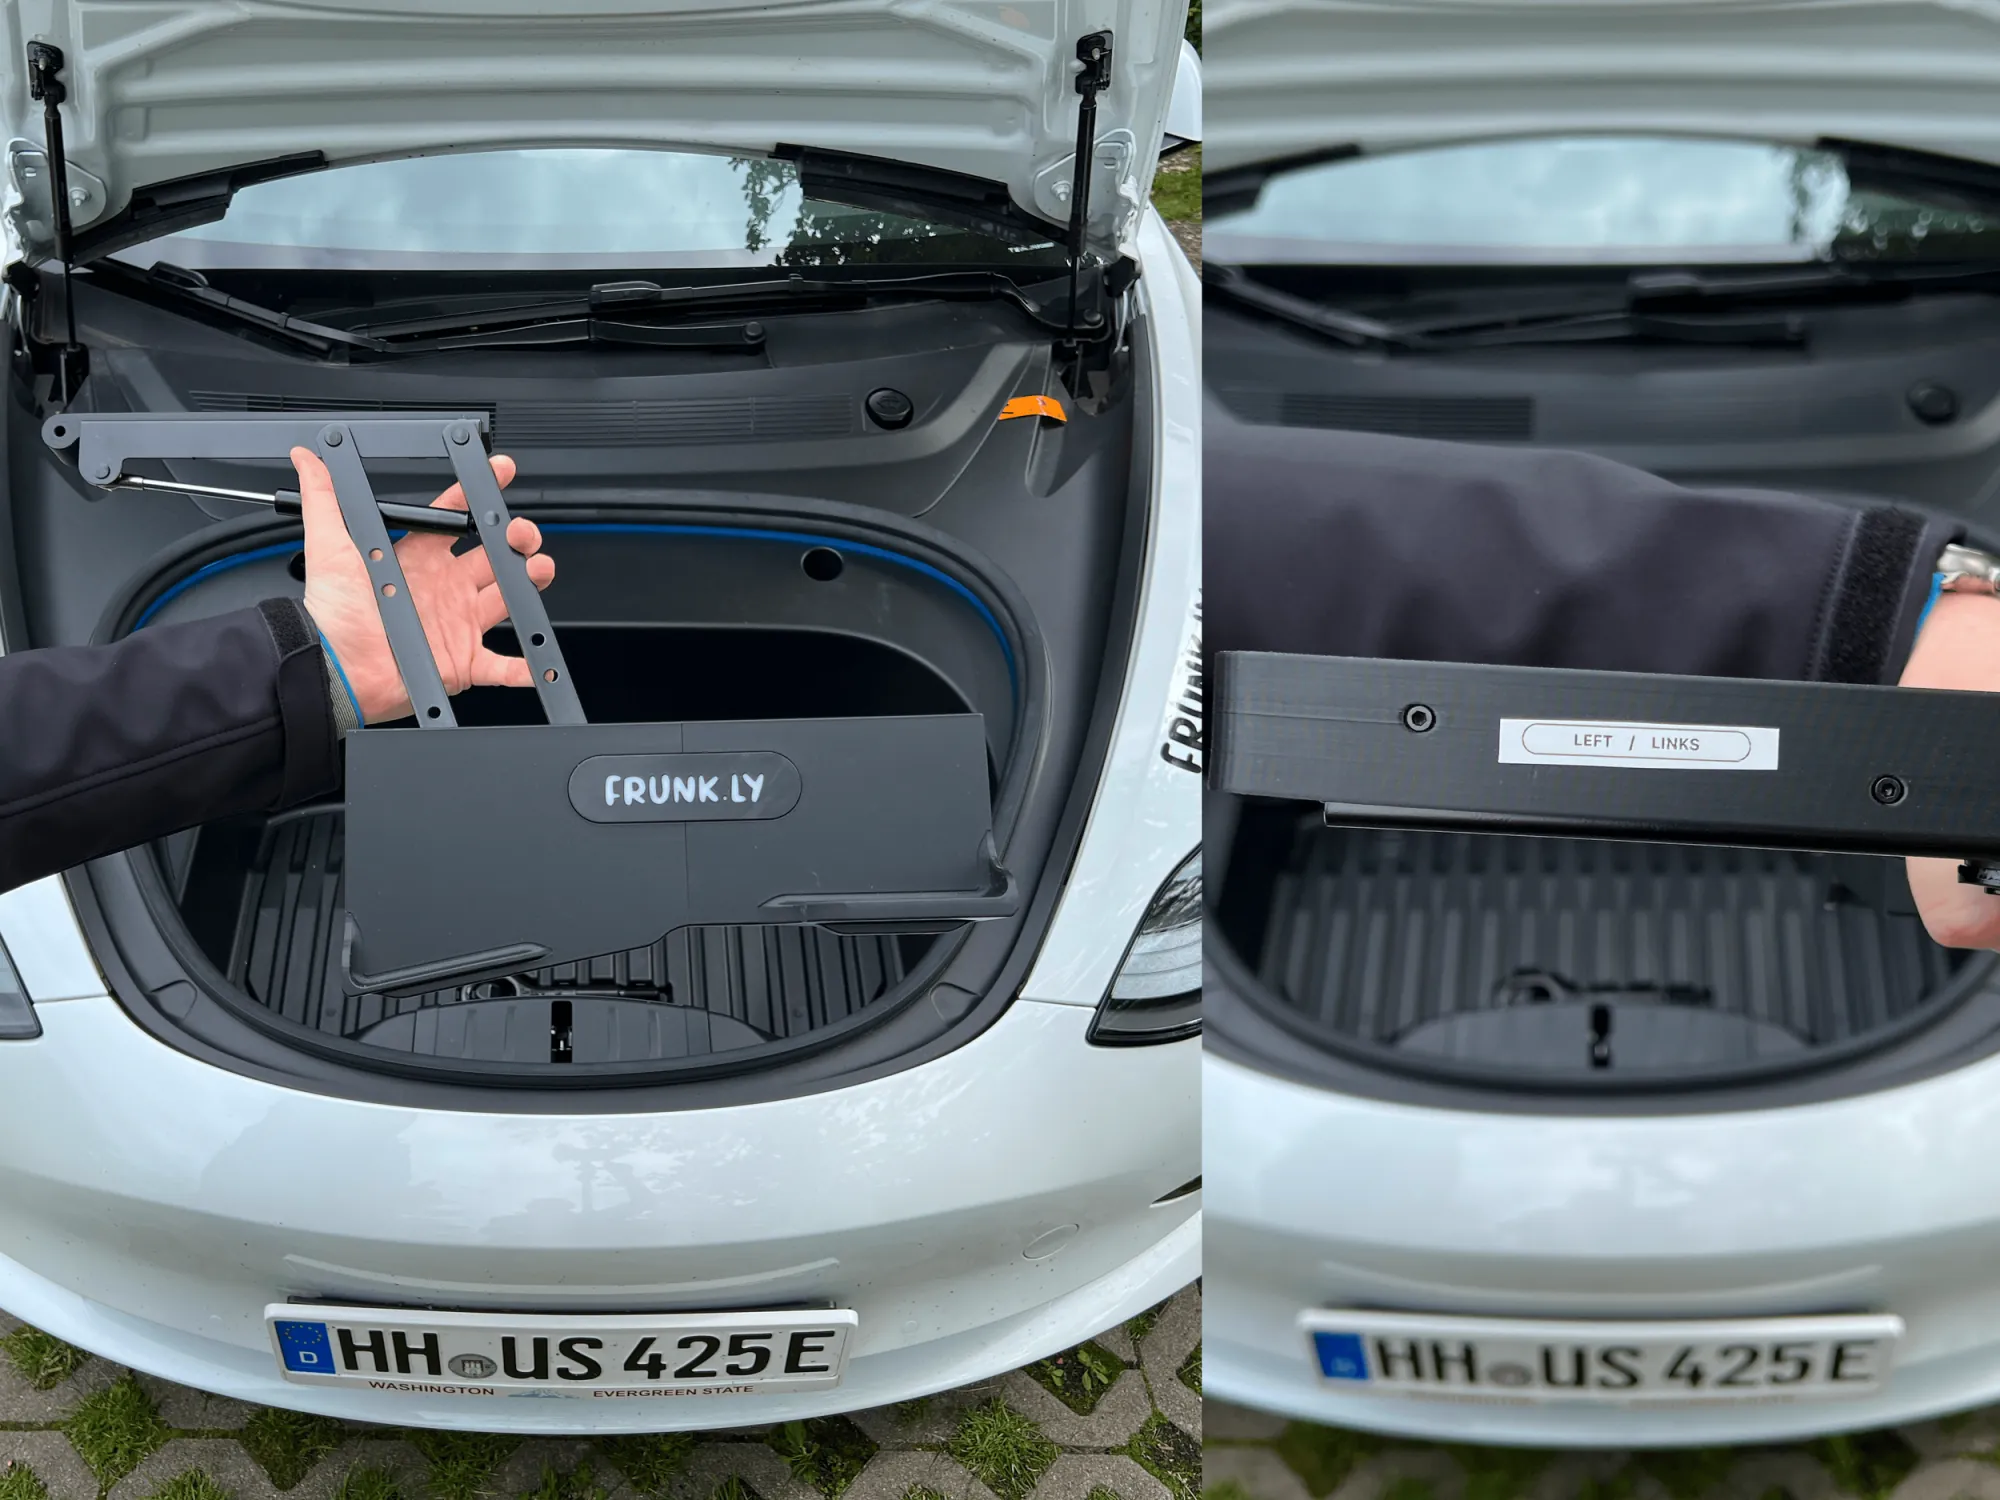
Take the left base frame.
Step 3c
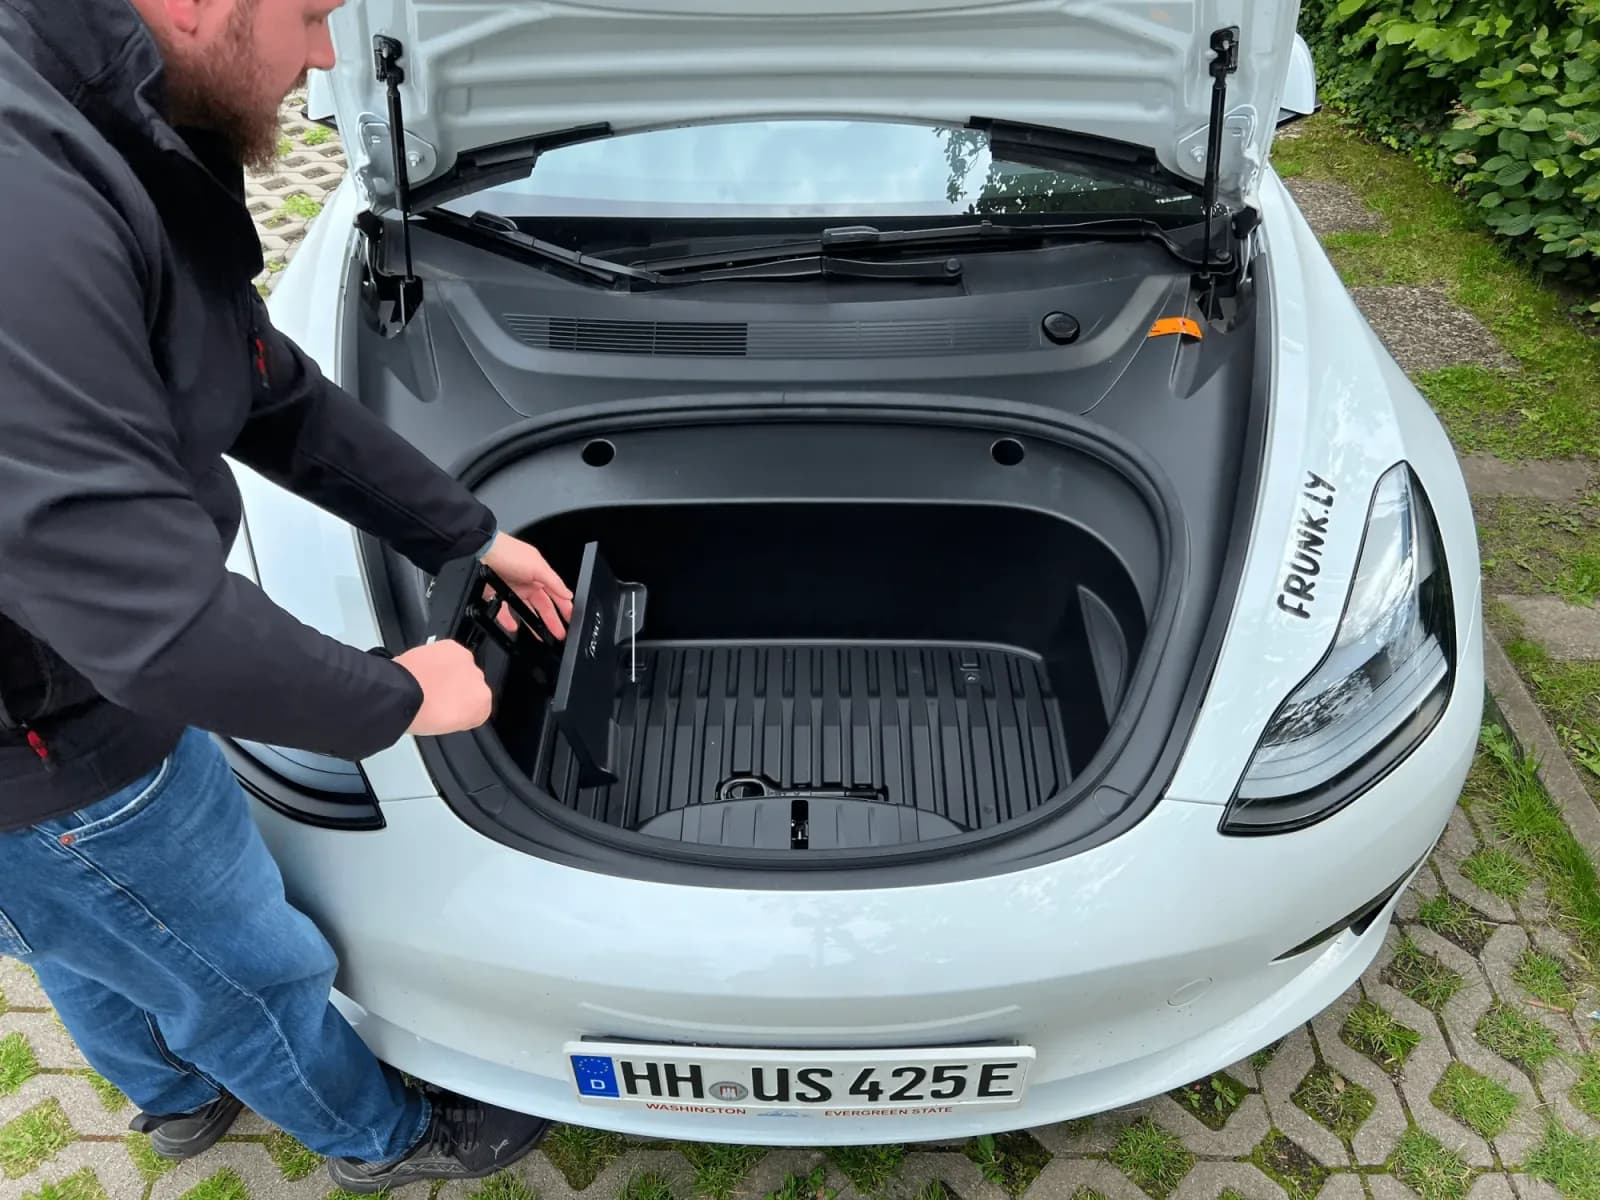
Place the left base frame in the frunk so that its hole sits over the hole in the floor.
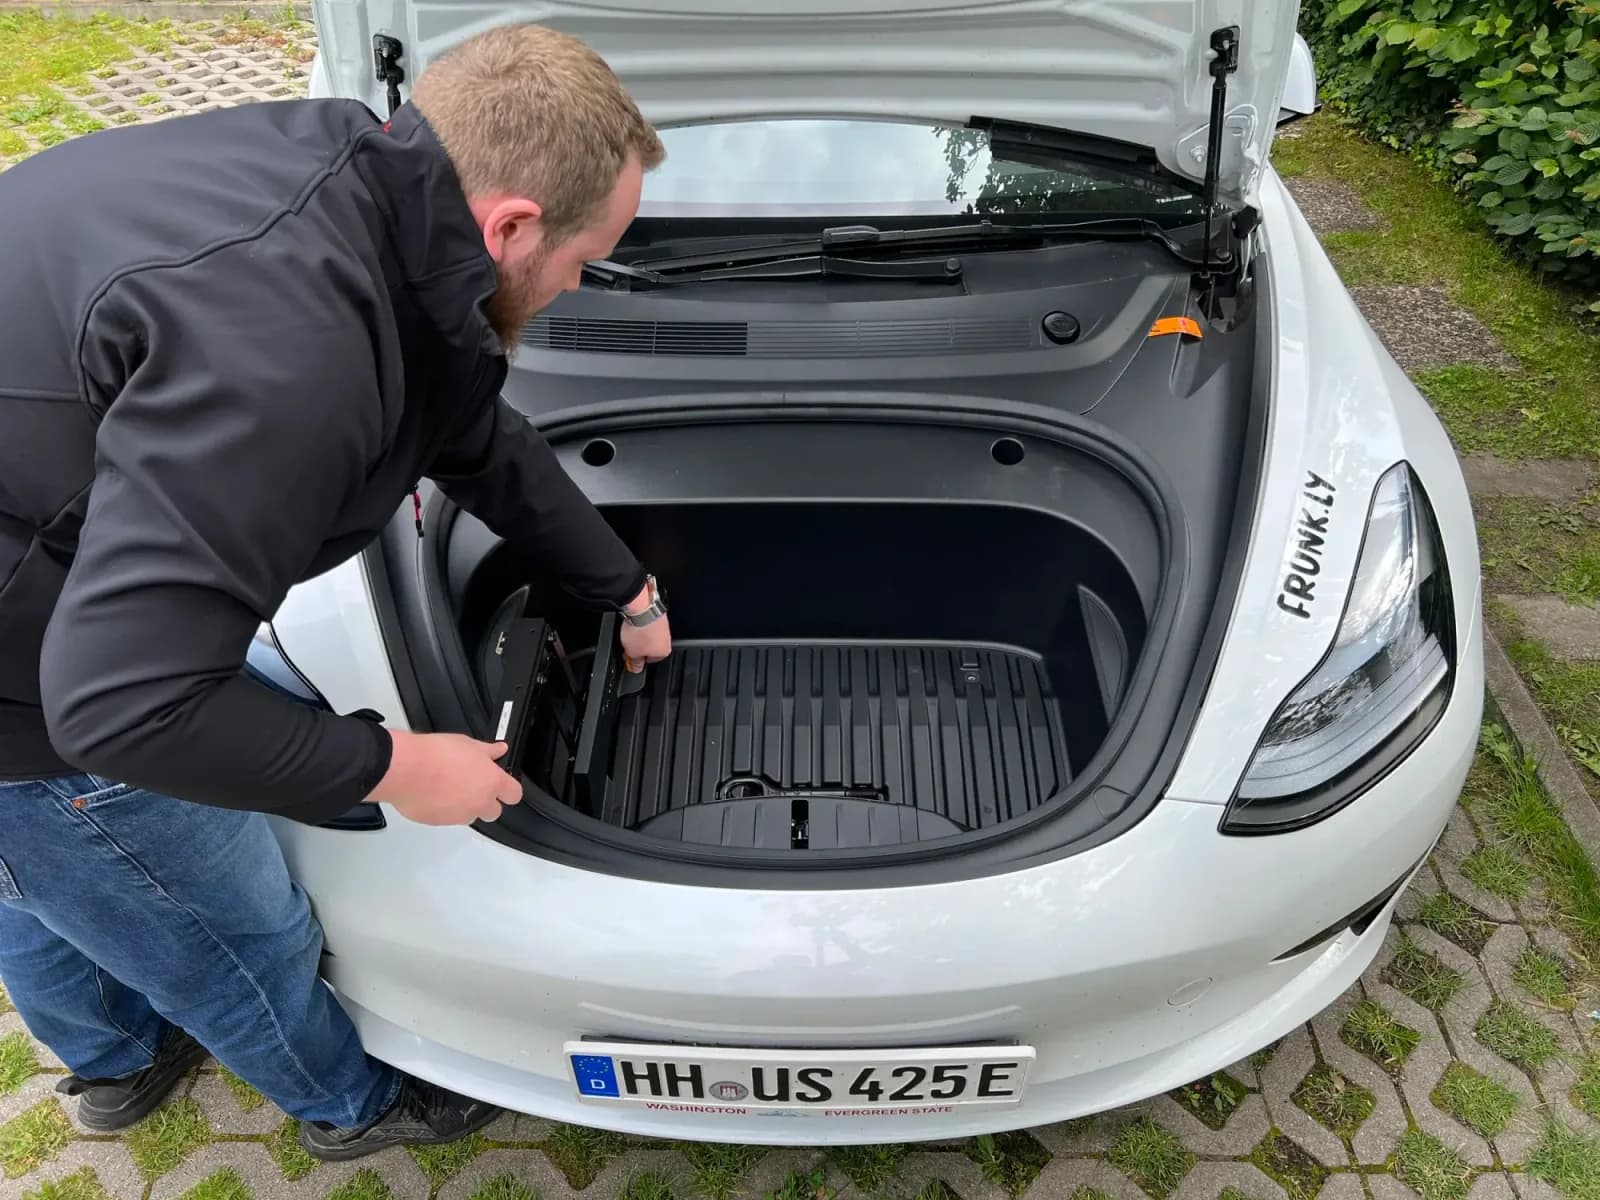
Step 4
Fix it with a short screw with handle.
Hand tight only.
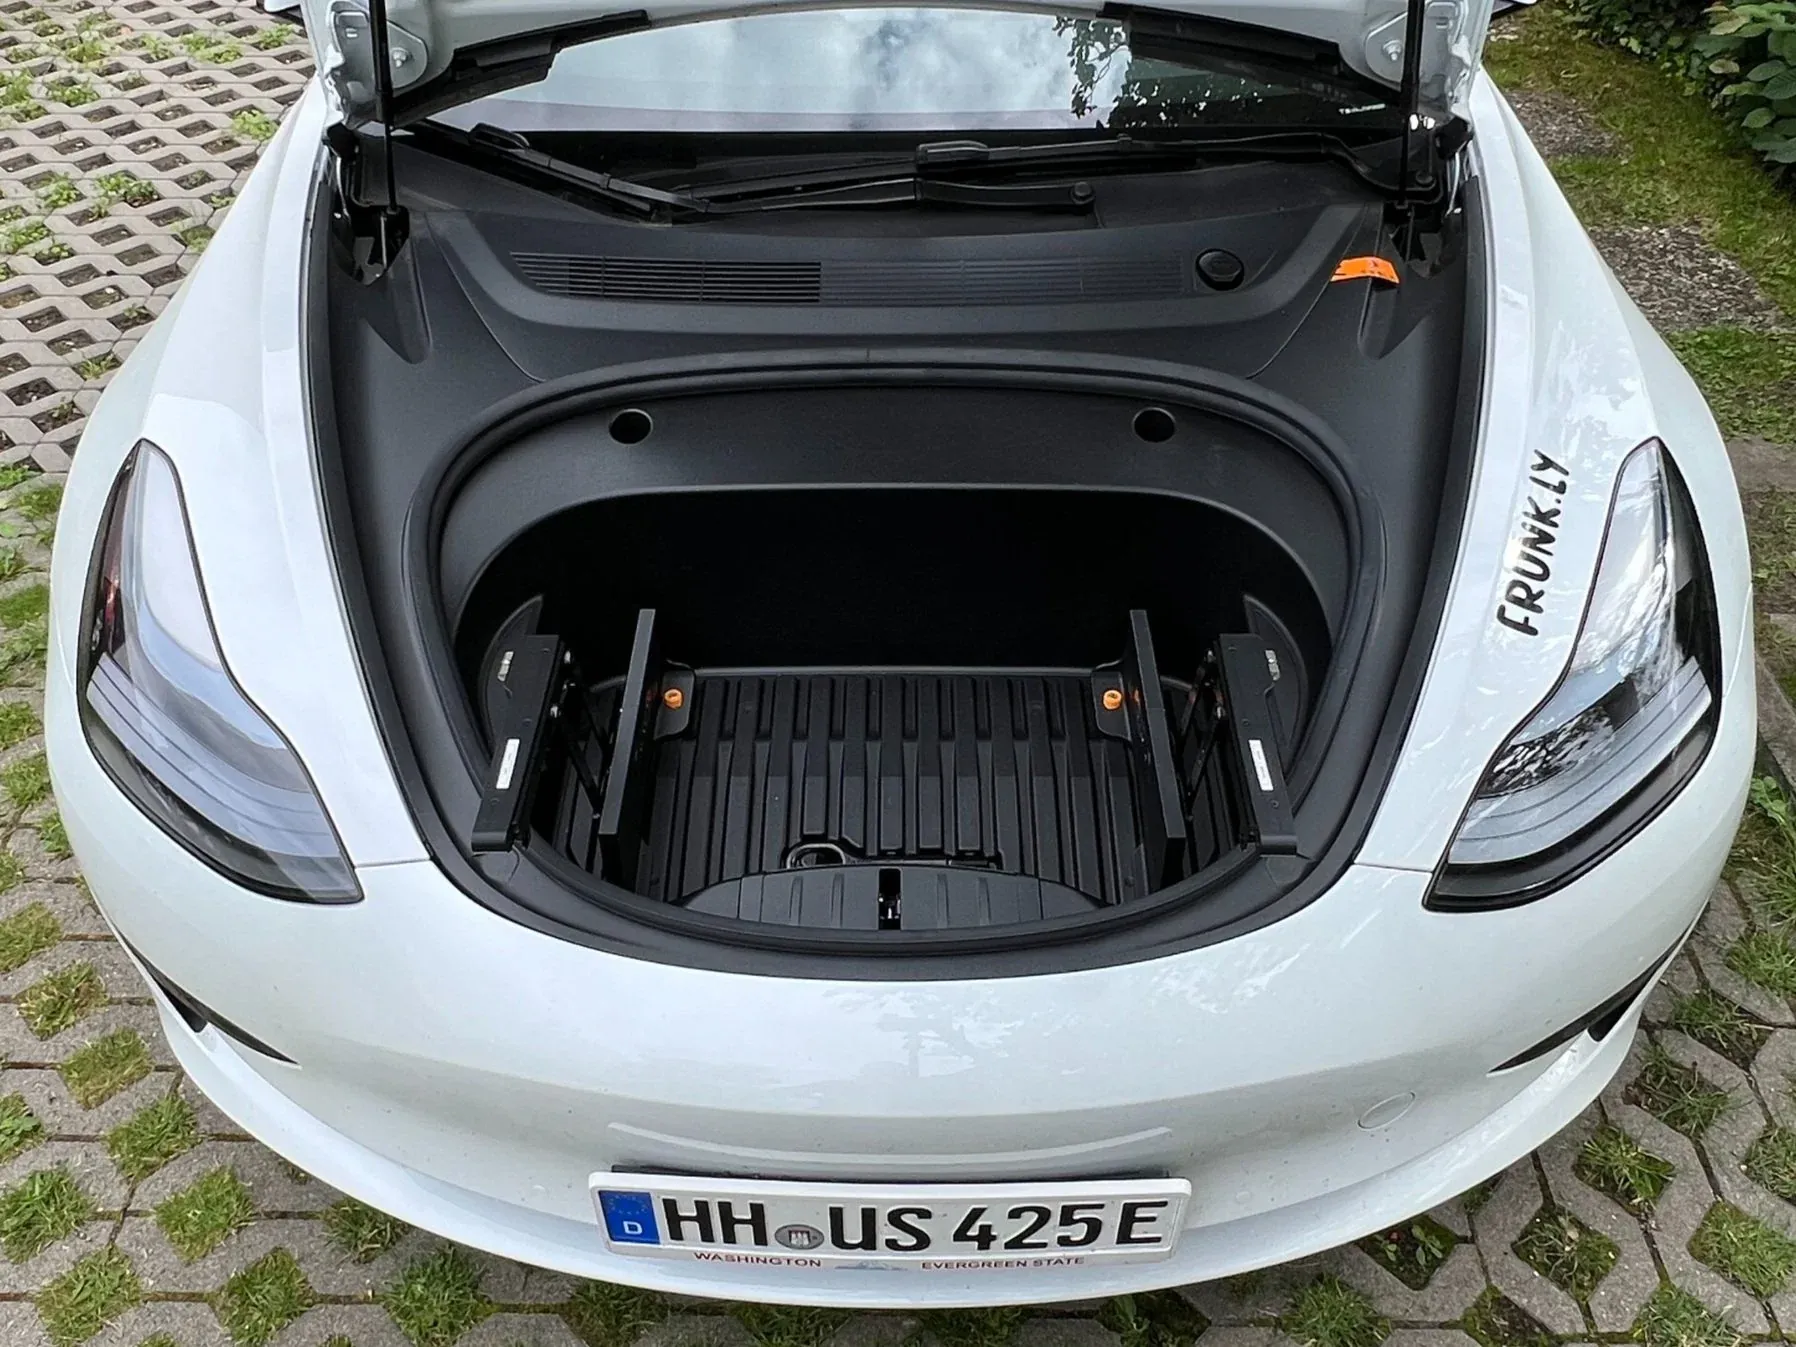
Step 5
Repeat steps 3 and 4 with the right base frame.
Step 6
Remove the transport locks from the hinges and fold the hinges out one by one.
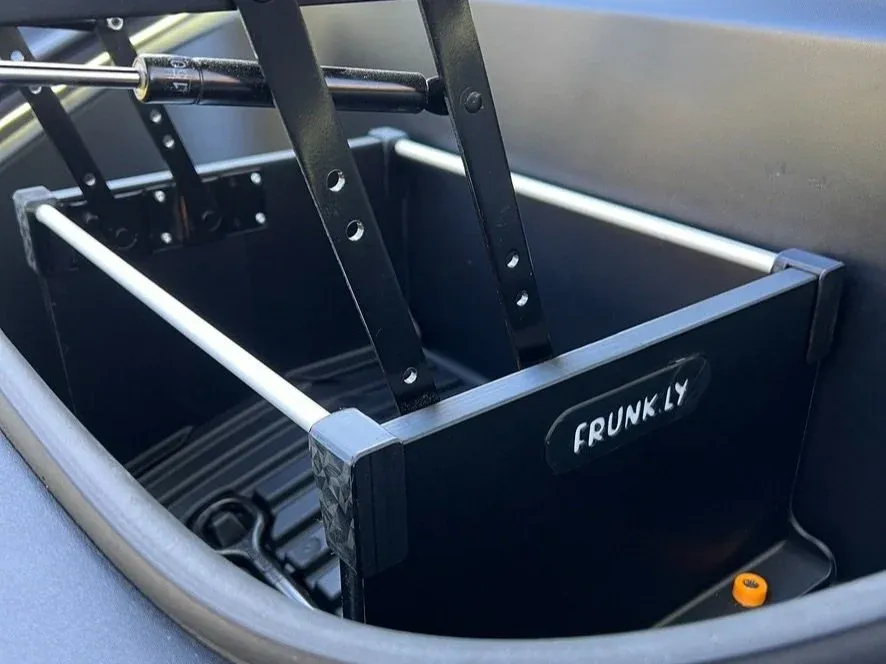
Step 7
Push the two support braces onto the base frames, one at the front and one at the back. They sit between the frames and make the table stiffer.
Model Y only
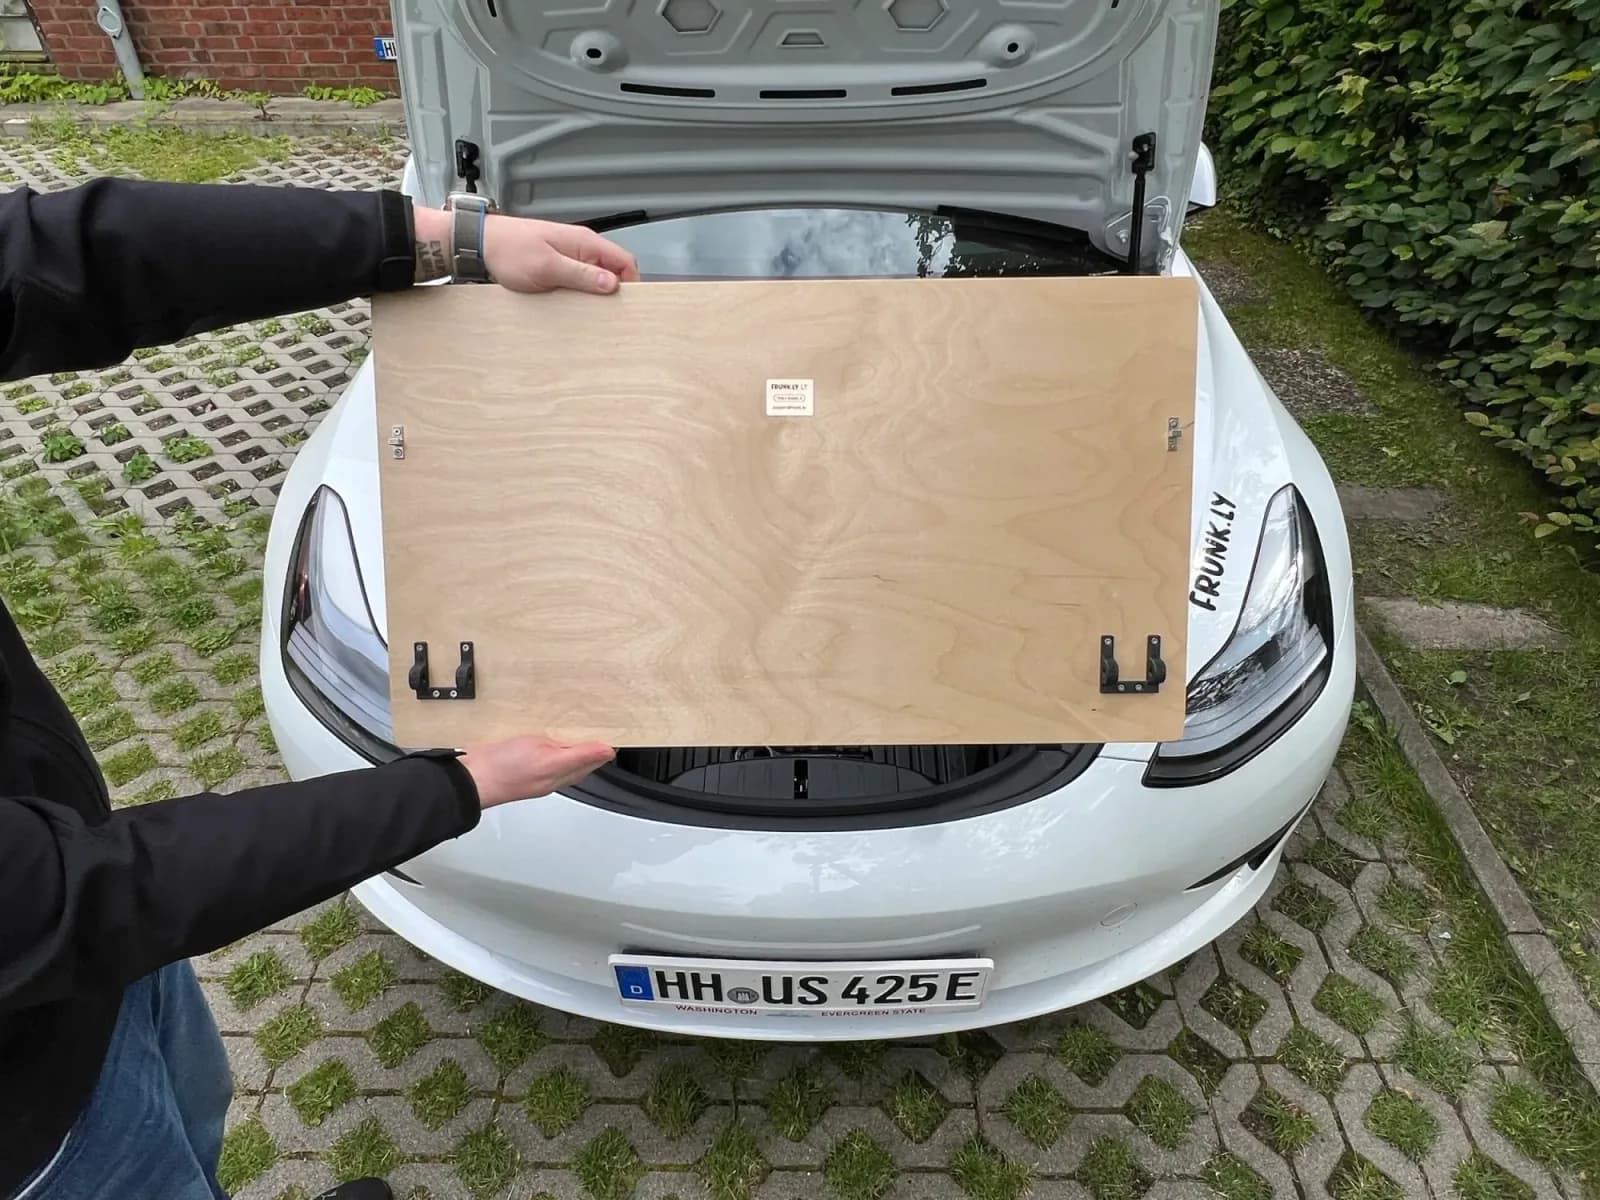
Step 8a
Get the tabletop.
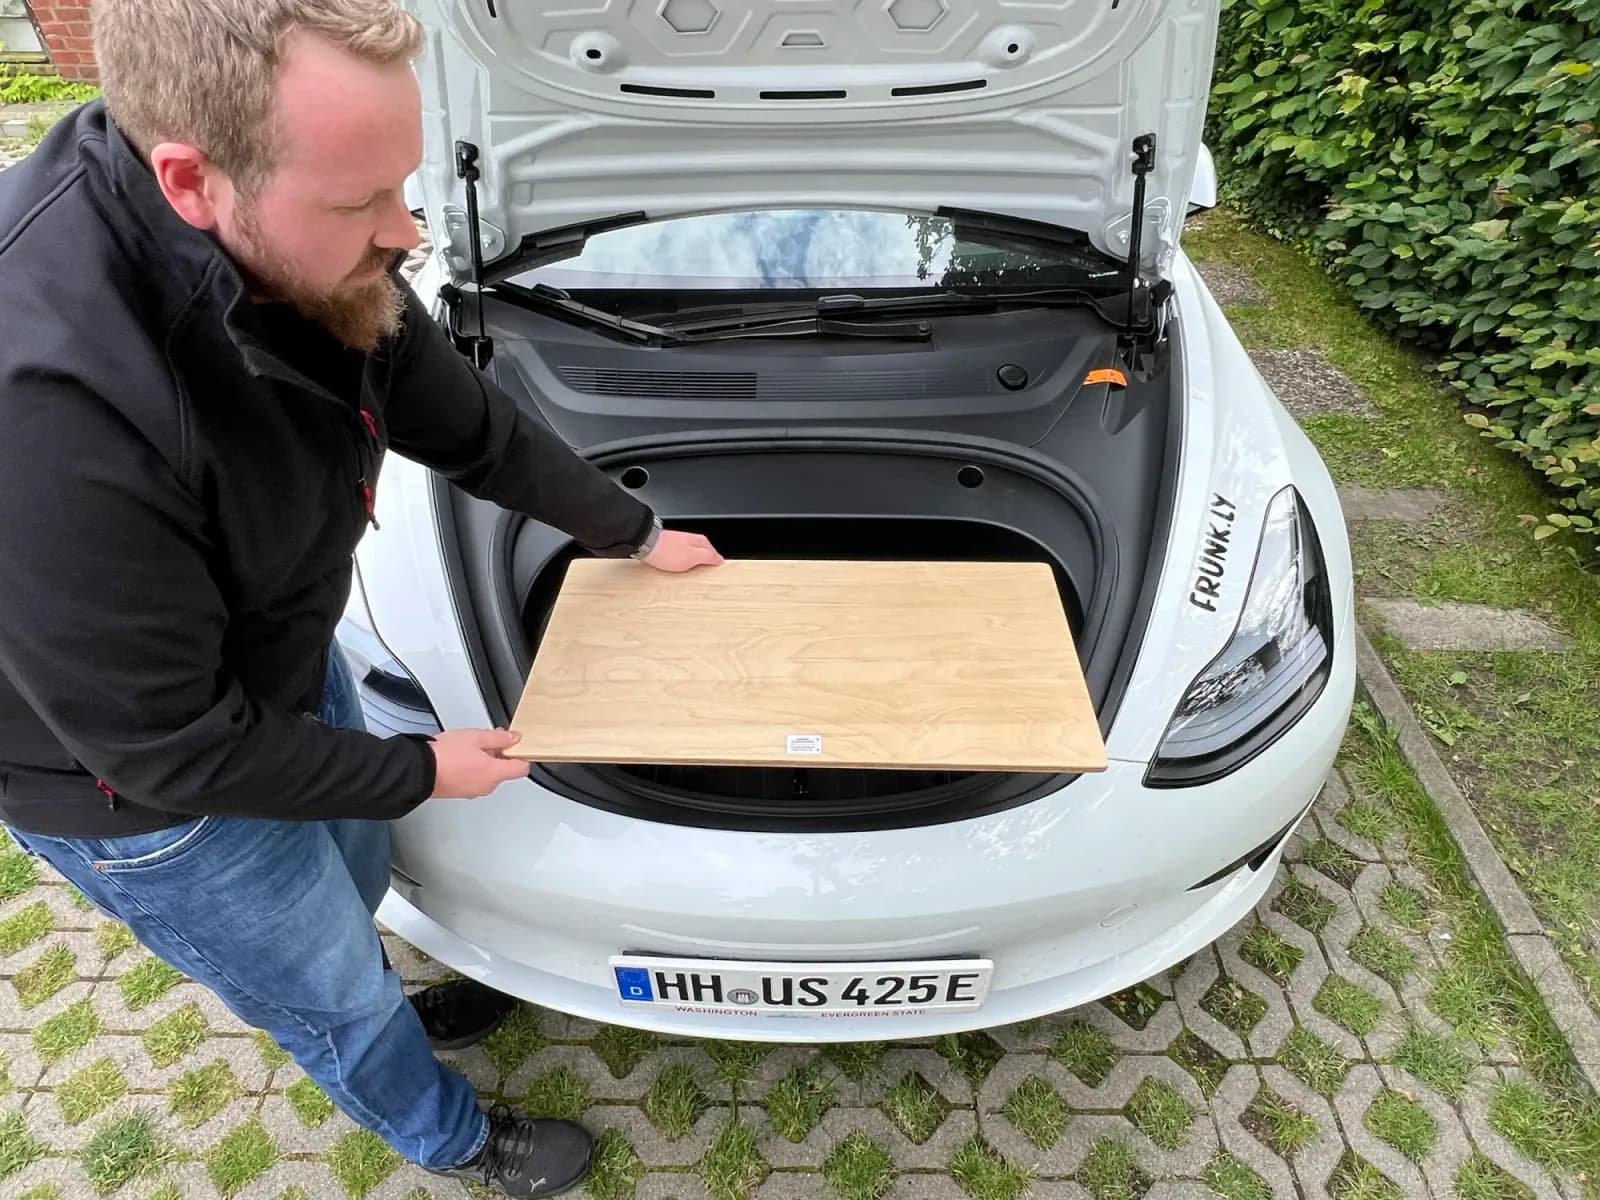
Step 8b
Hold the tabletop so that the arrow on the sticker points to the windshield.
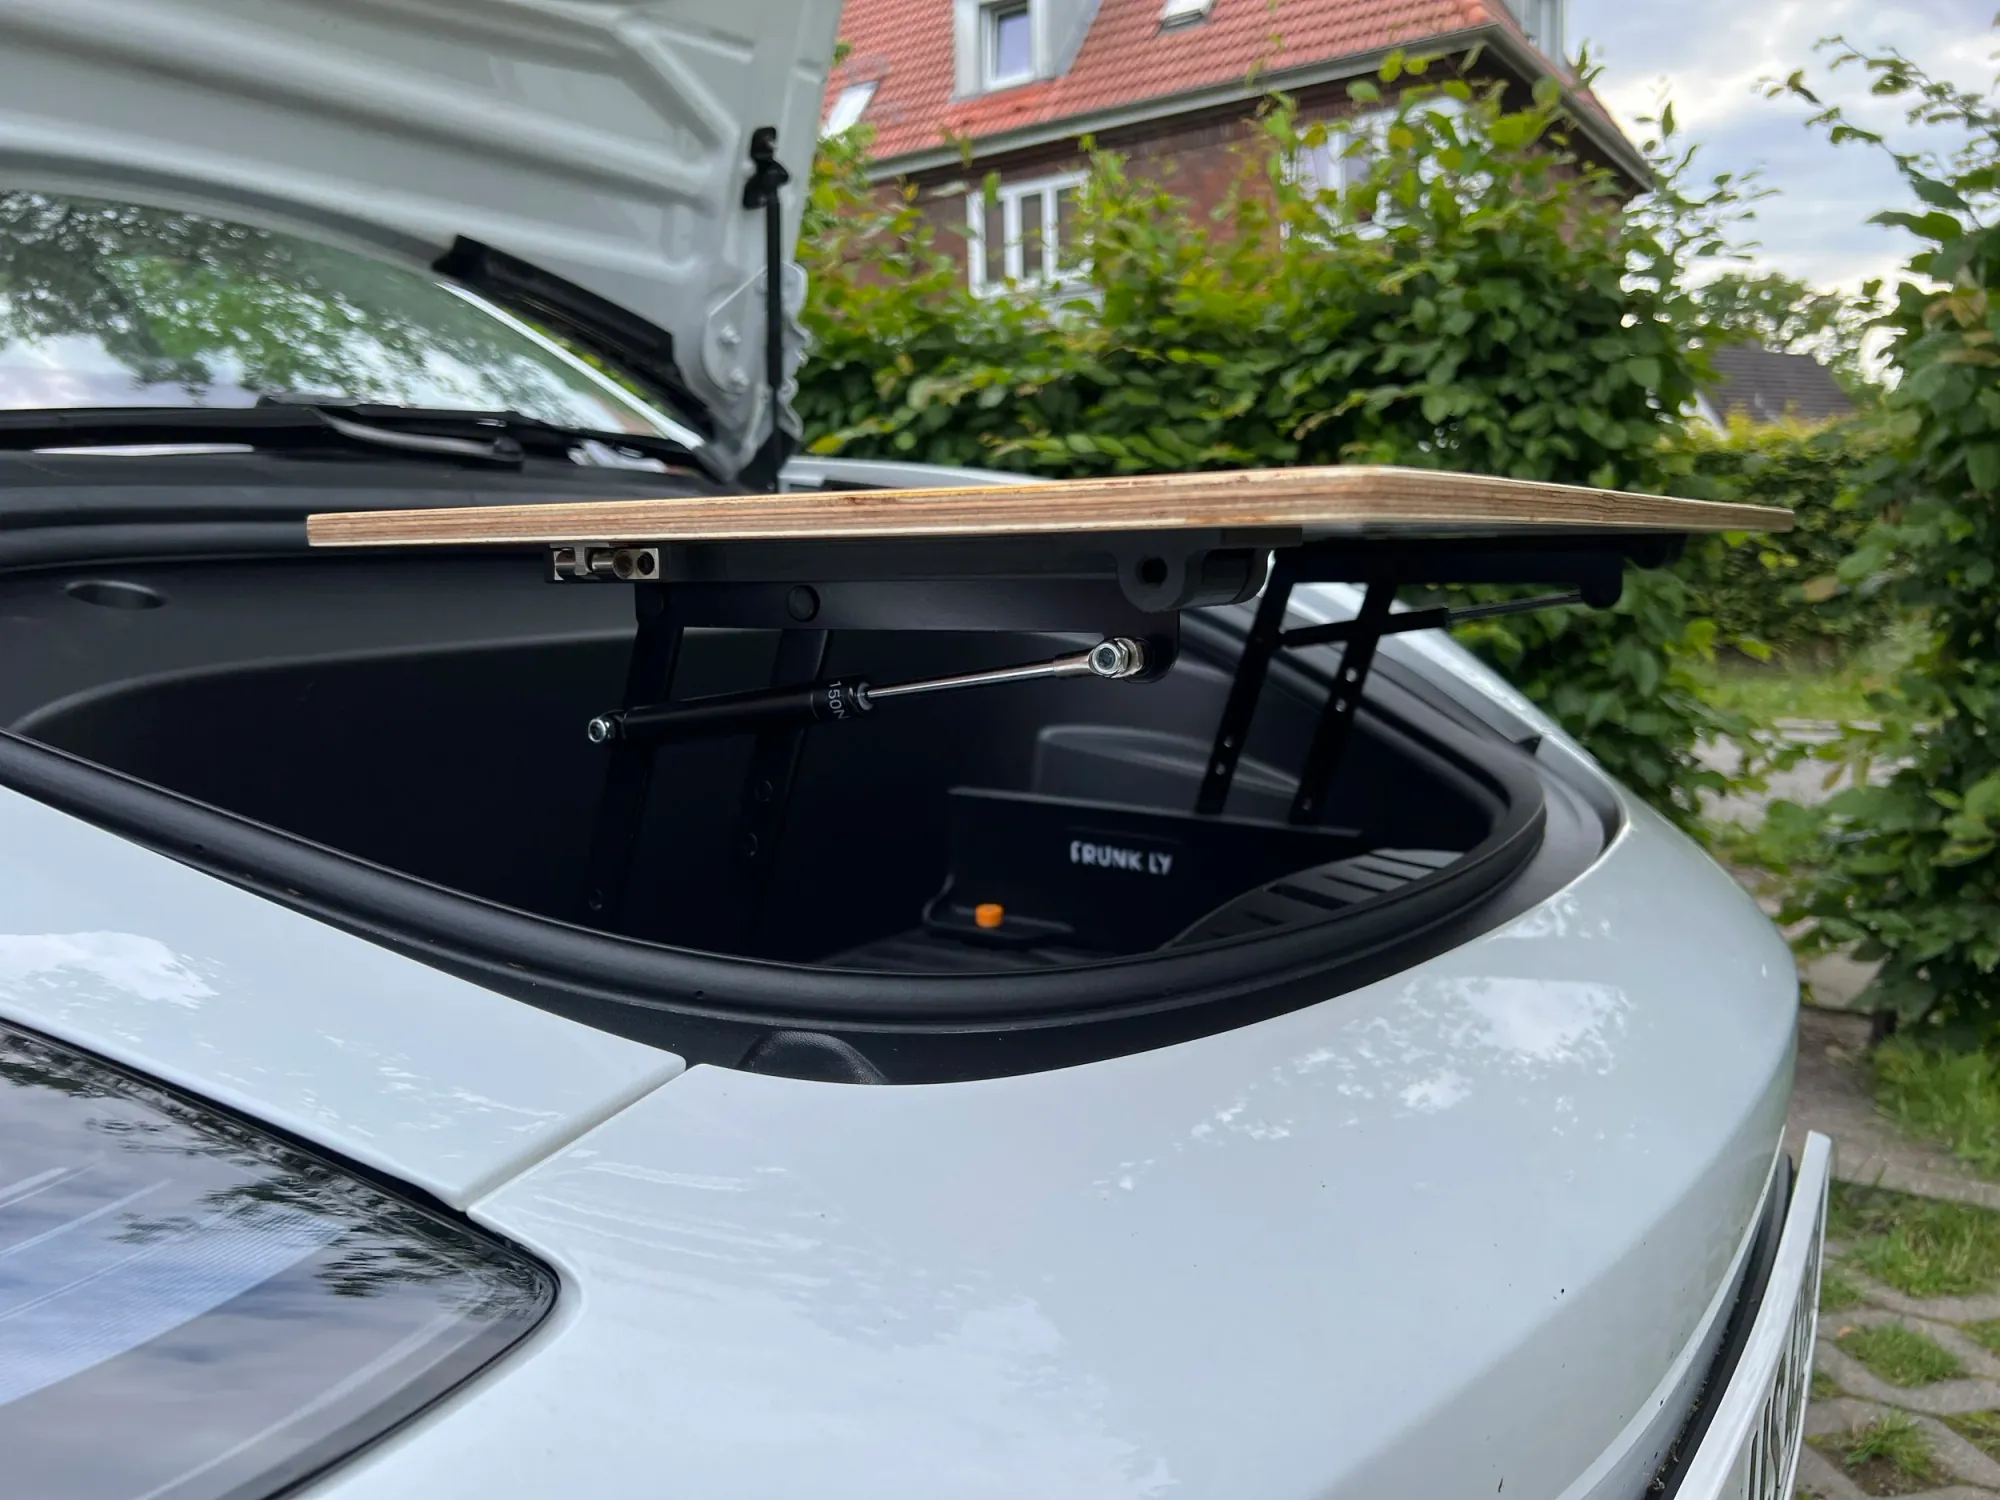
Step 8c
Lay it on the hinges and line up the holes on its underside with the holes on top of the hinges.
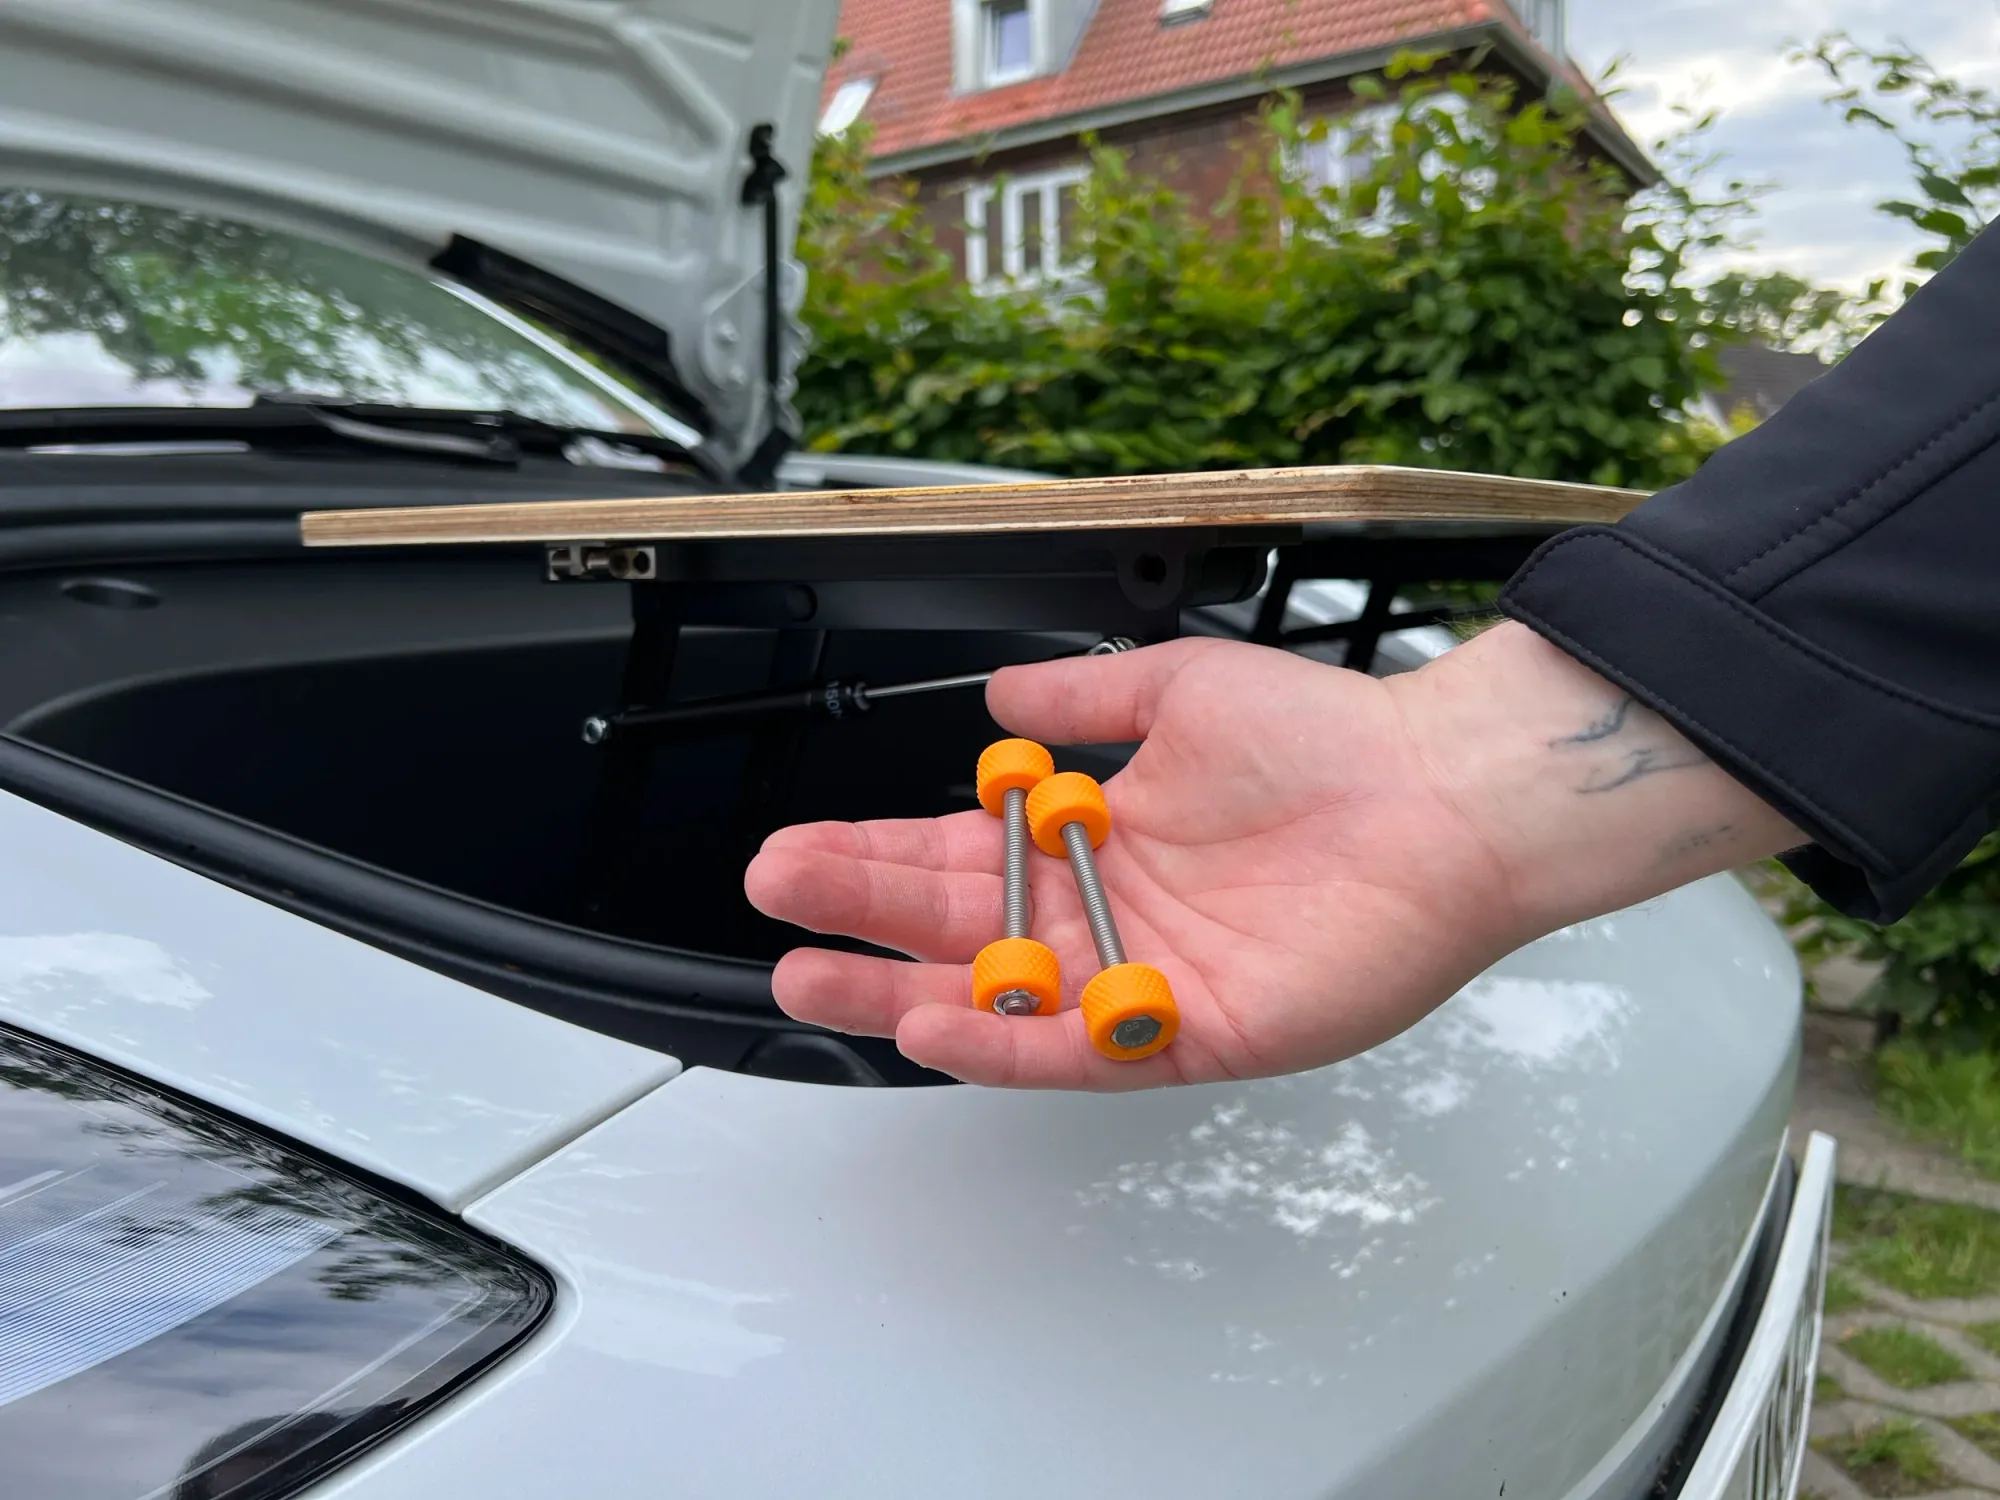
Step 9a
Take the two long screws with handle out of the bag.
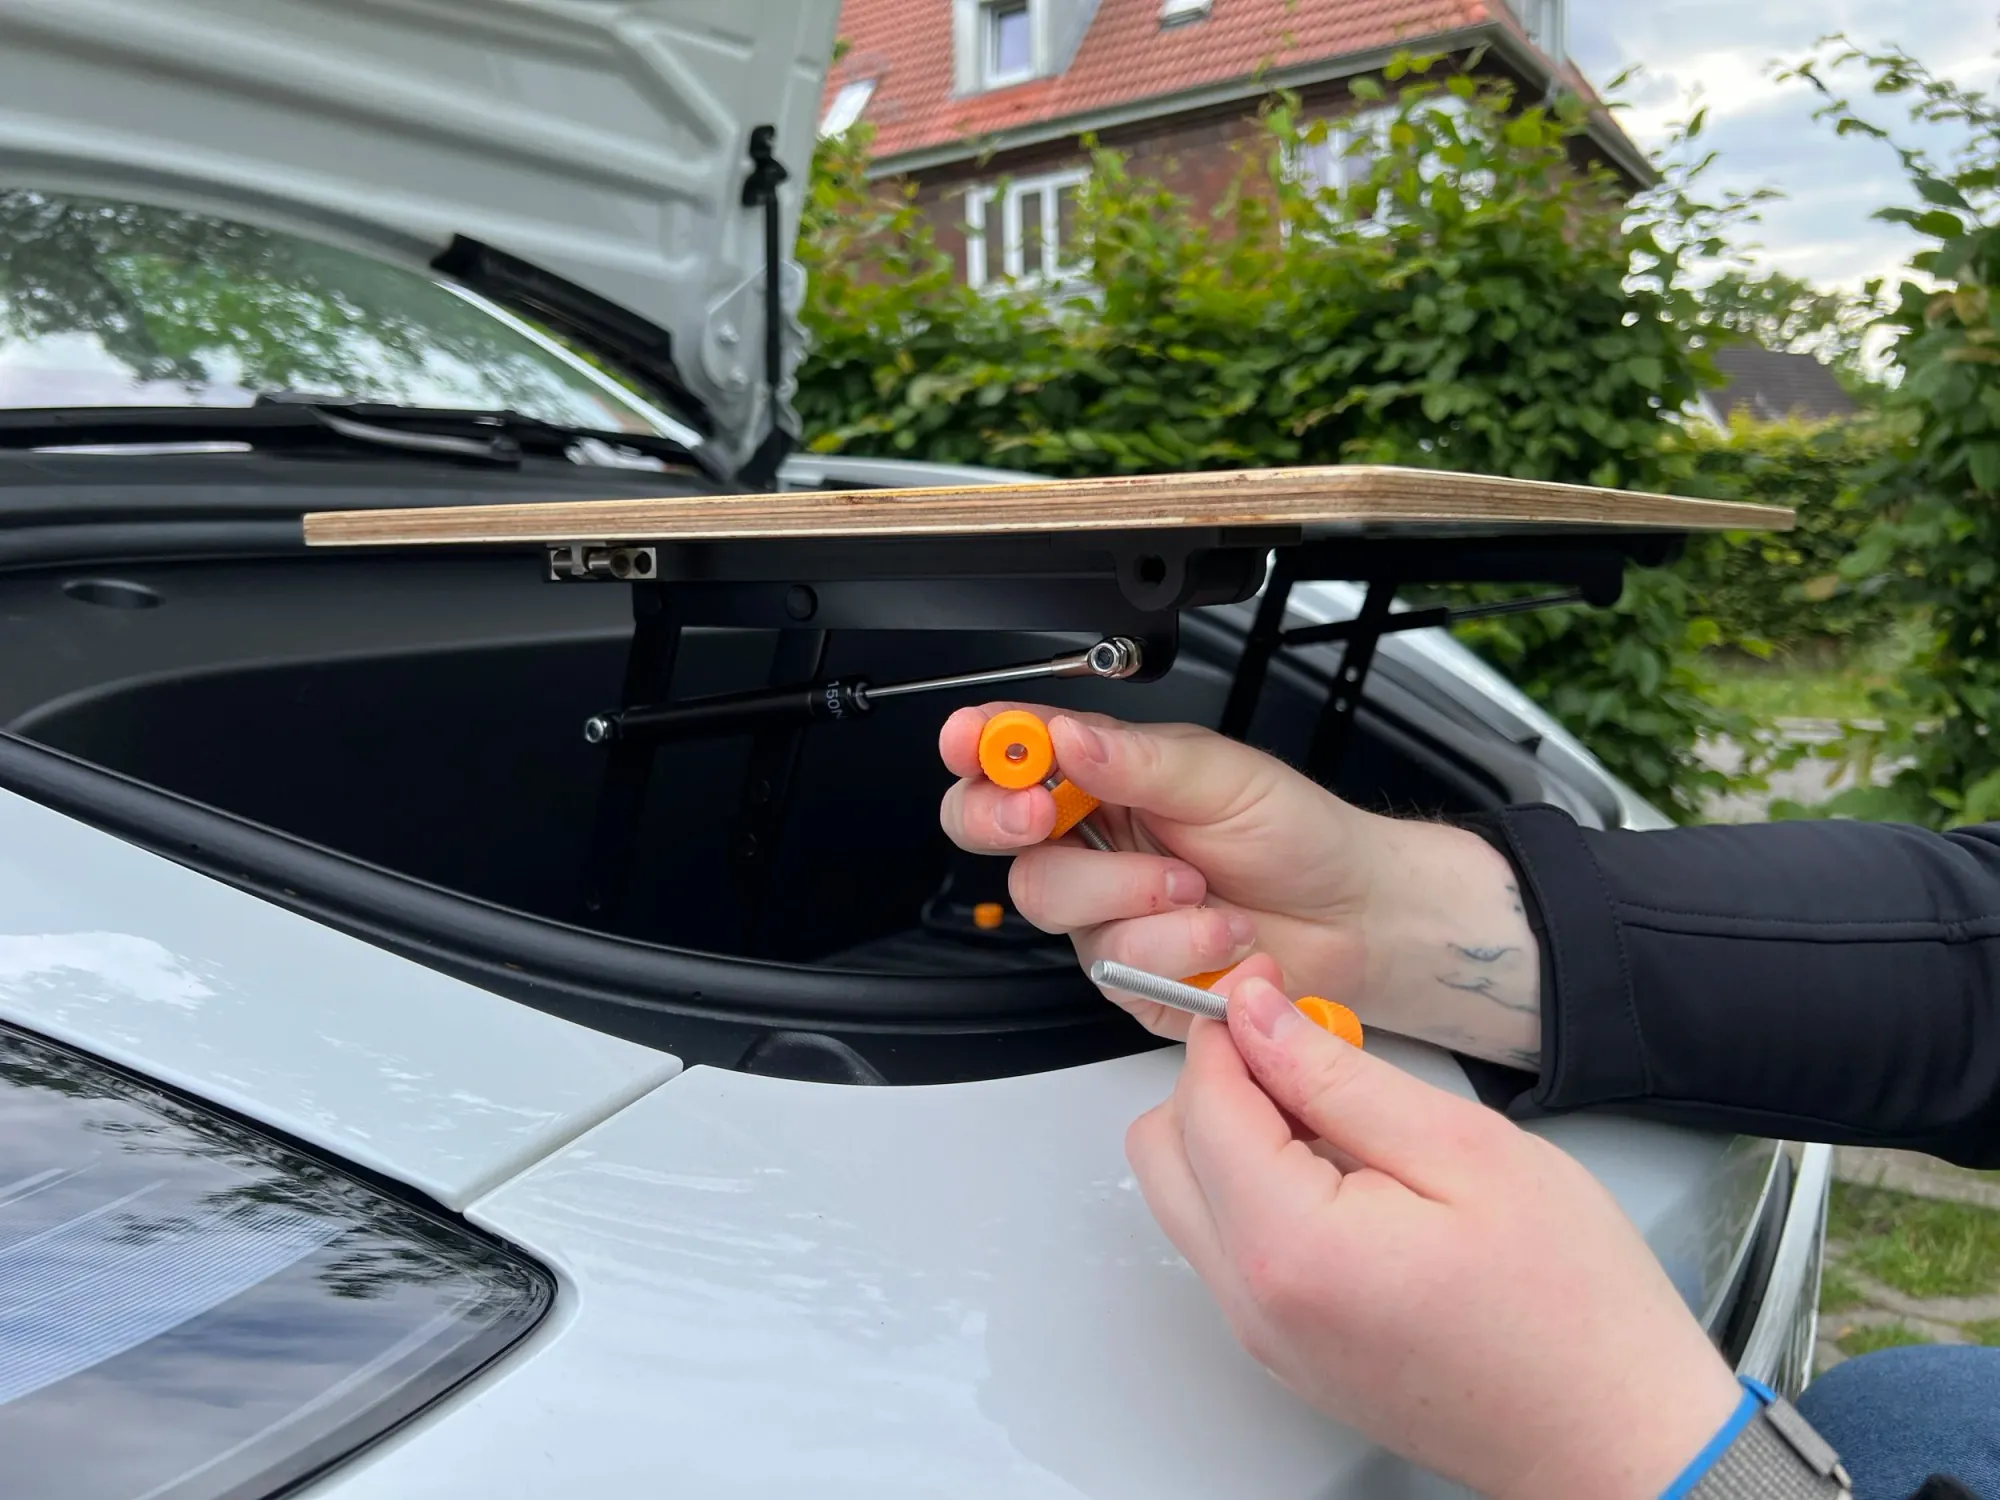
Step 9b
Take the nut off the screw.
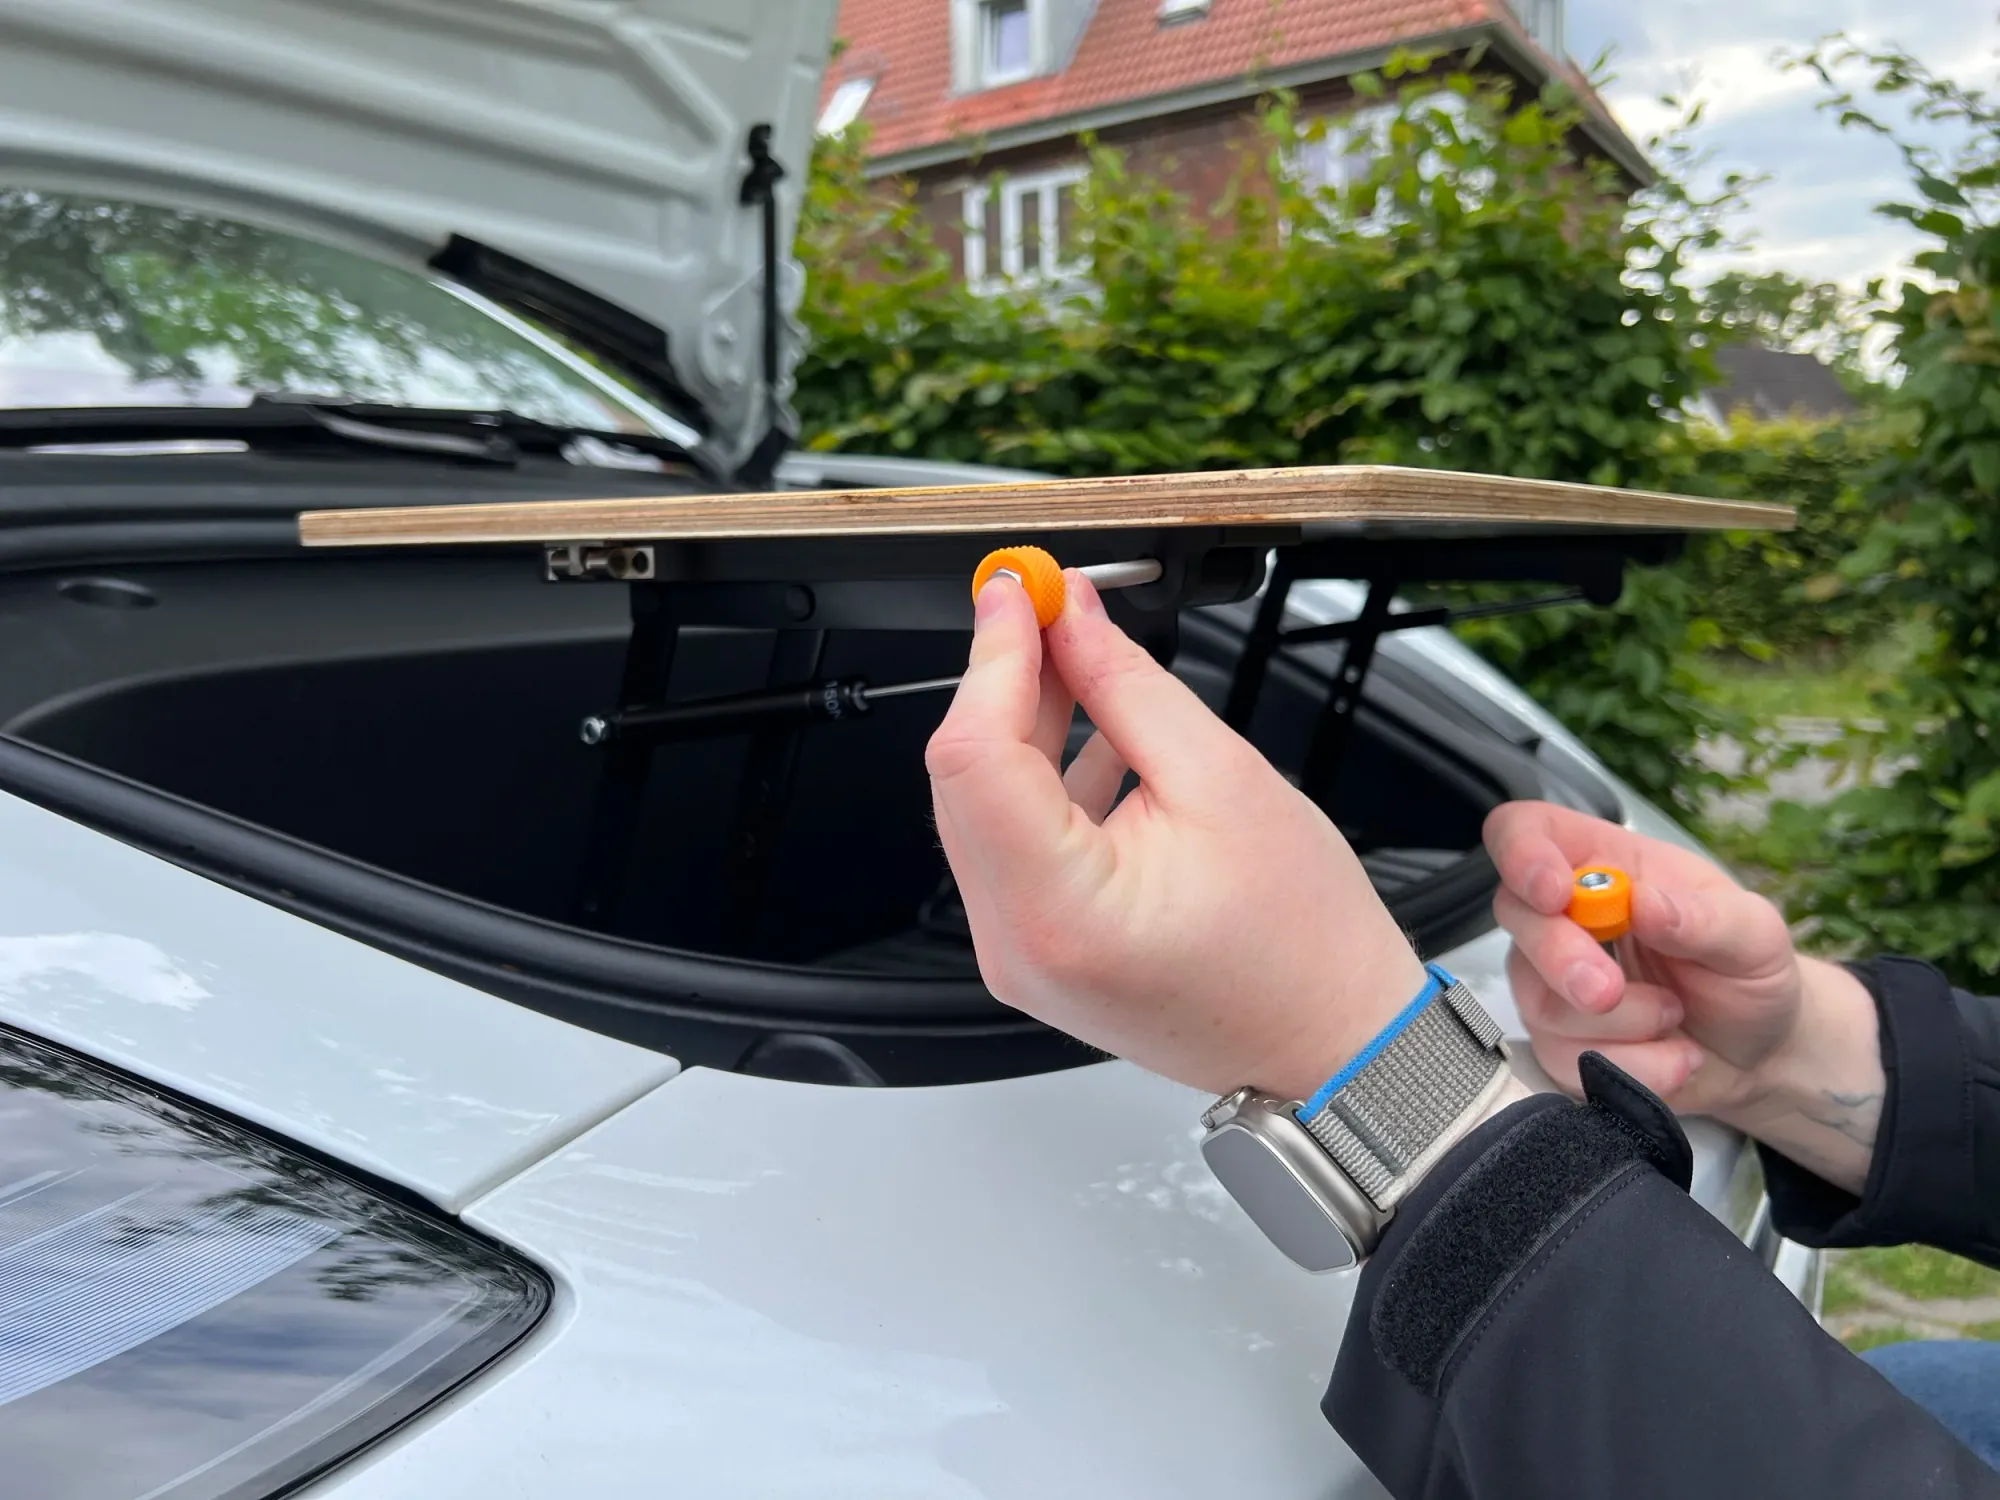
Step 9c
Push a screw through all the holes on the left side.
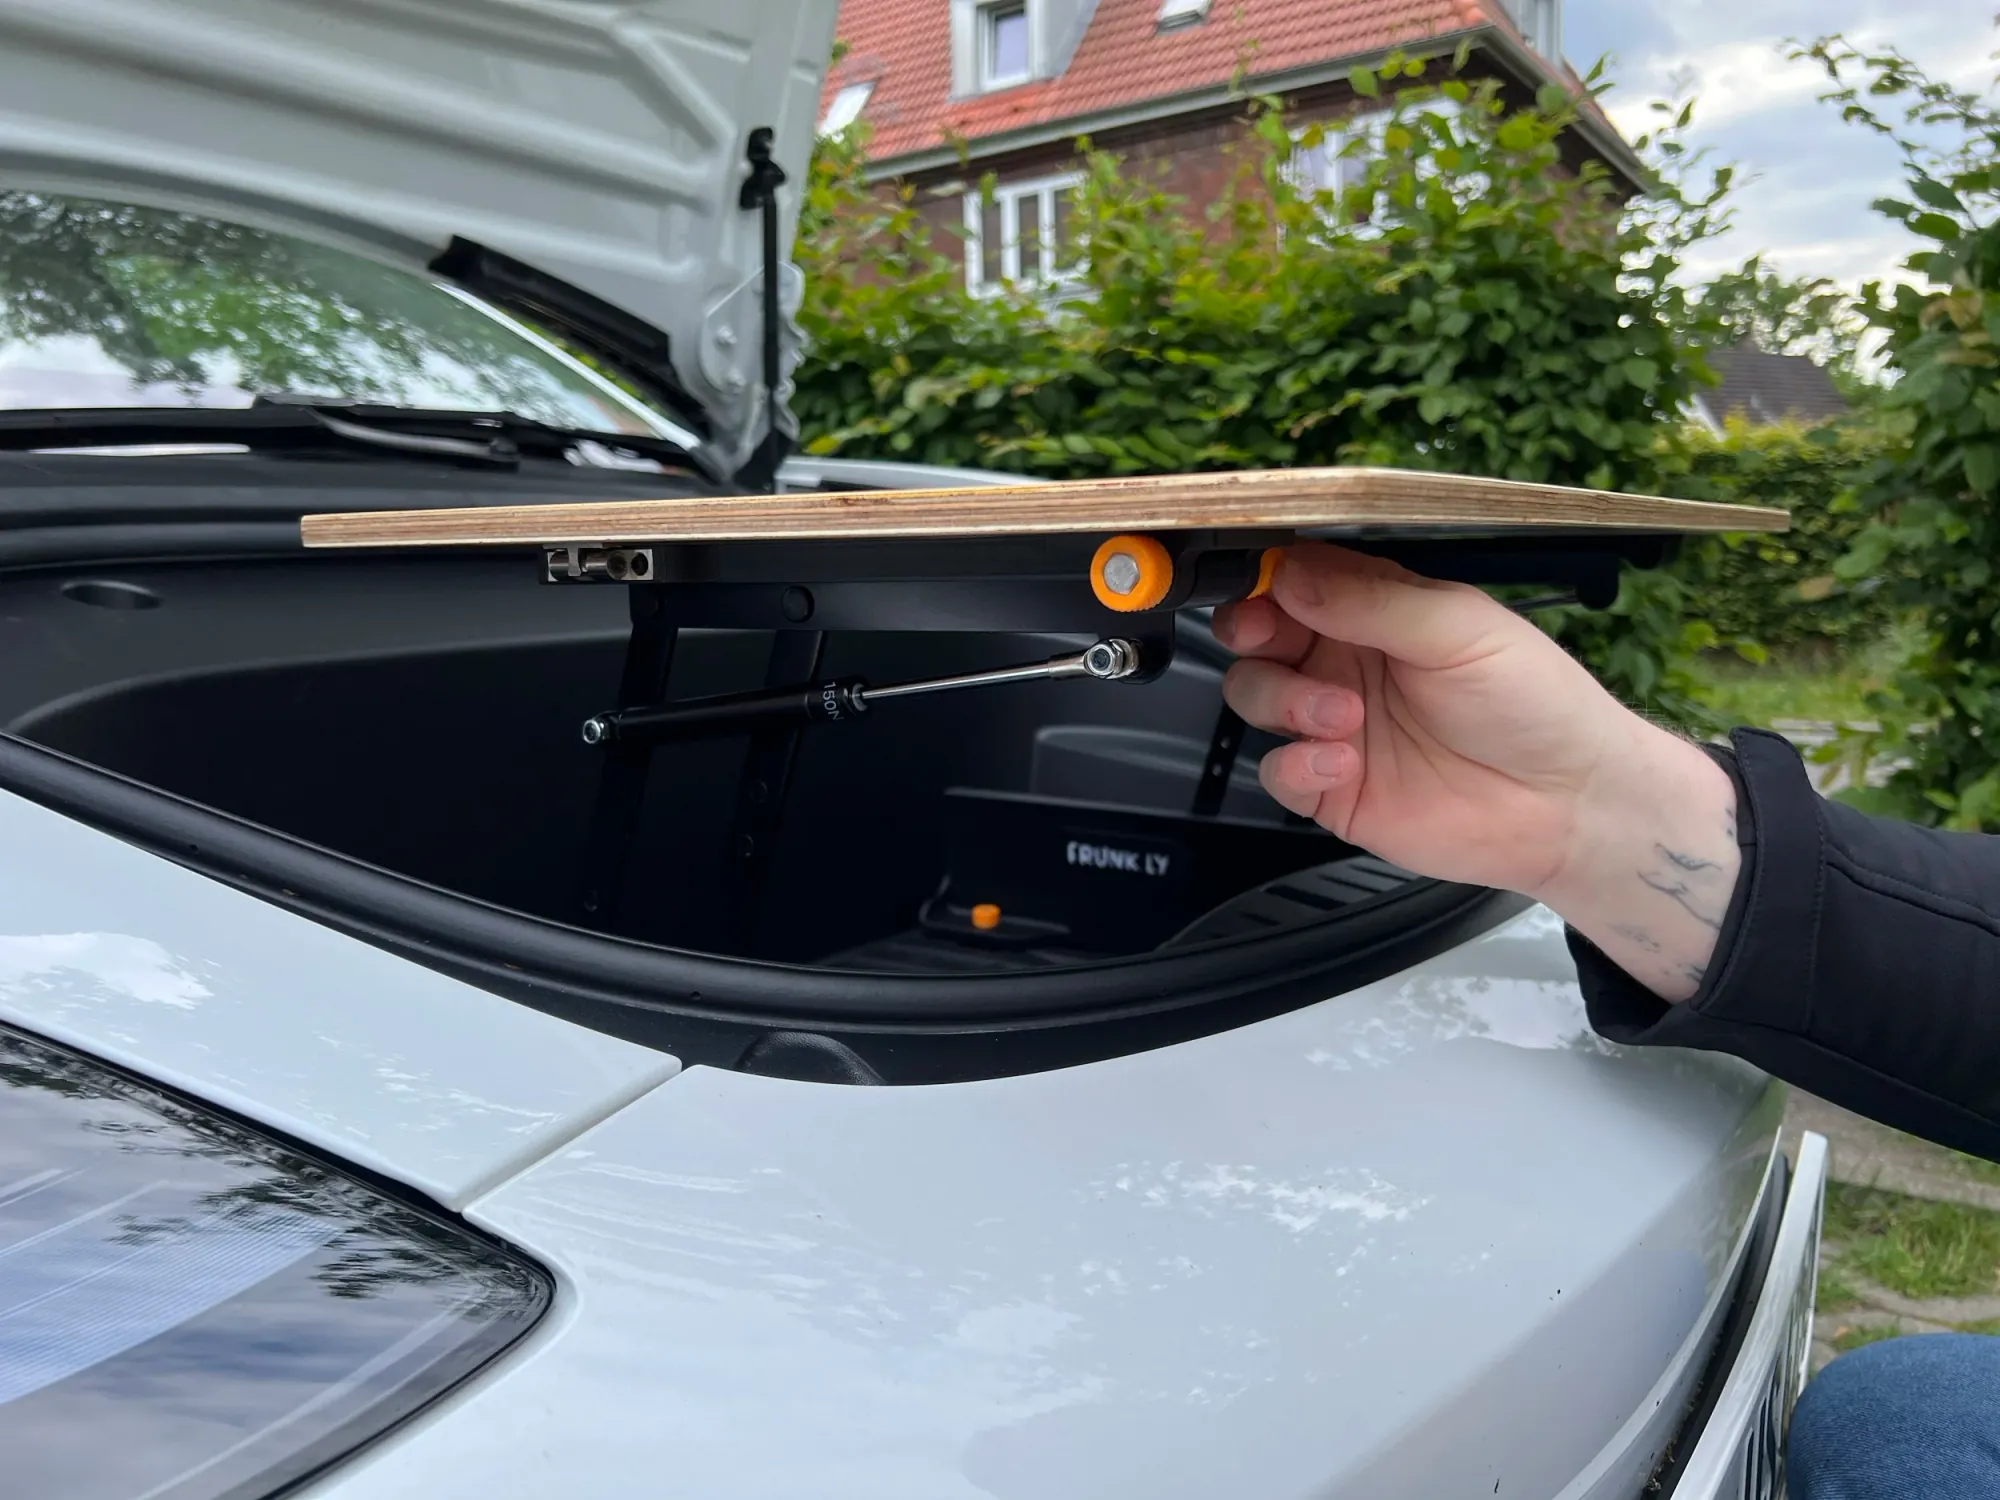
Step 9d
Screw the nut back on.
Don't tighten it, or the tabletop will no longer fold.
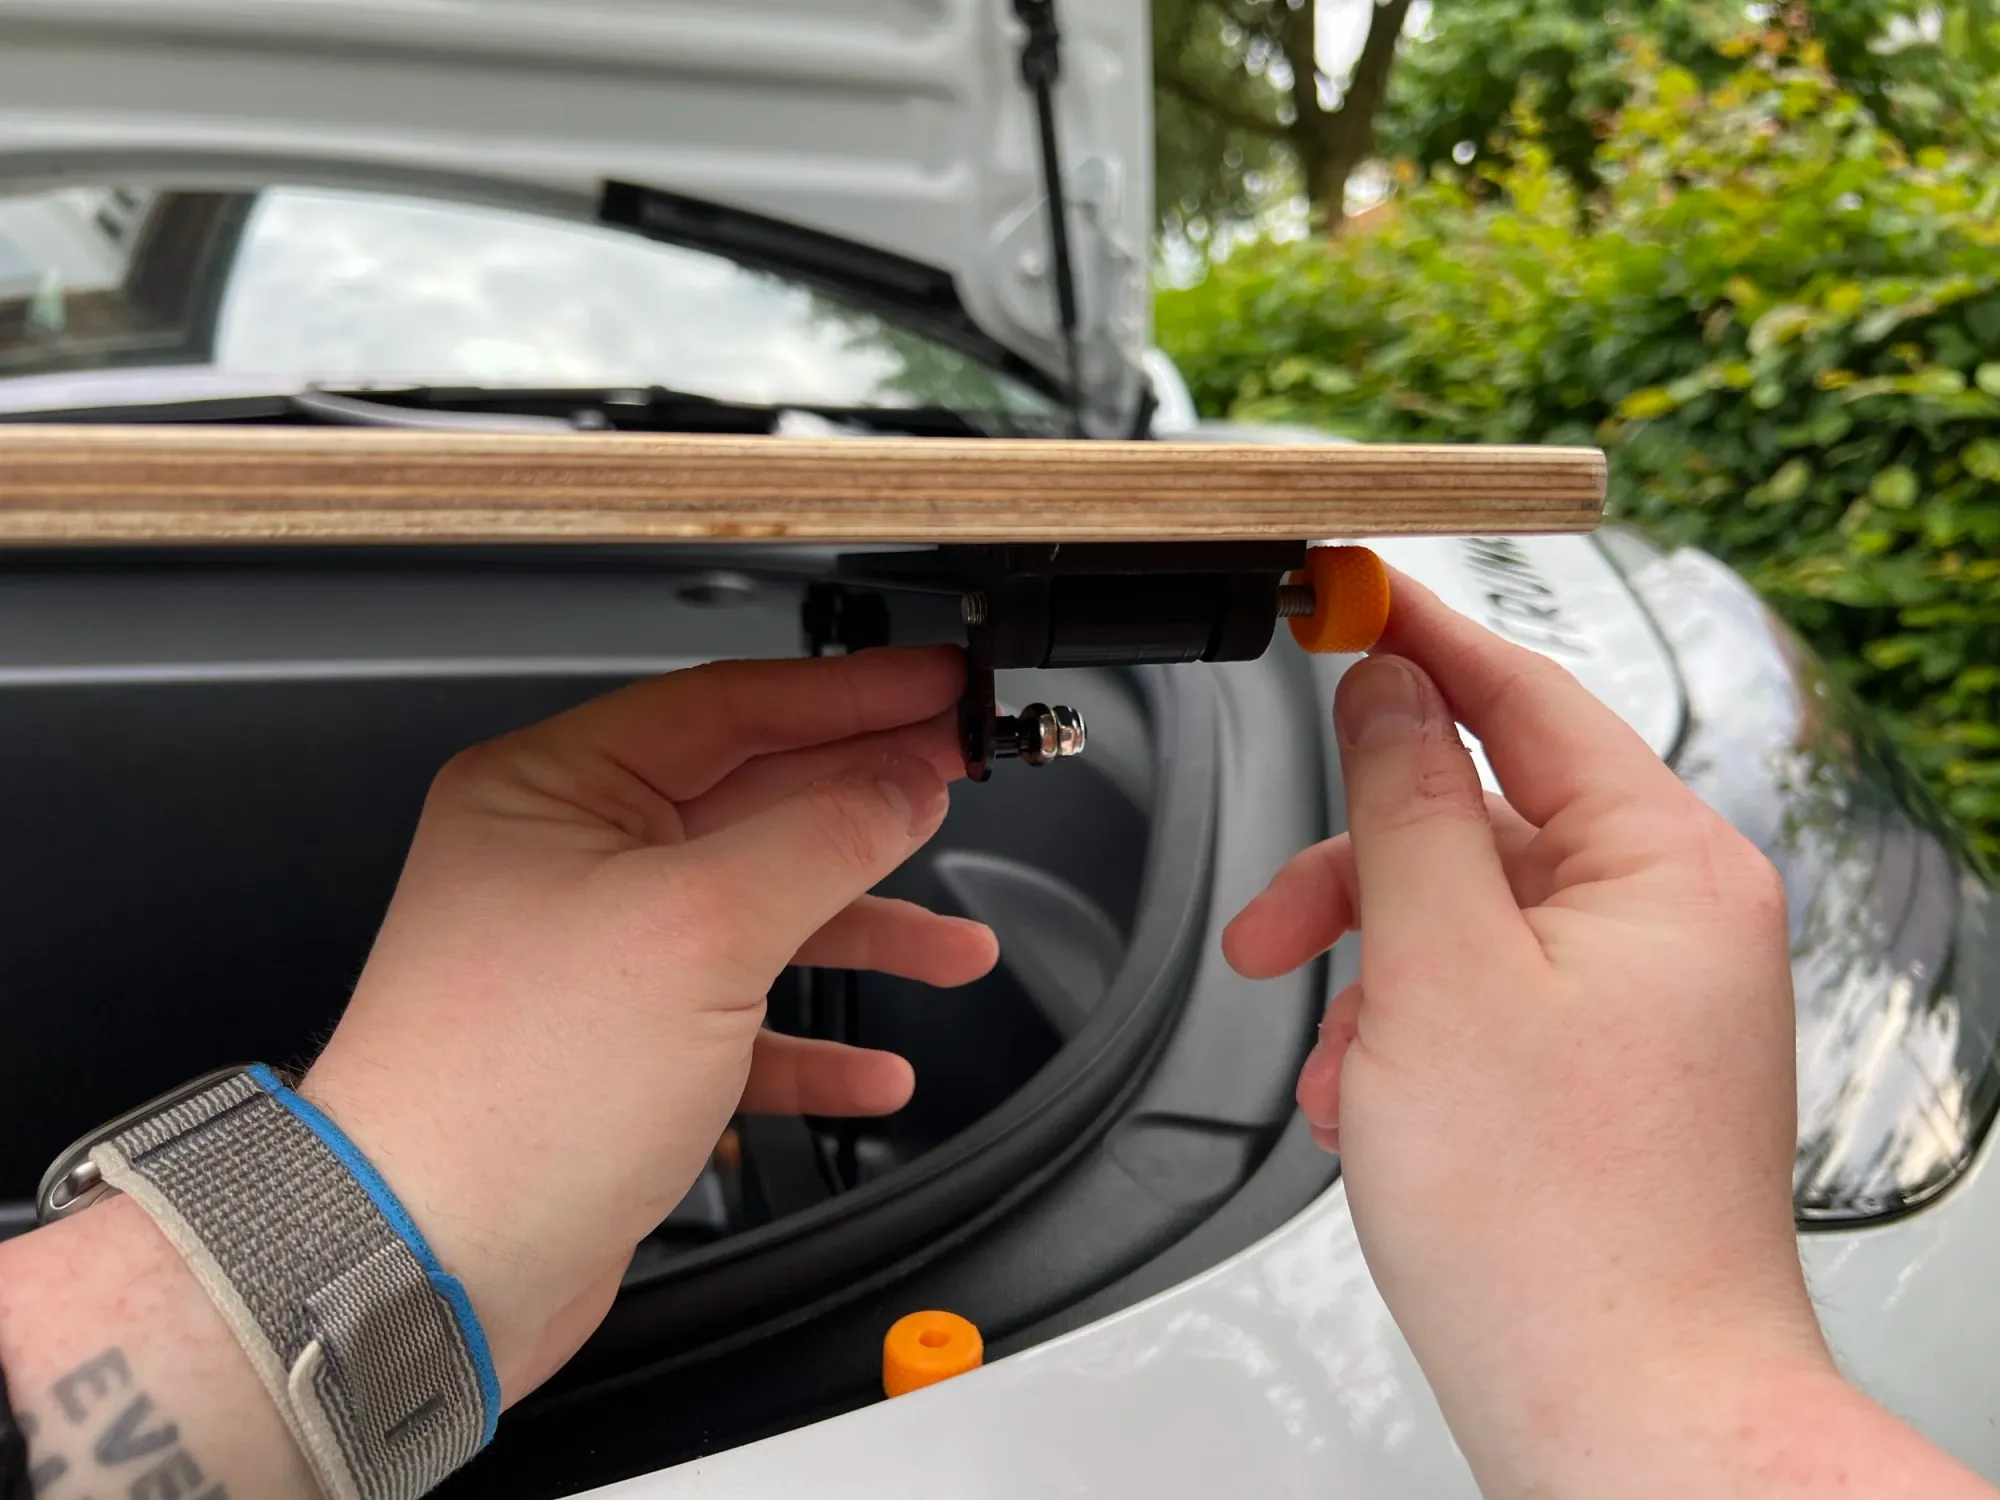
Step 9e
Repeat on the right side.
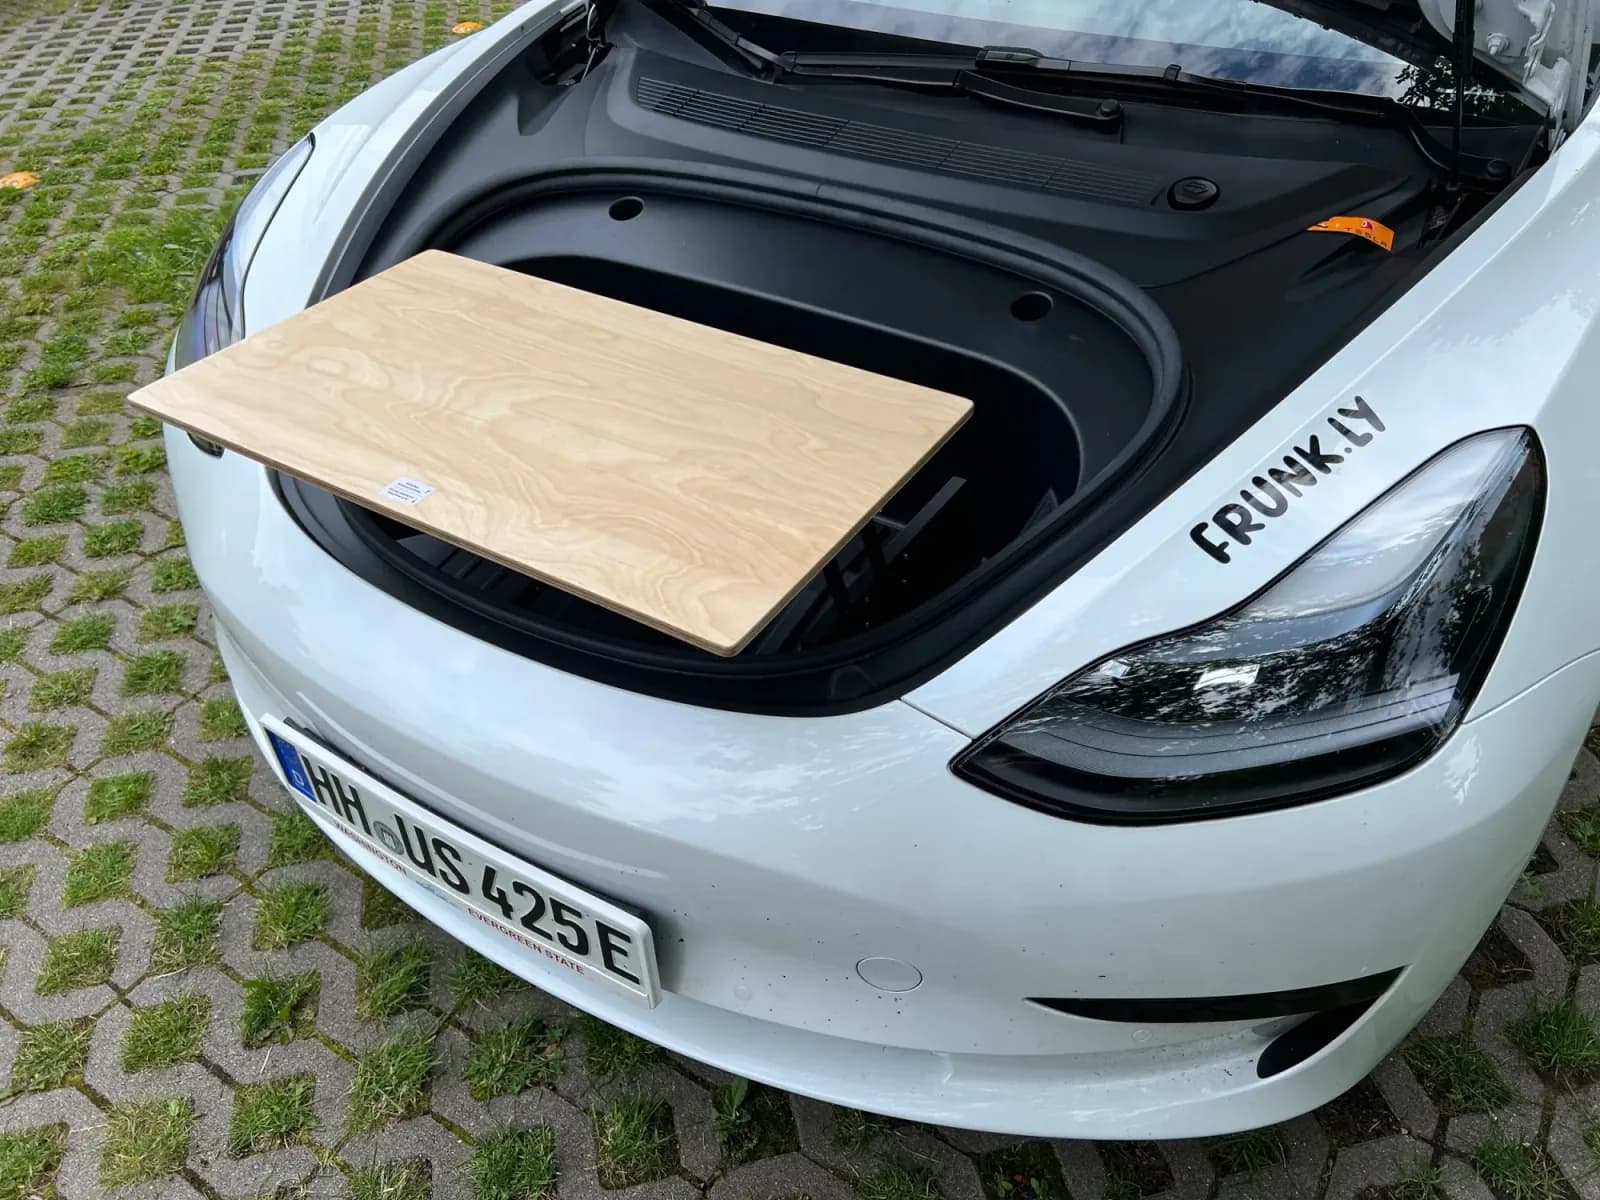
Done!
Installation is complete.
Unfold
How to unfold the table in seconds.
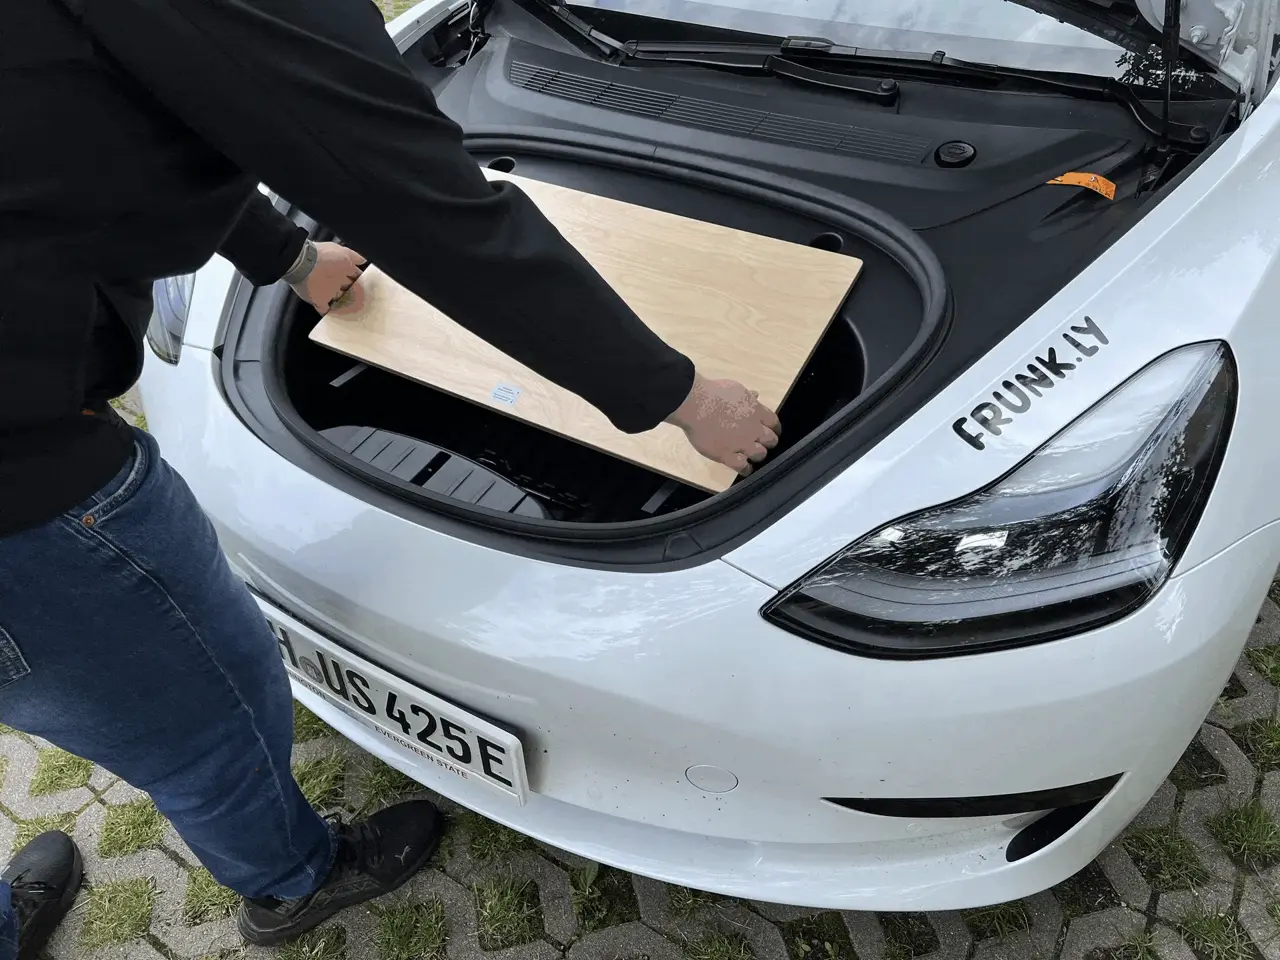
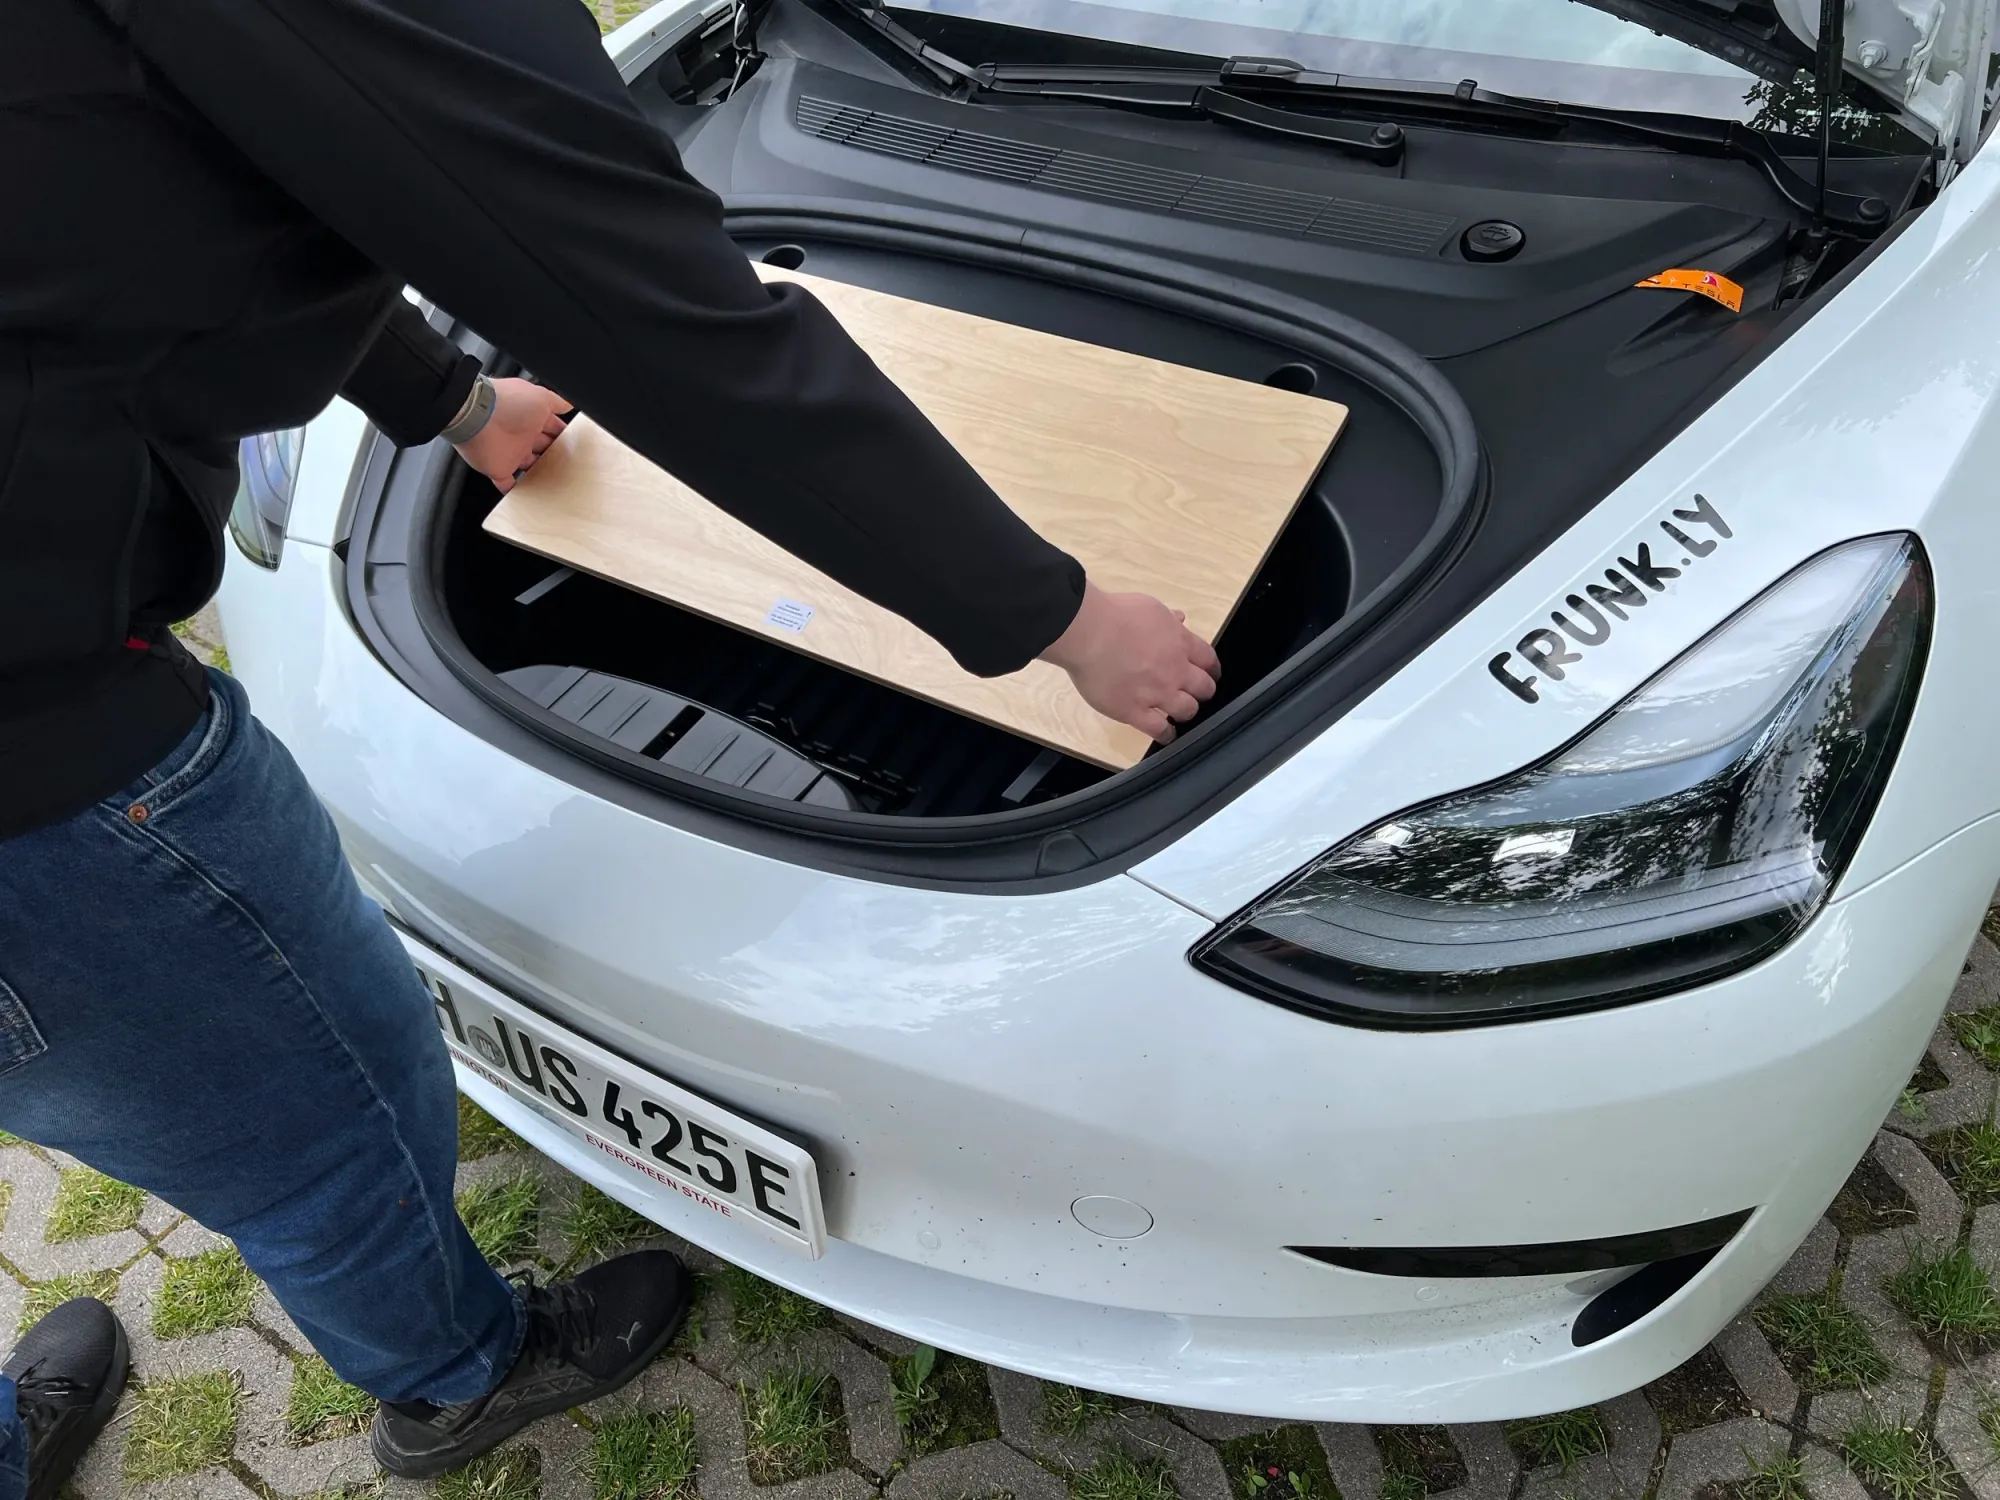
Open the frunk and take the tabletop by its left and right sides.
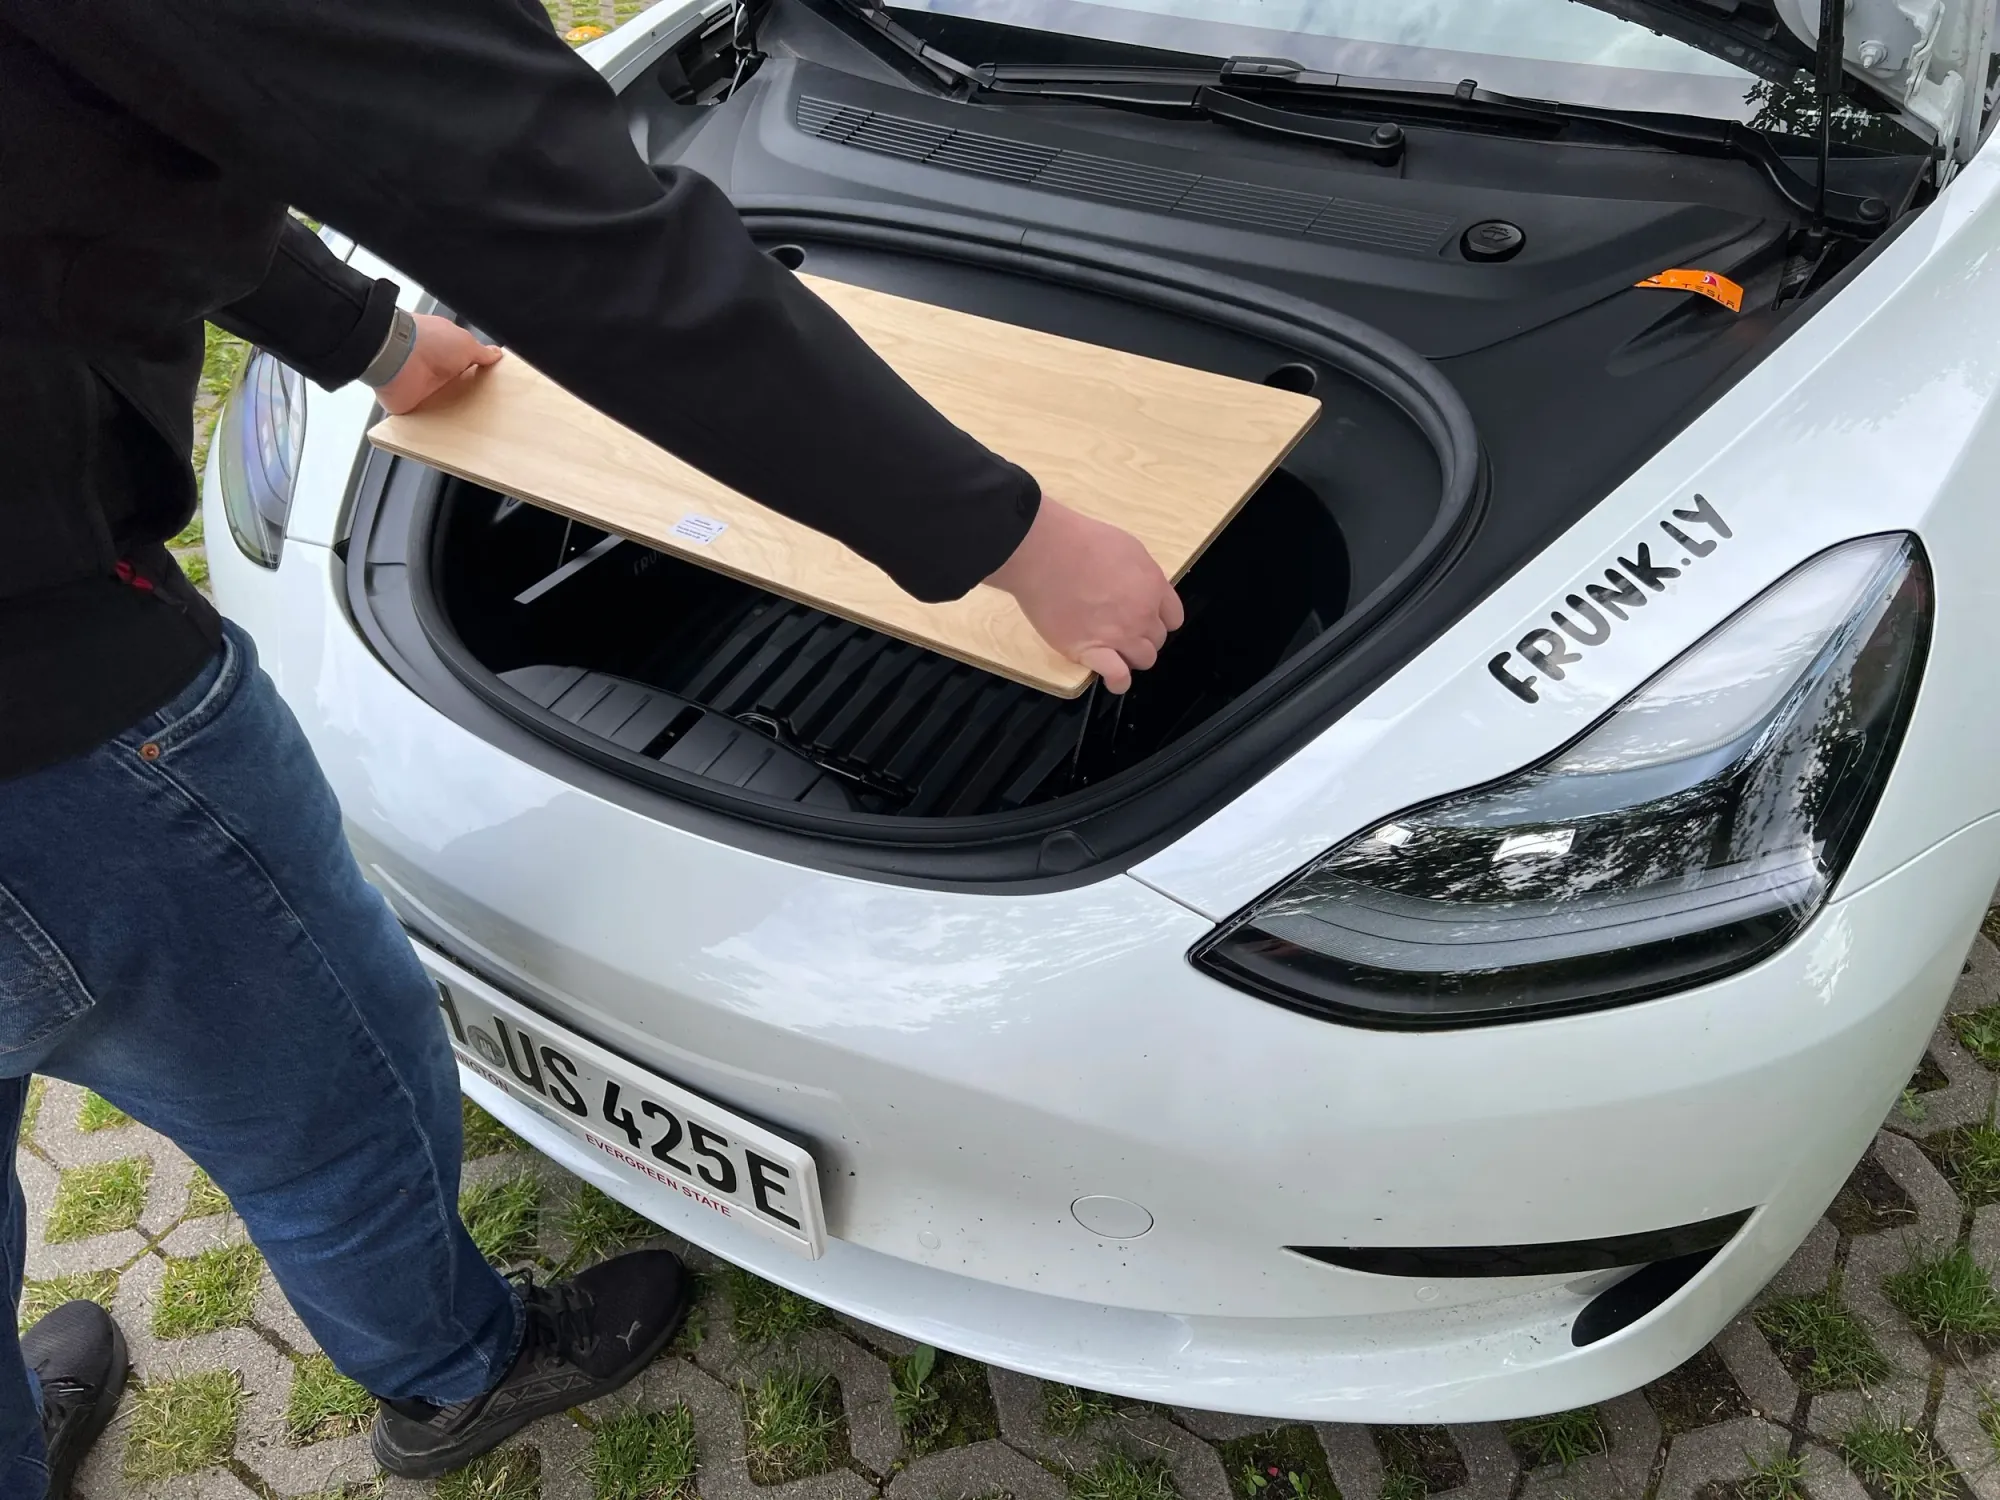
Pull it up and towards you. The hinges fold up with it.
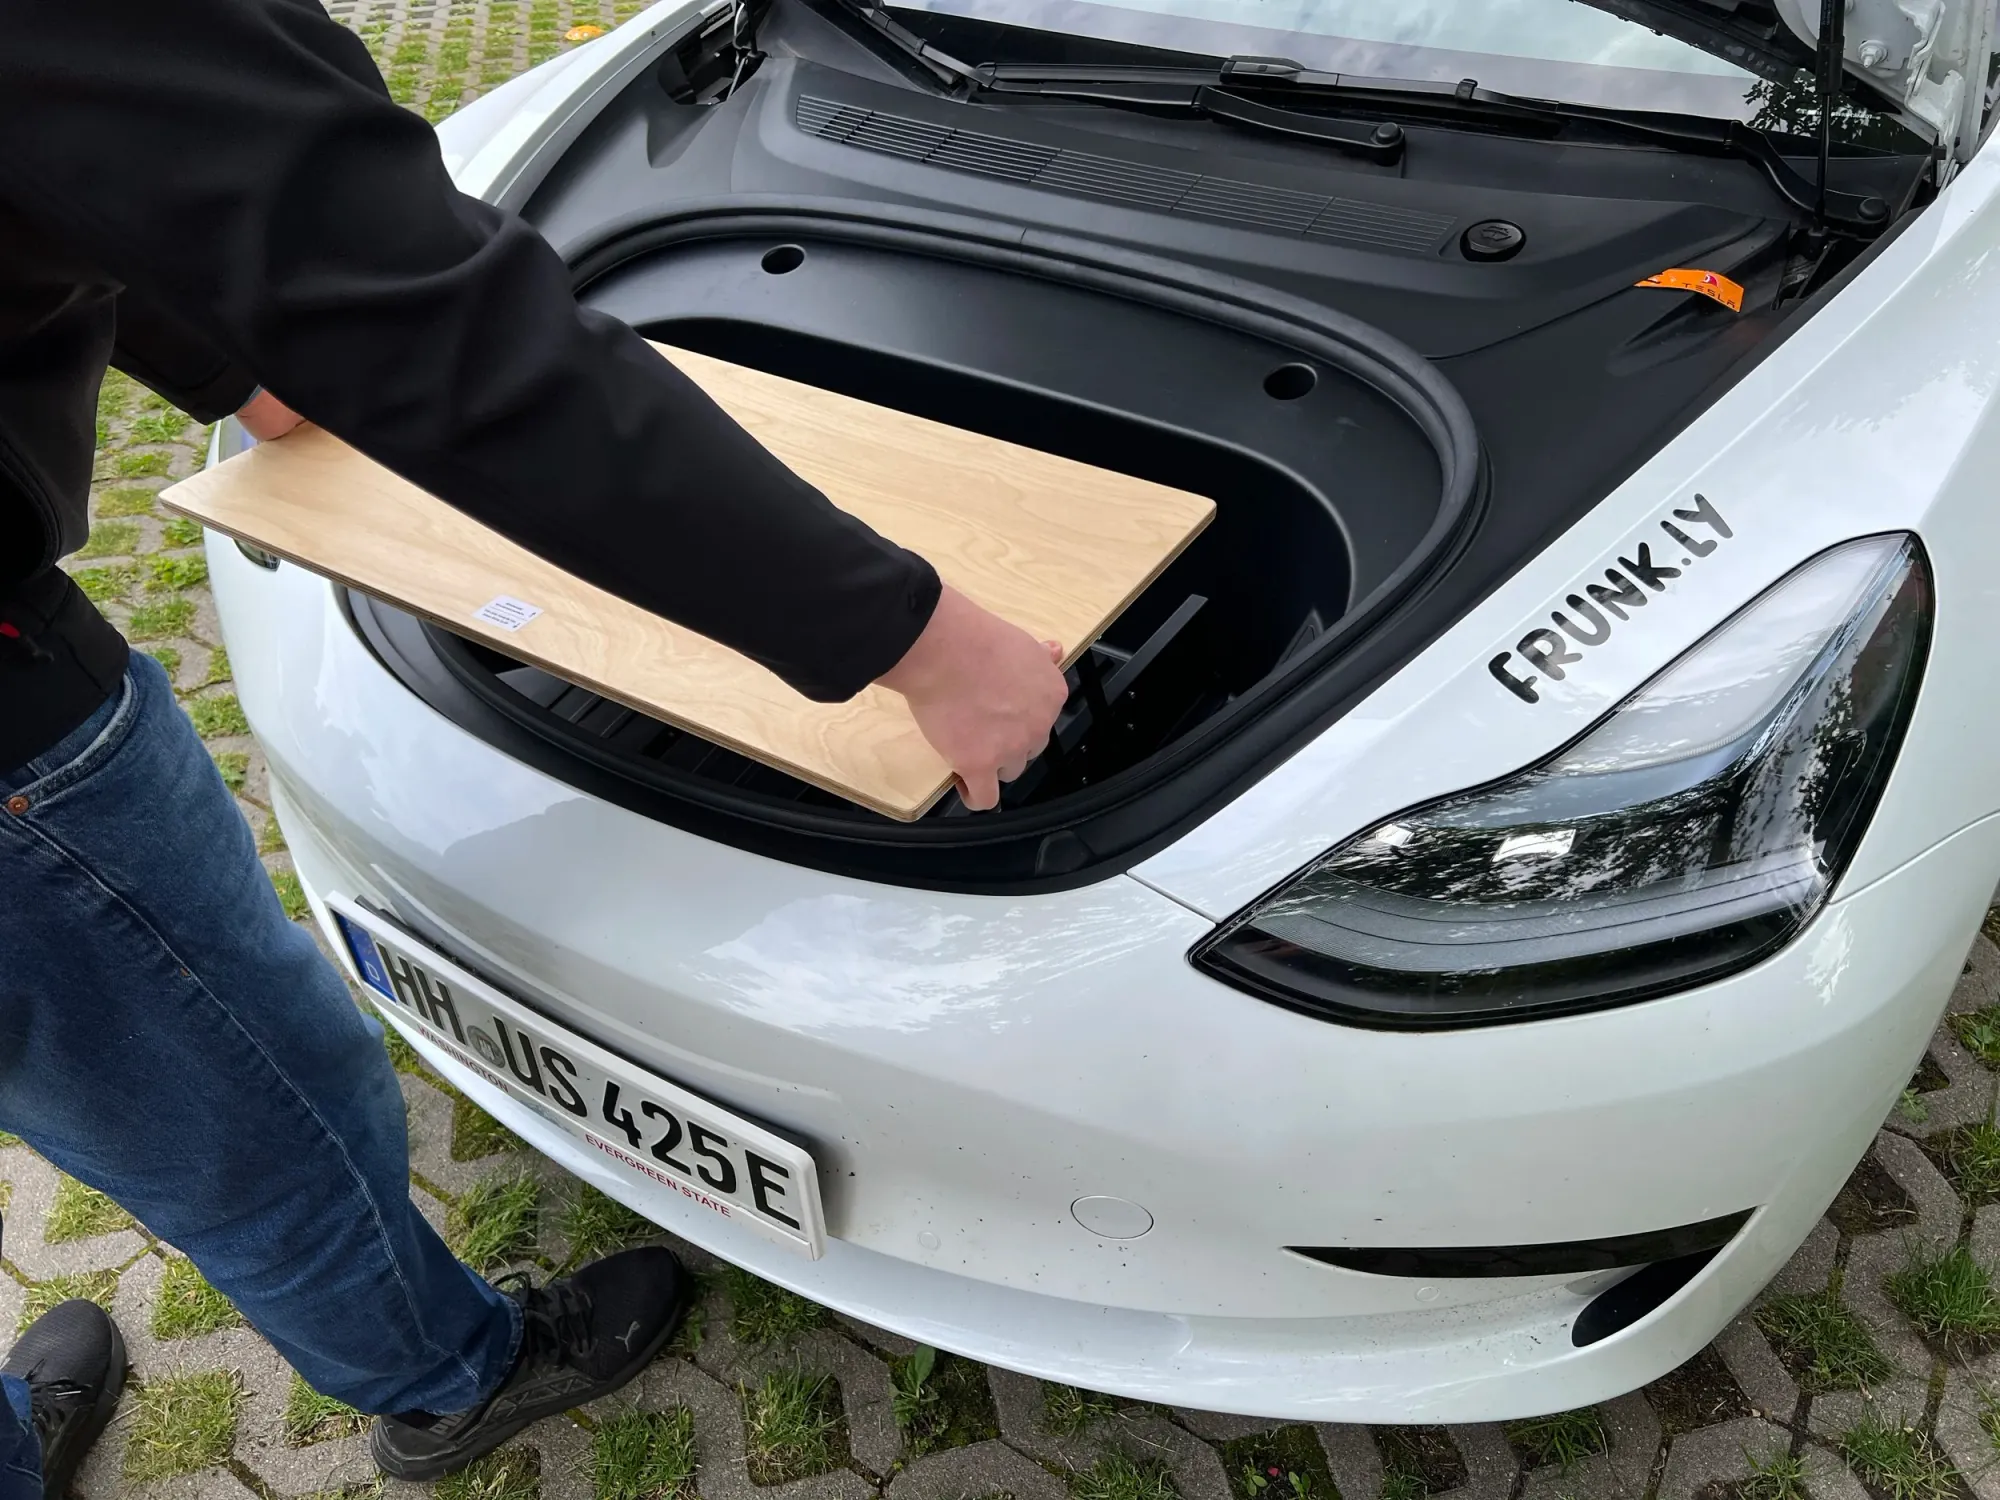
Ready to use!
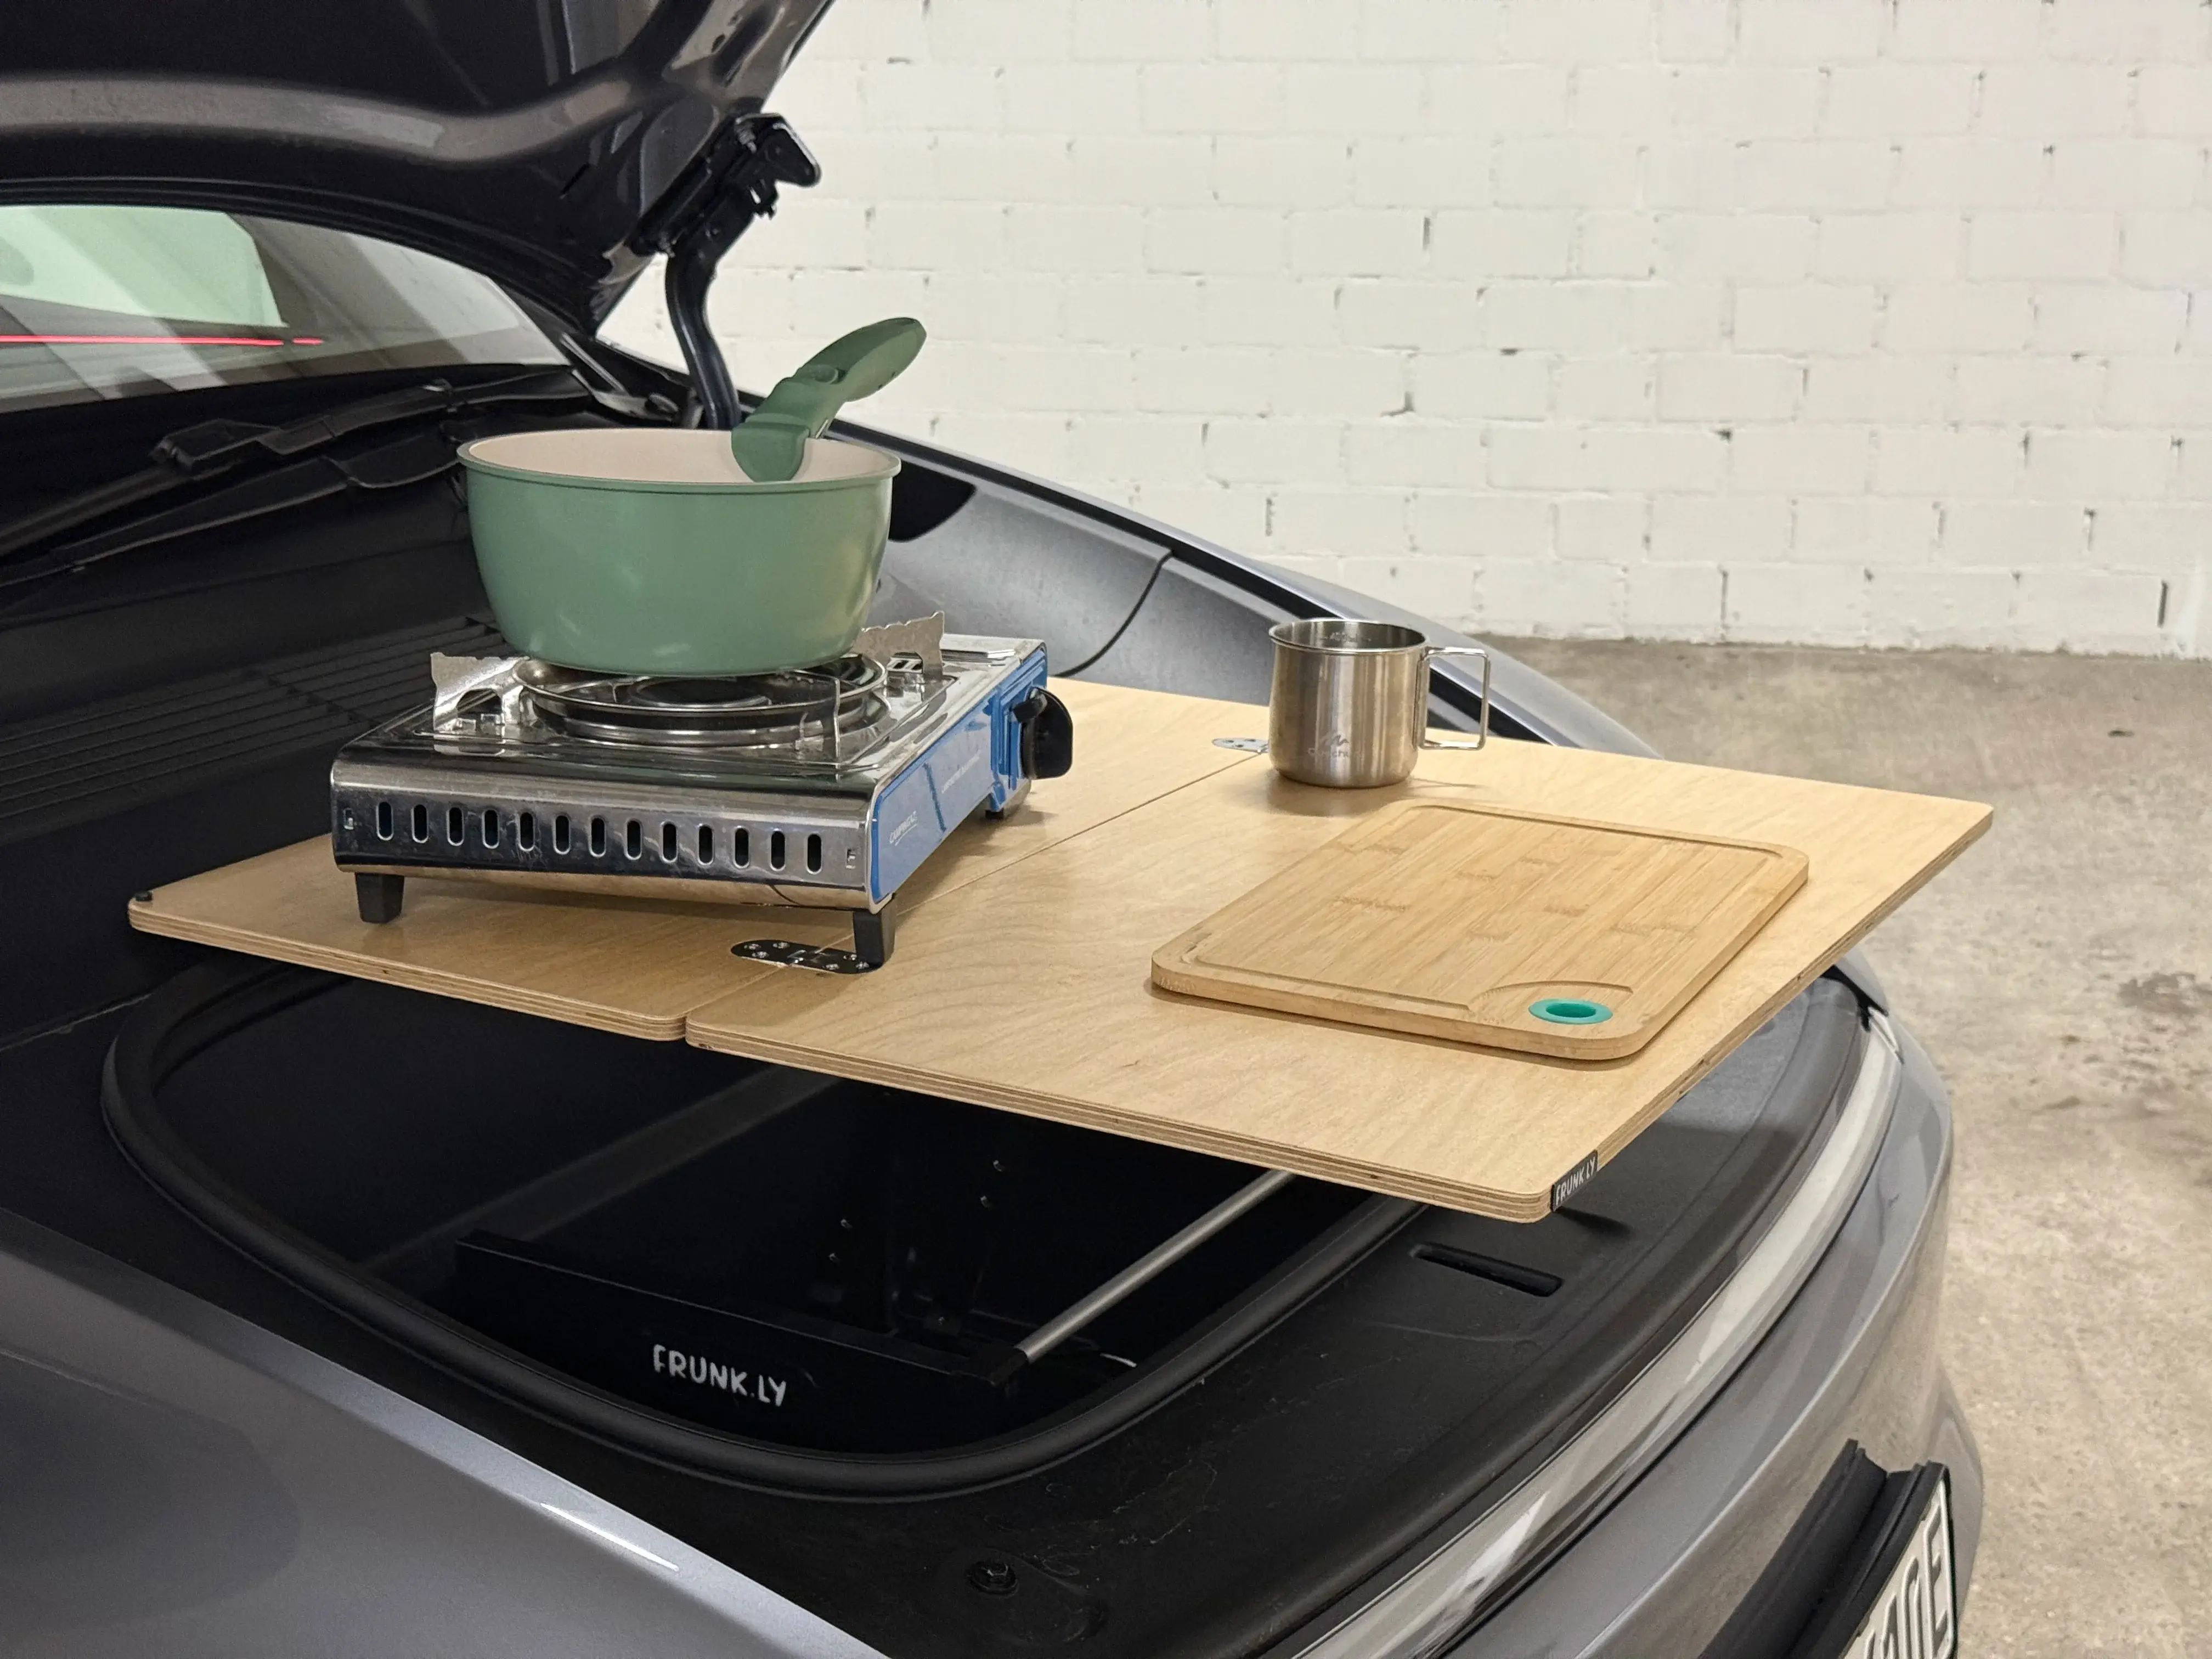
LTX only: For more room, fold the upper part backwards onto the rubber lip at the back of the frunk.
Fold away
How to fold the table away quickly.
LTX only: First fold the upper part forward onto the tabletop again.
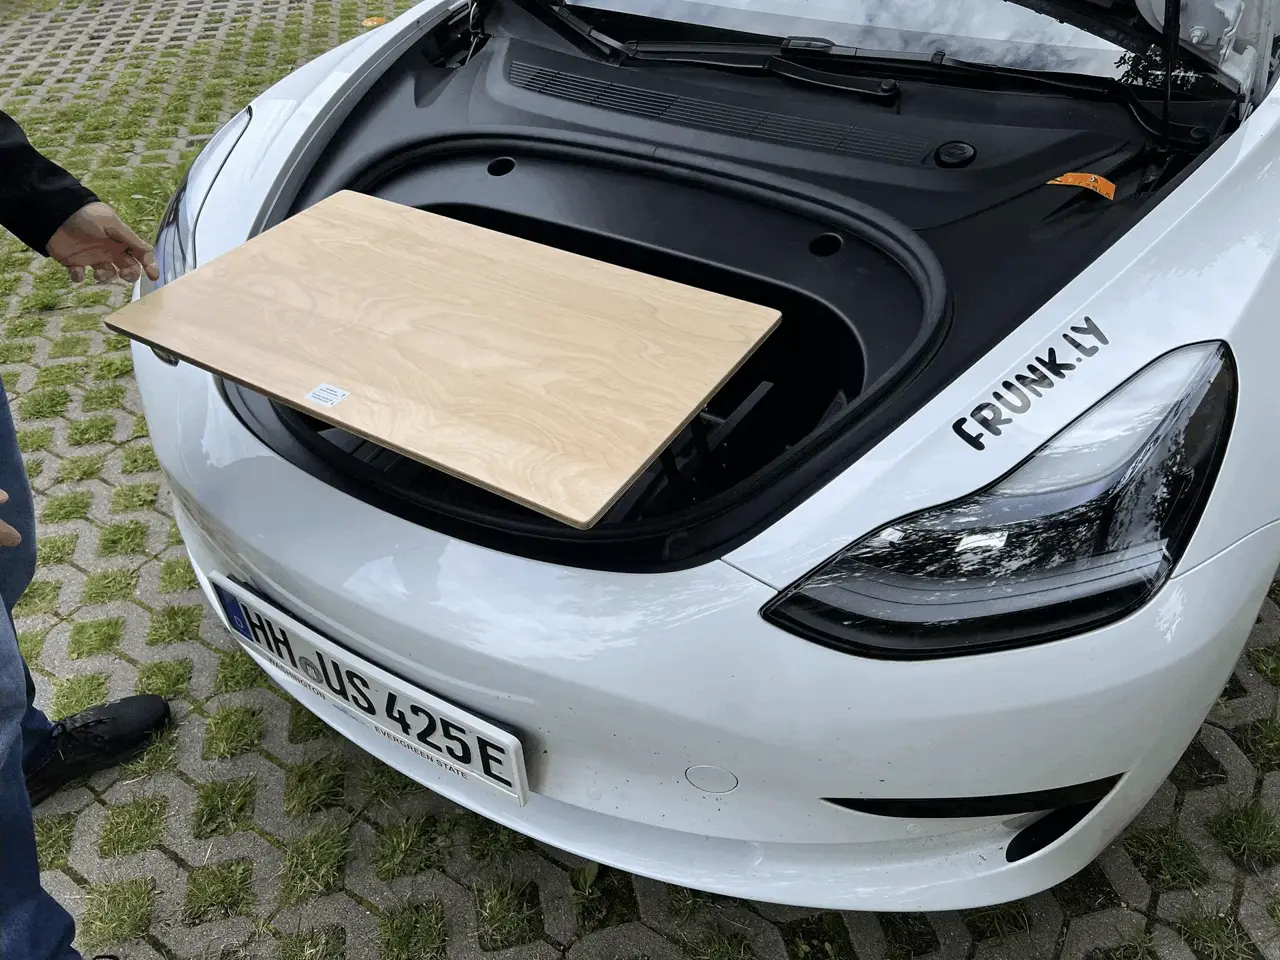
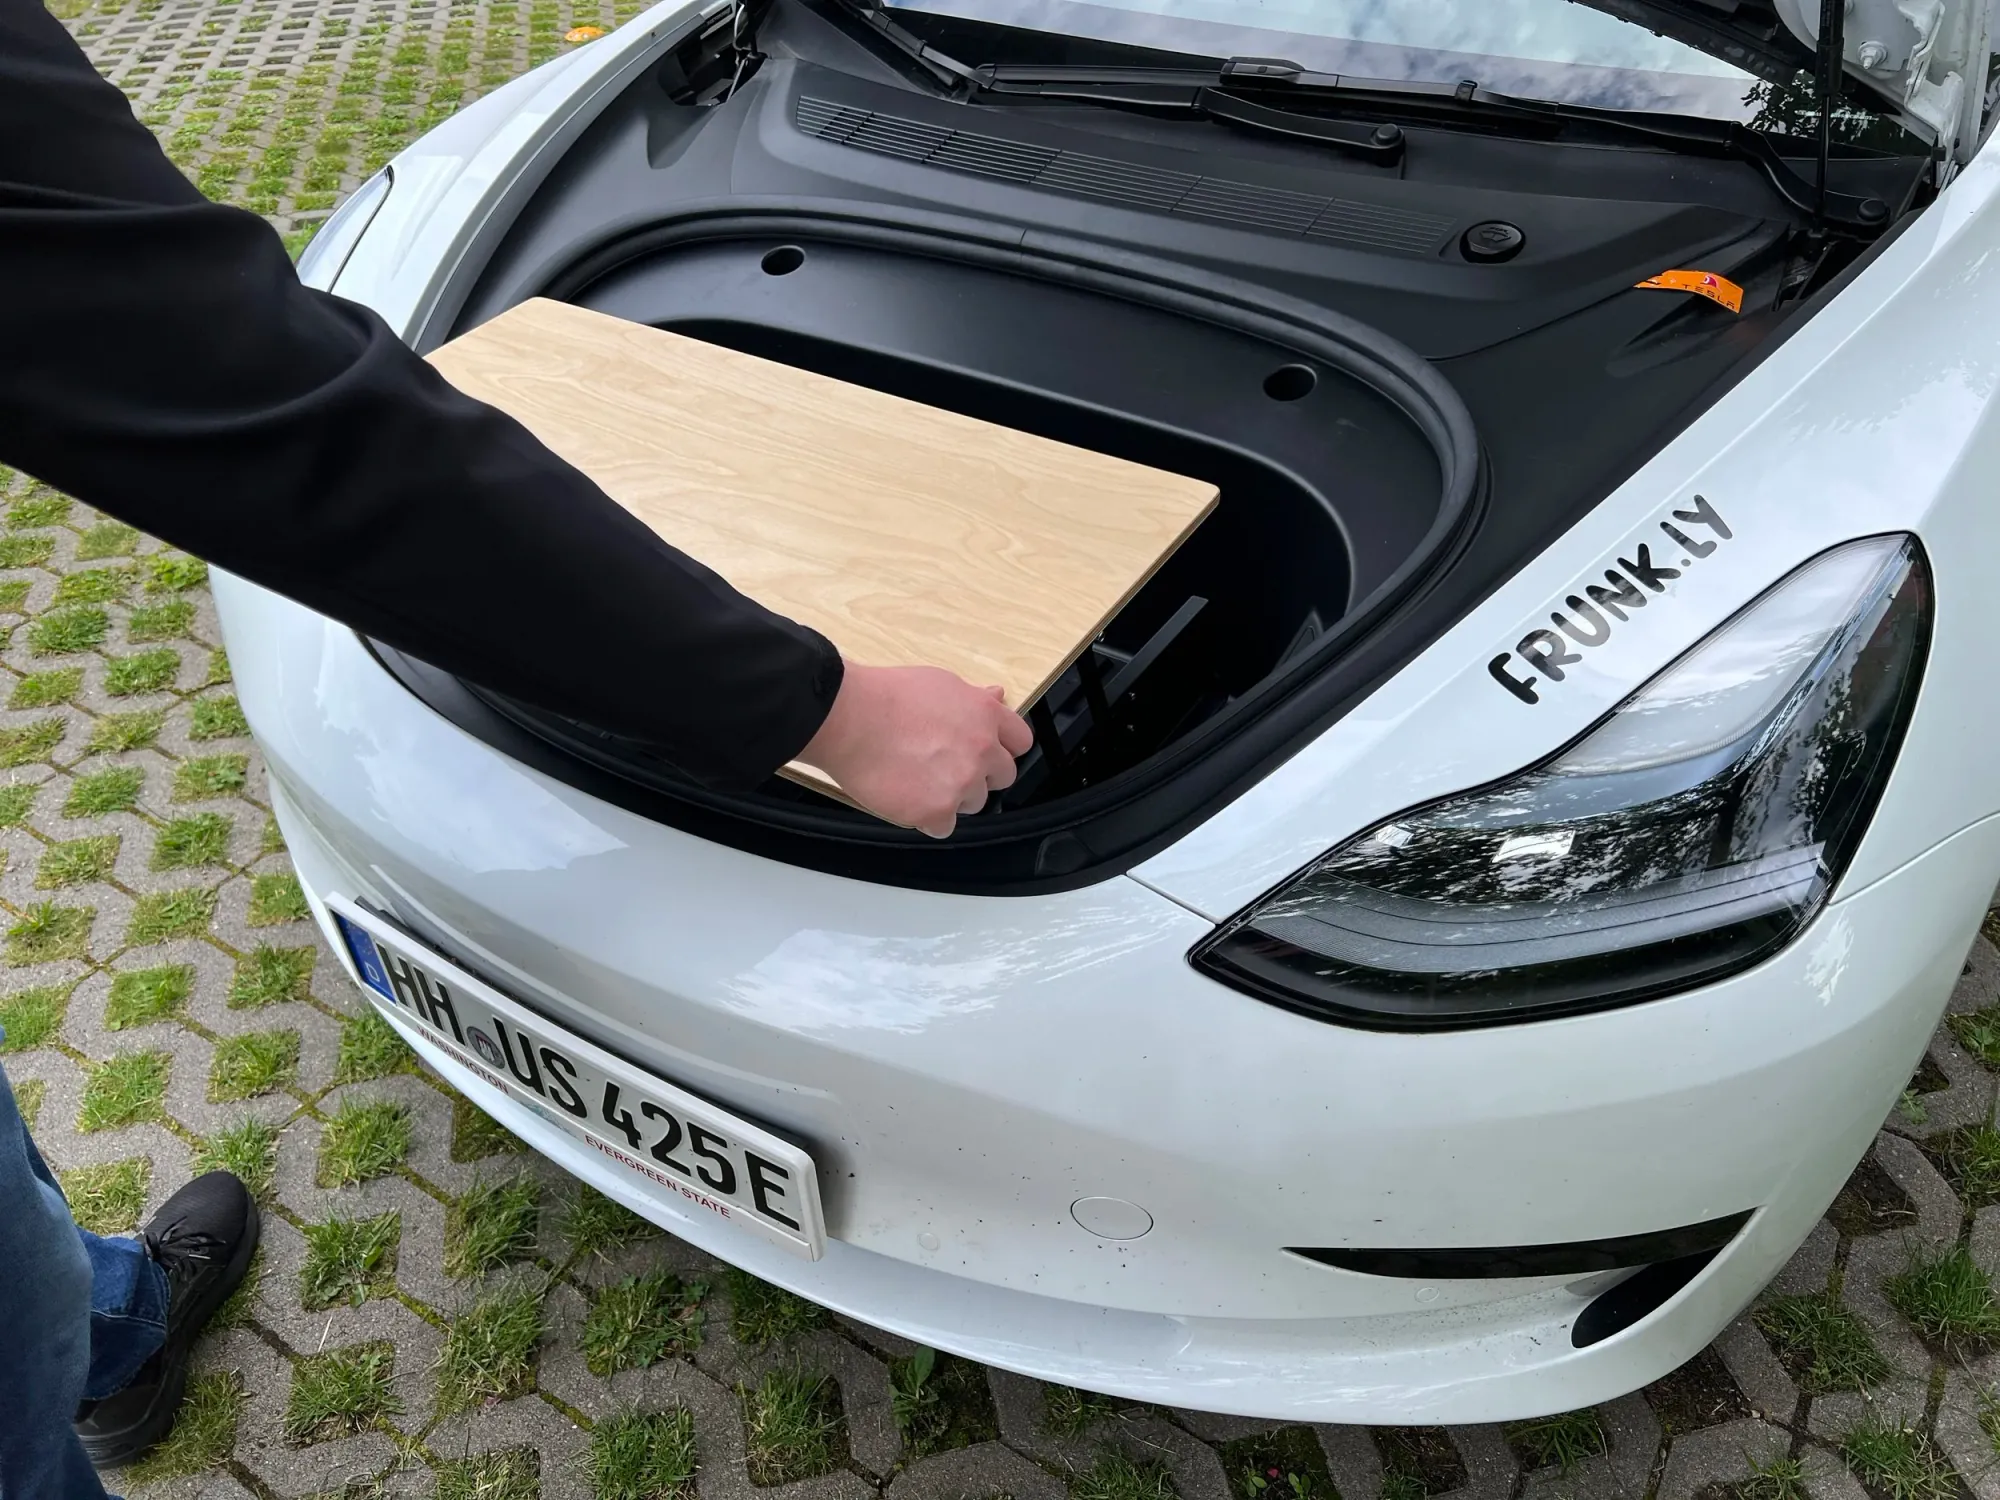
Take the tabletop by its left and right sides again.
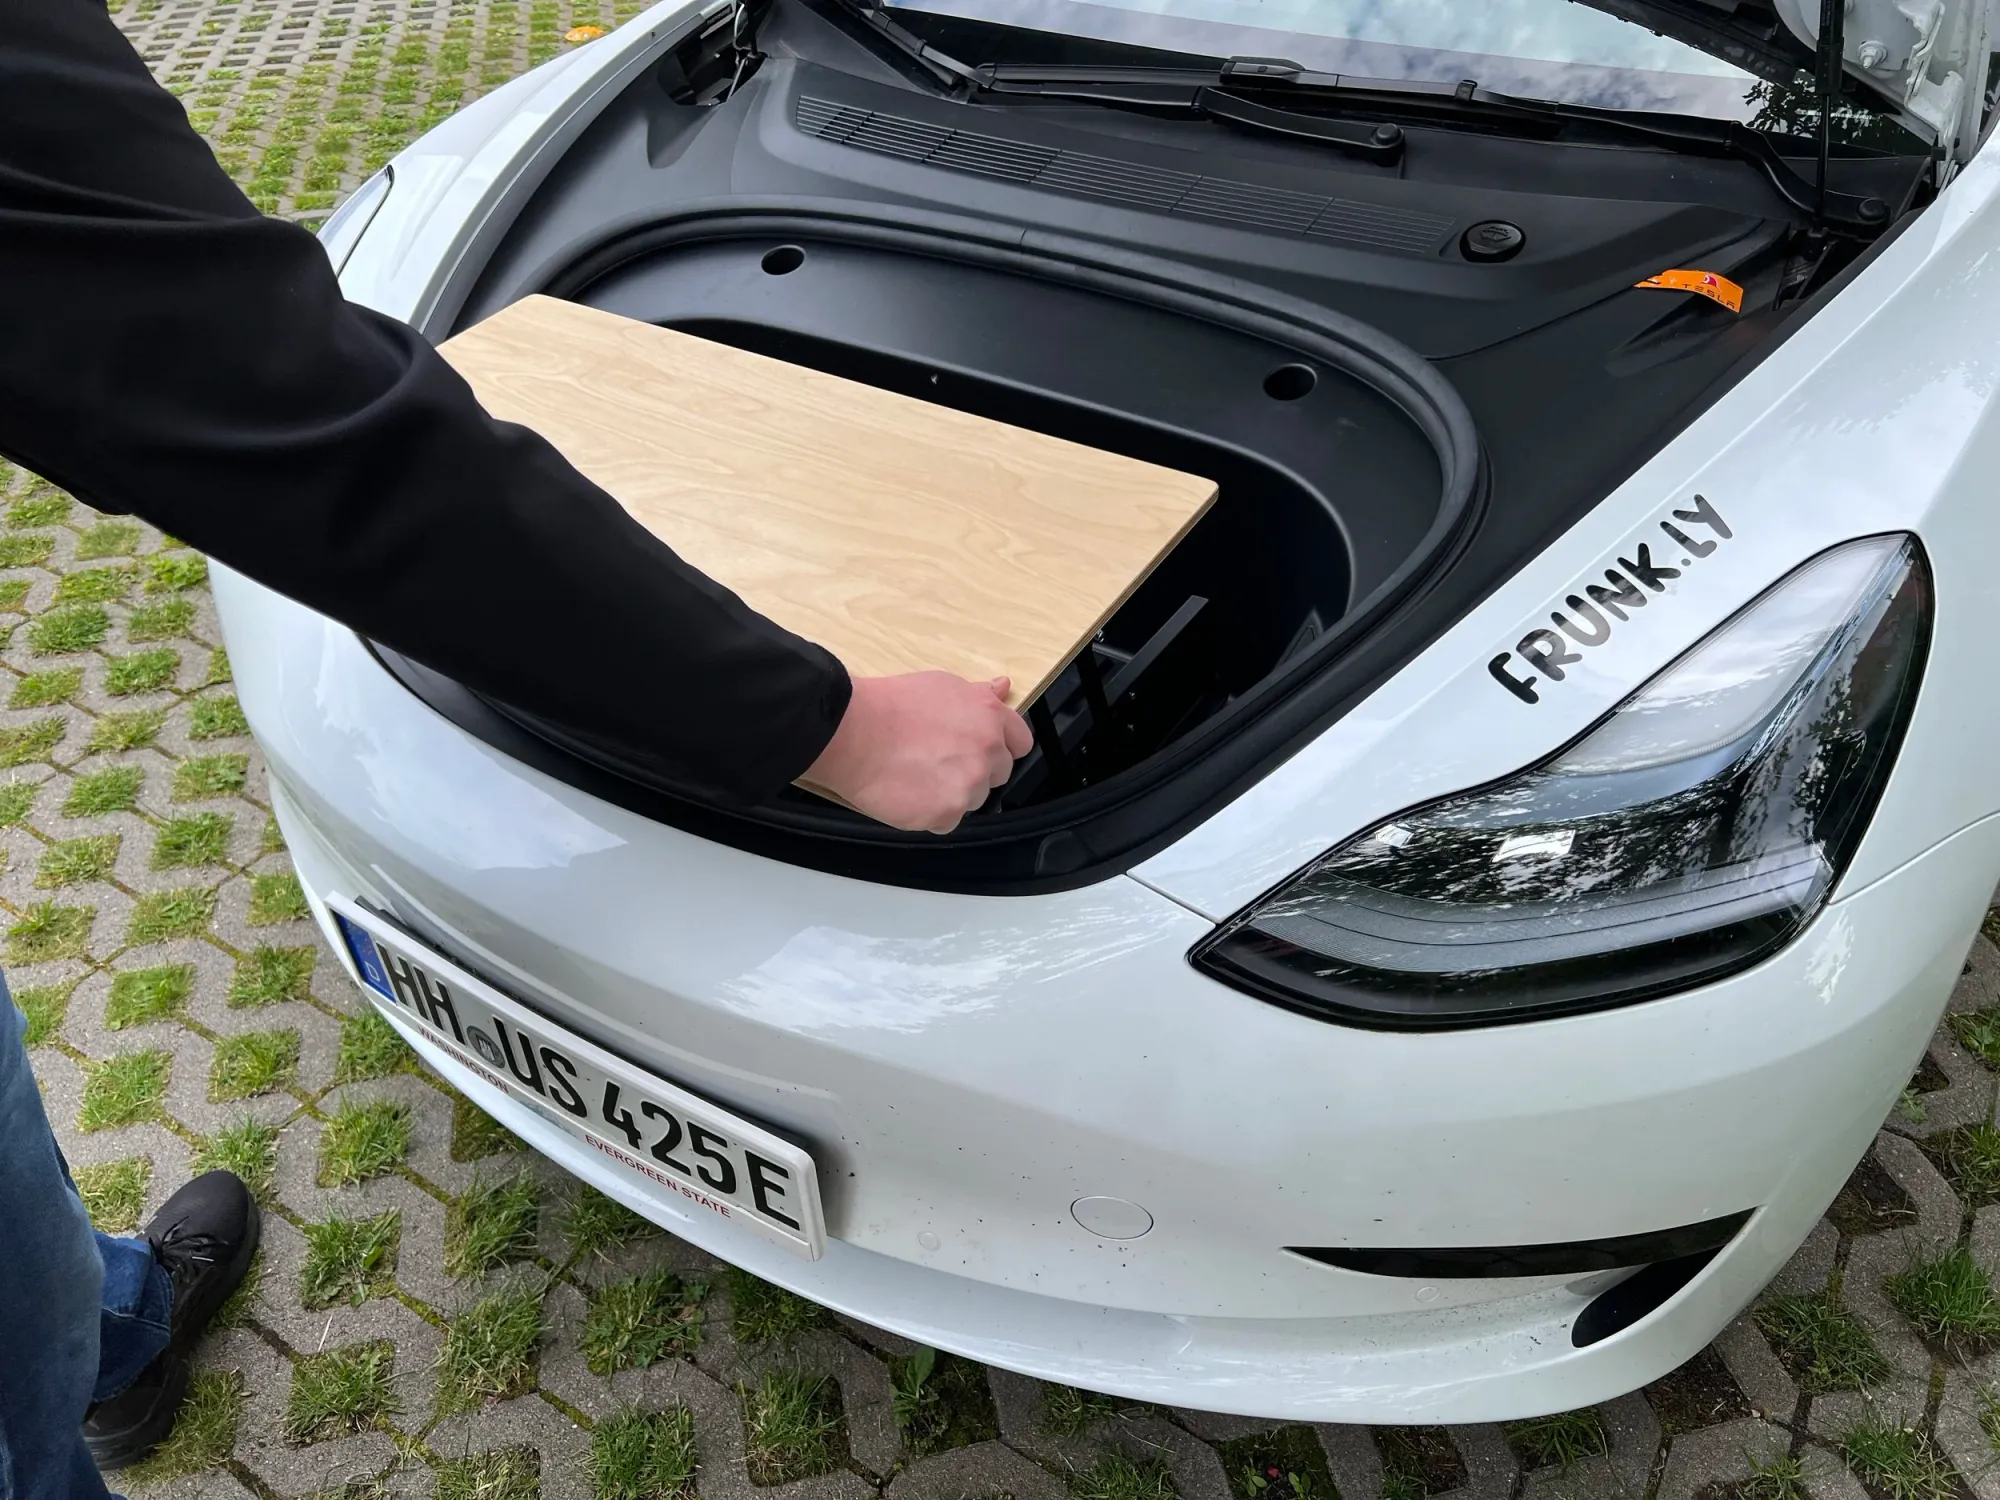
Push it back towards the windshield; it lowers as the hinges fold in.
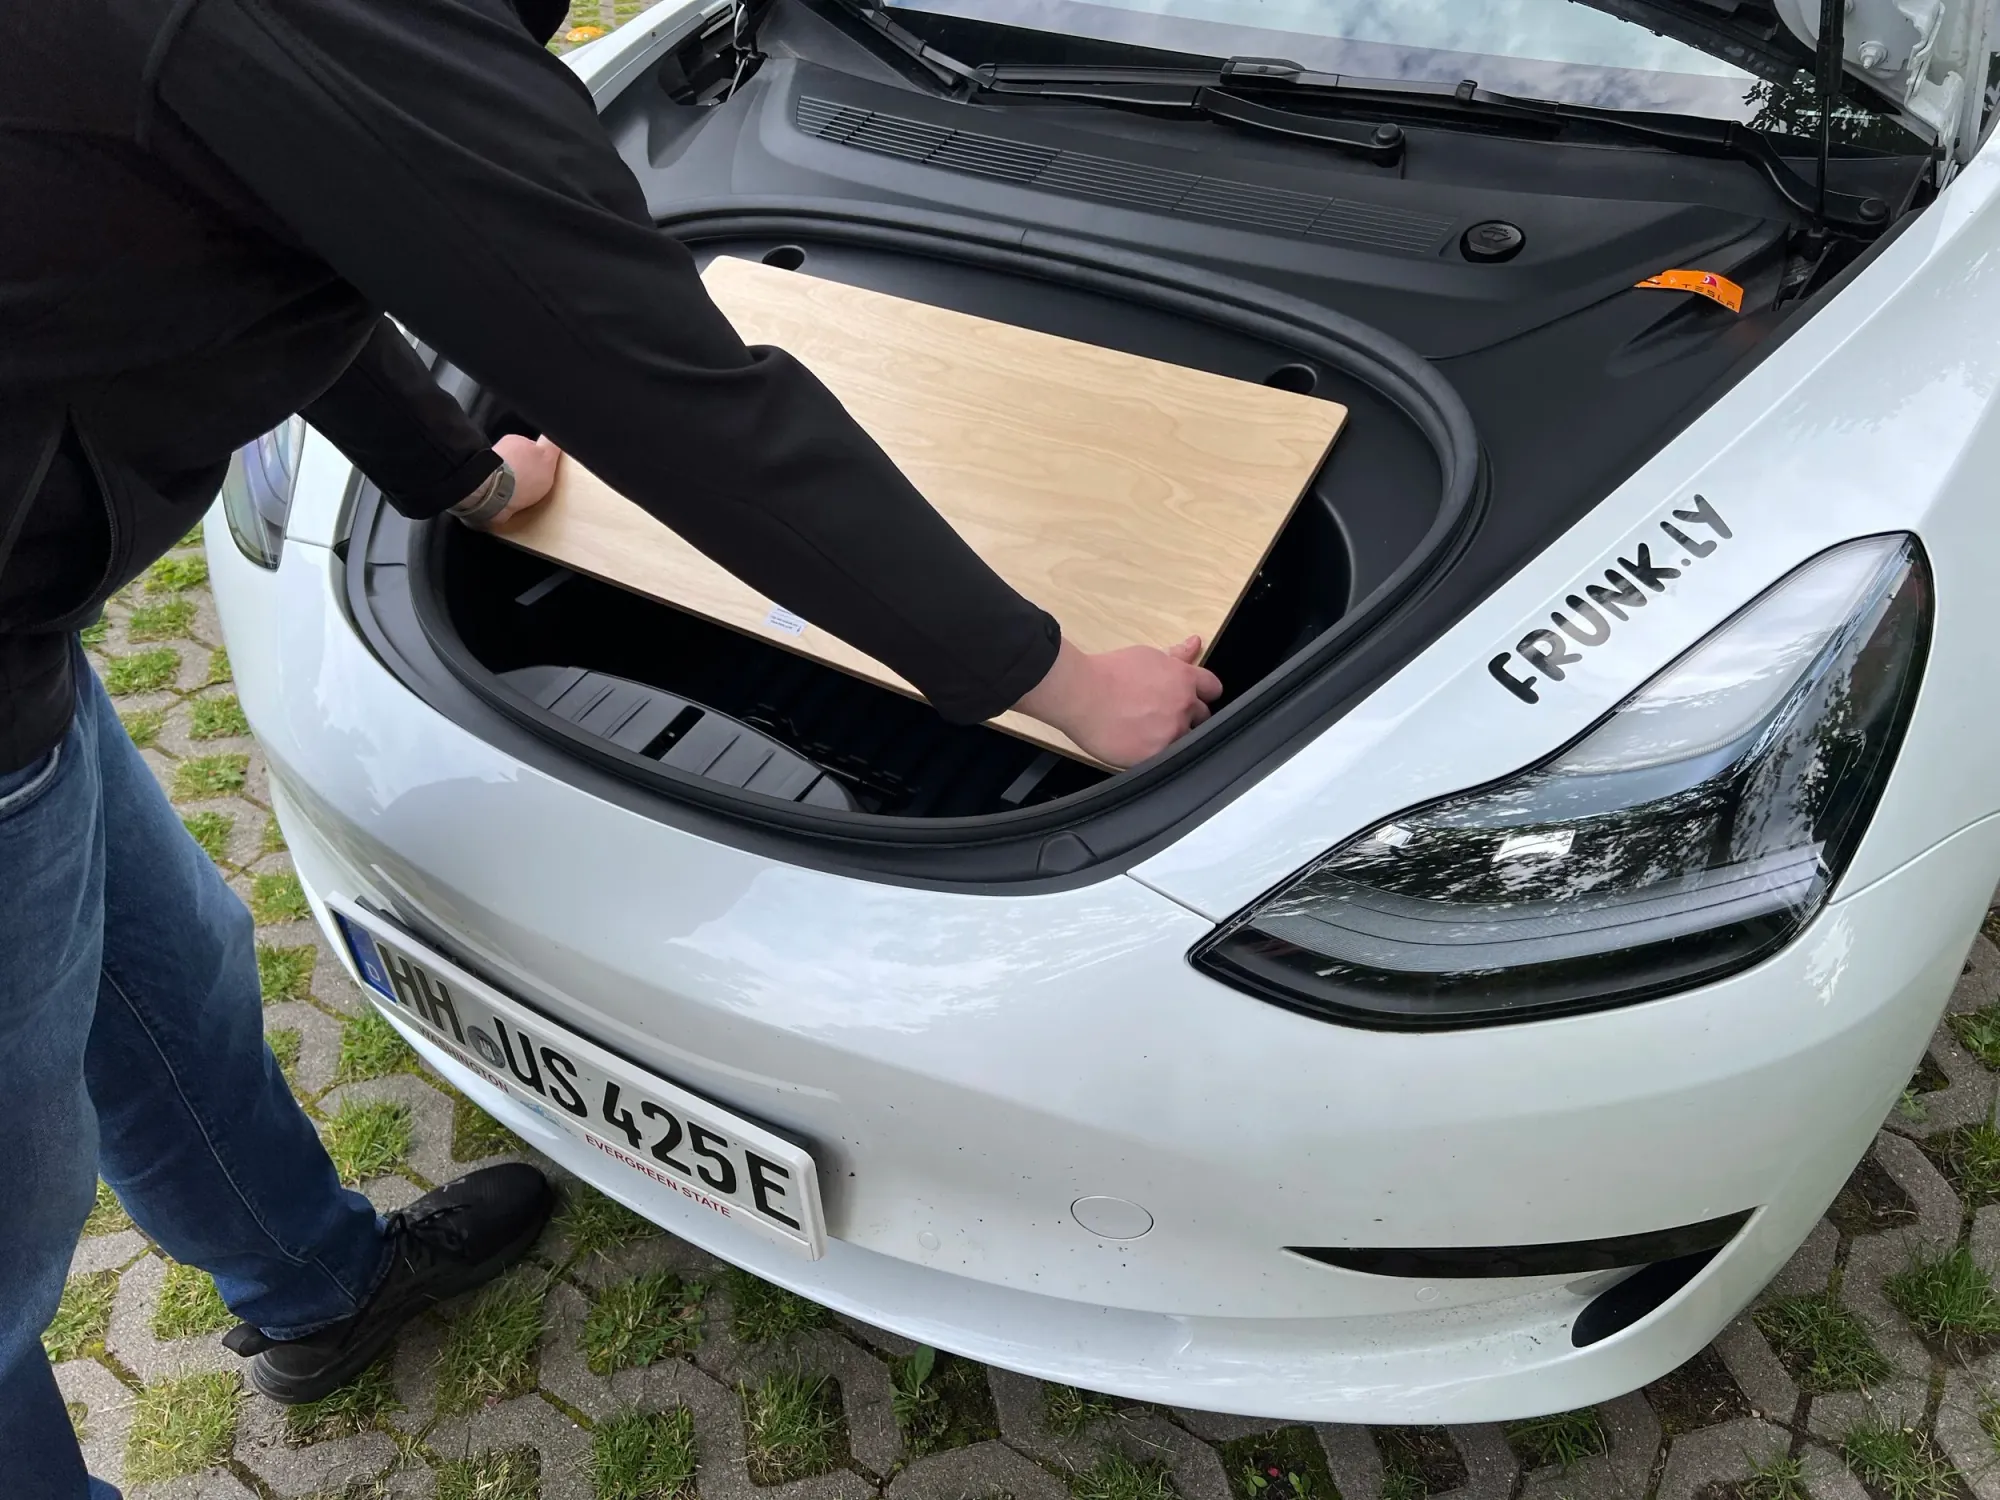
Guide it down until it lies flat, then close the frunk.
Storage underneath
The frunk stays usable with the table fitted.
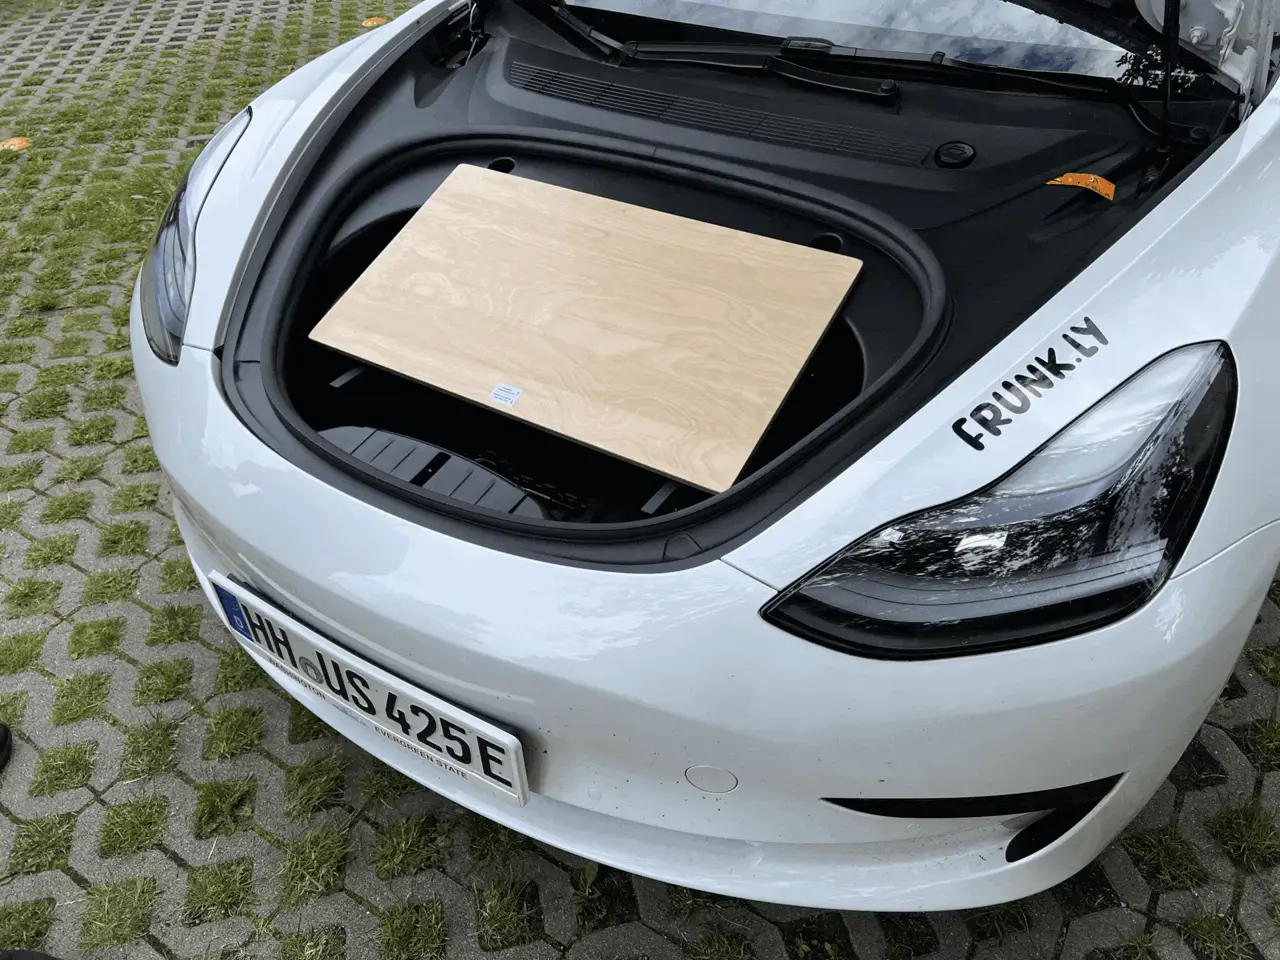
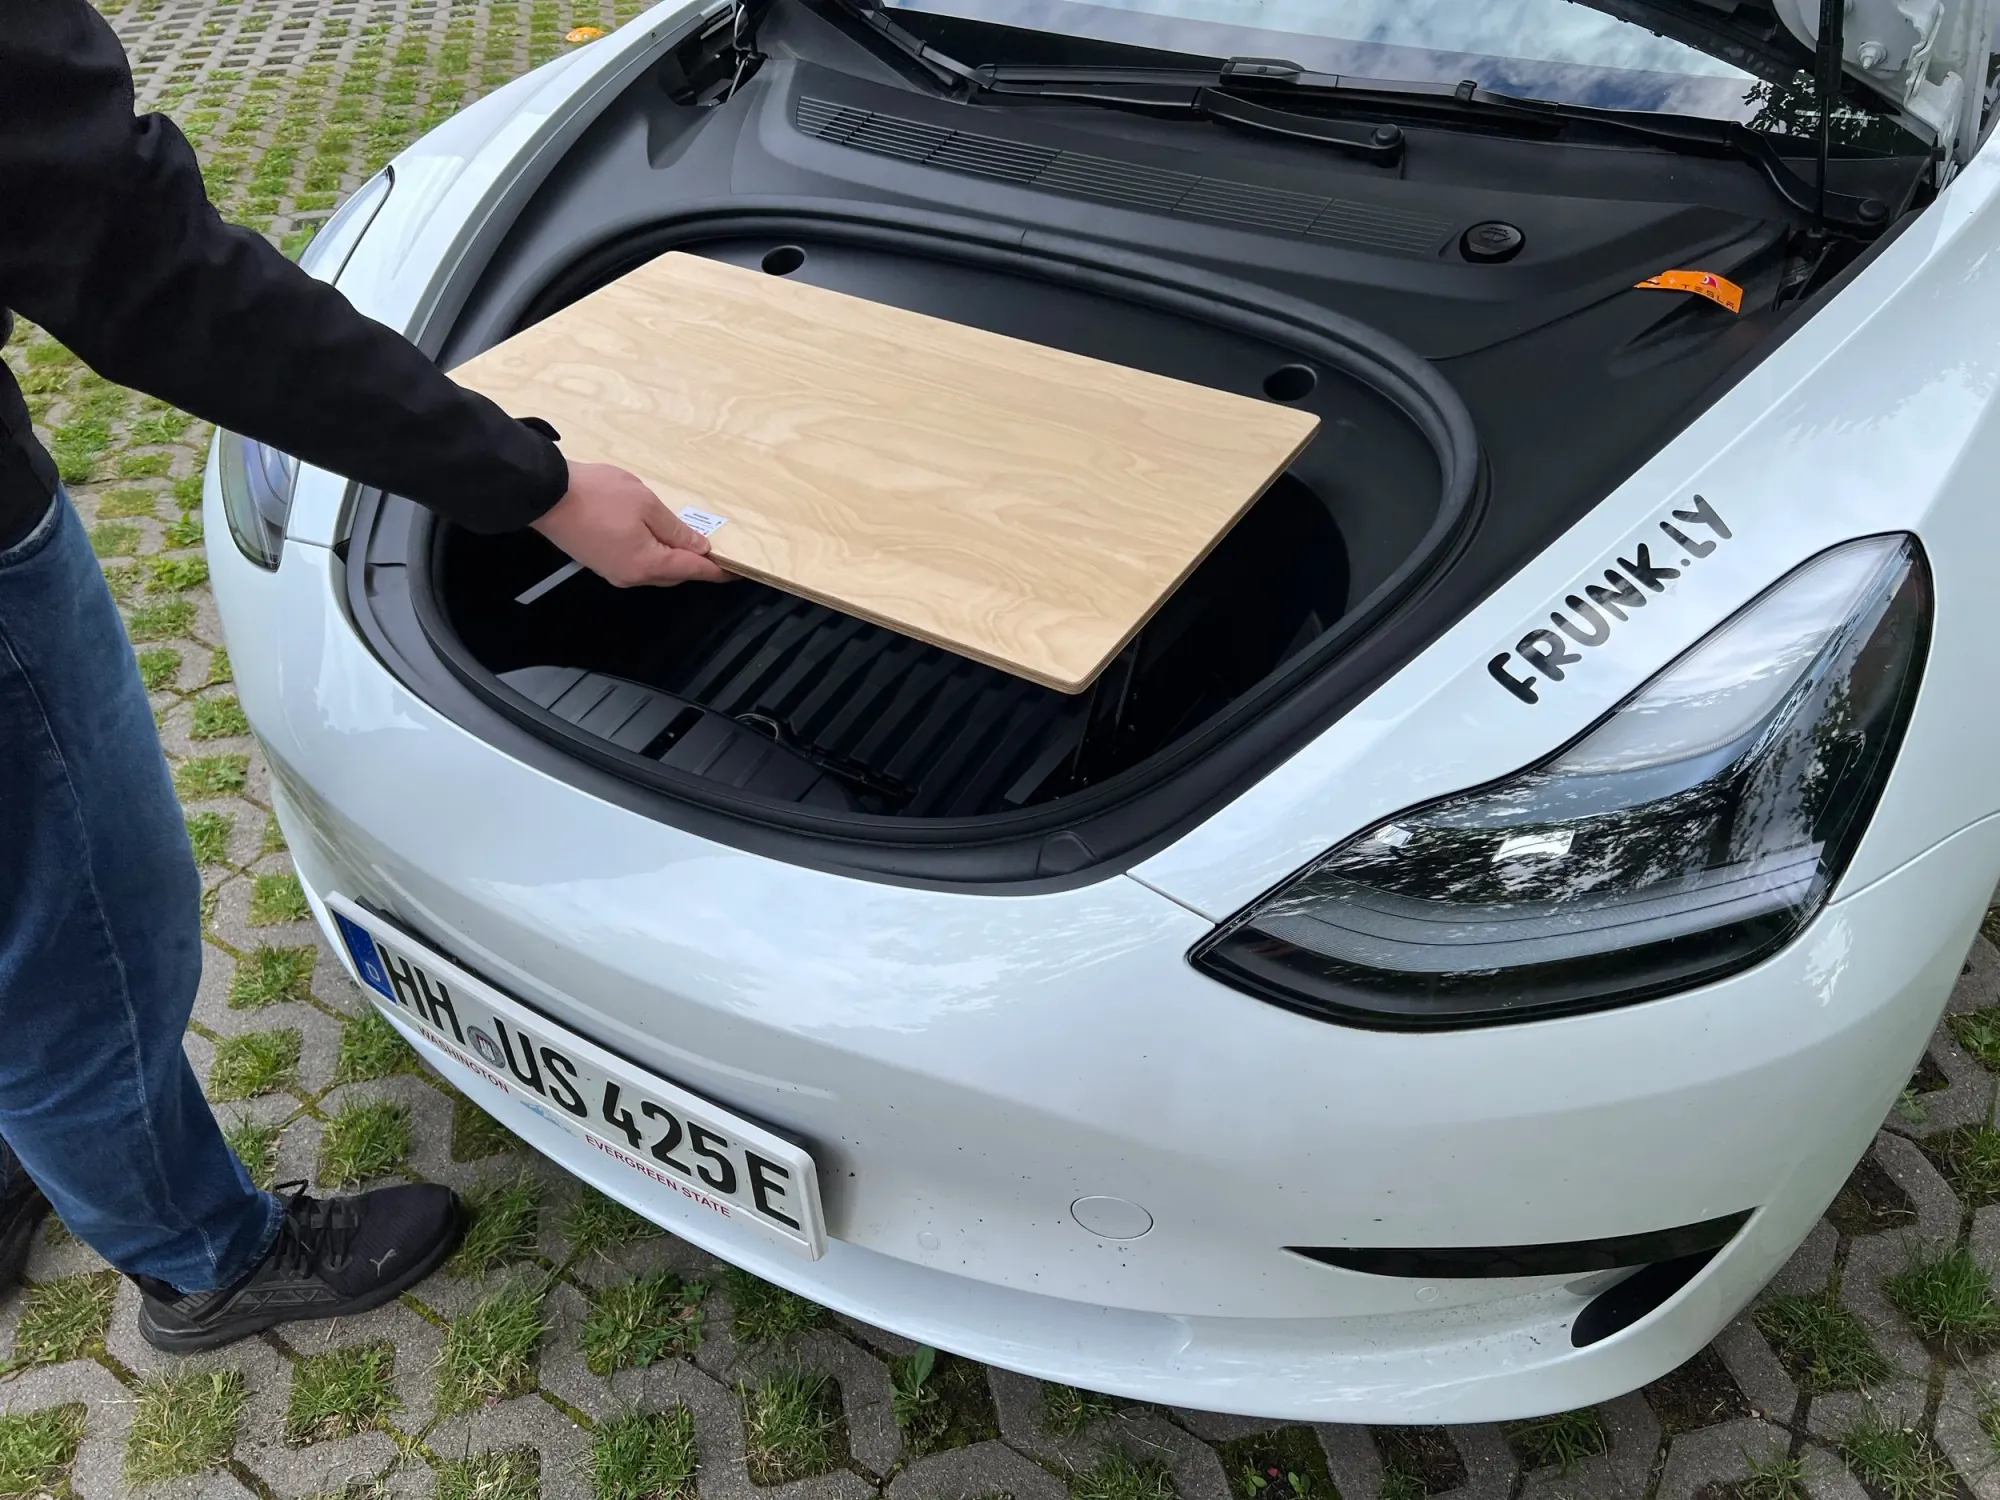
Take the folded tabletop by its back edge, towards the windshield, which is also where the latch sits.
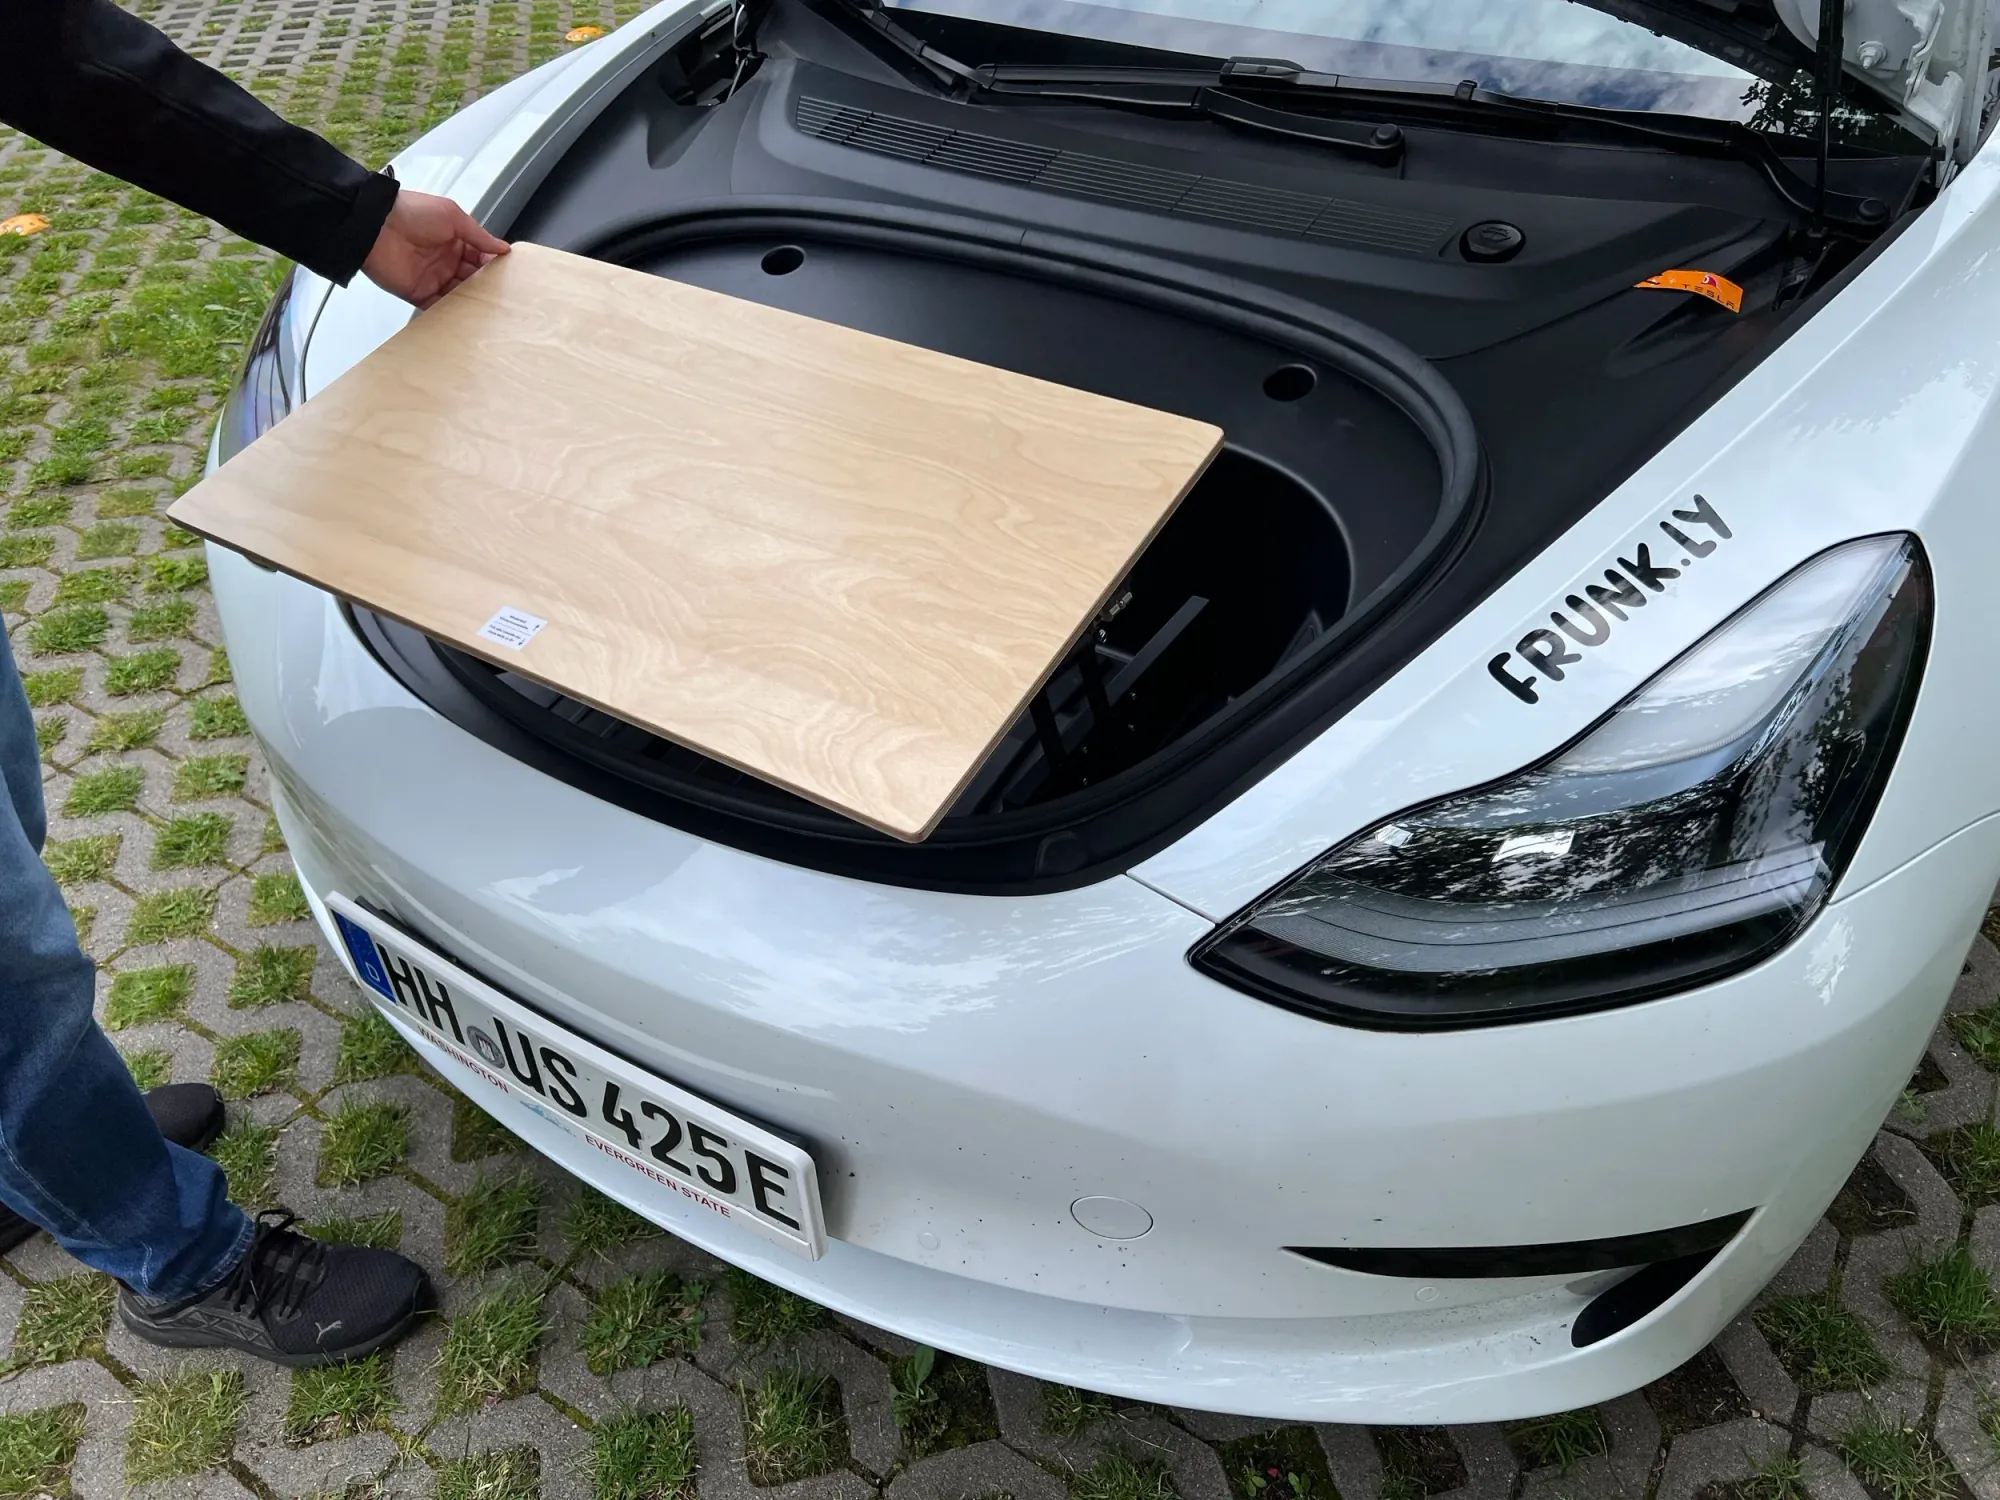
Tilt it towards you: it then hangs open towards the front of the car.
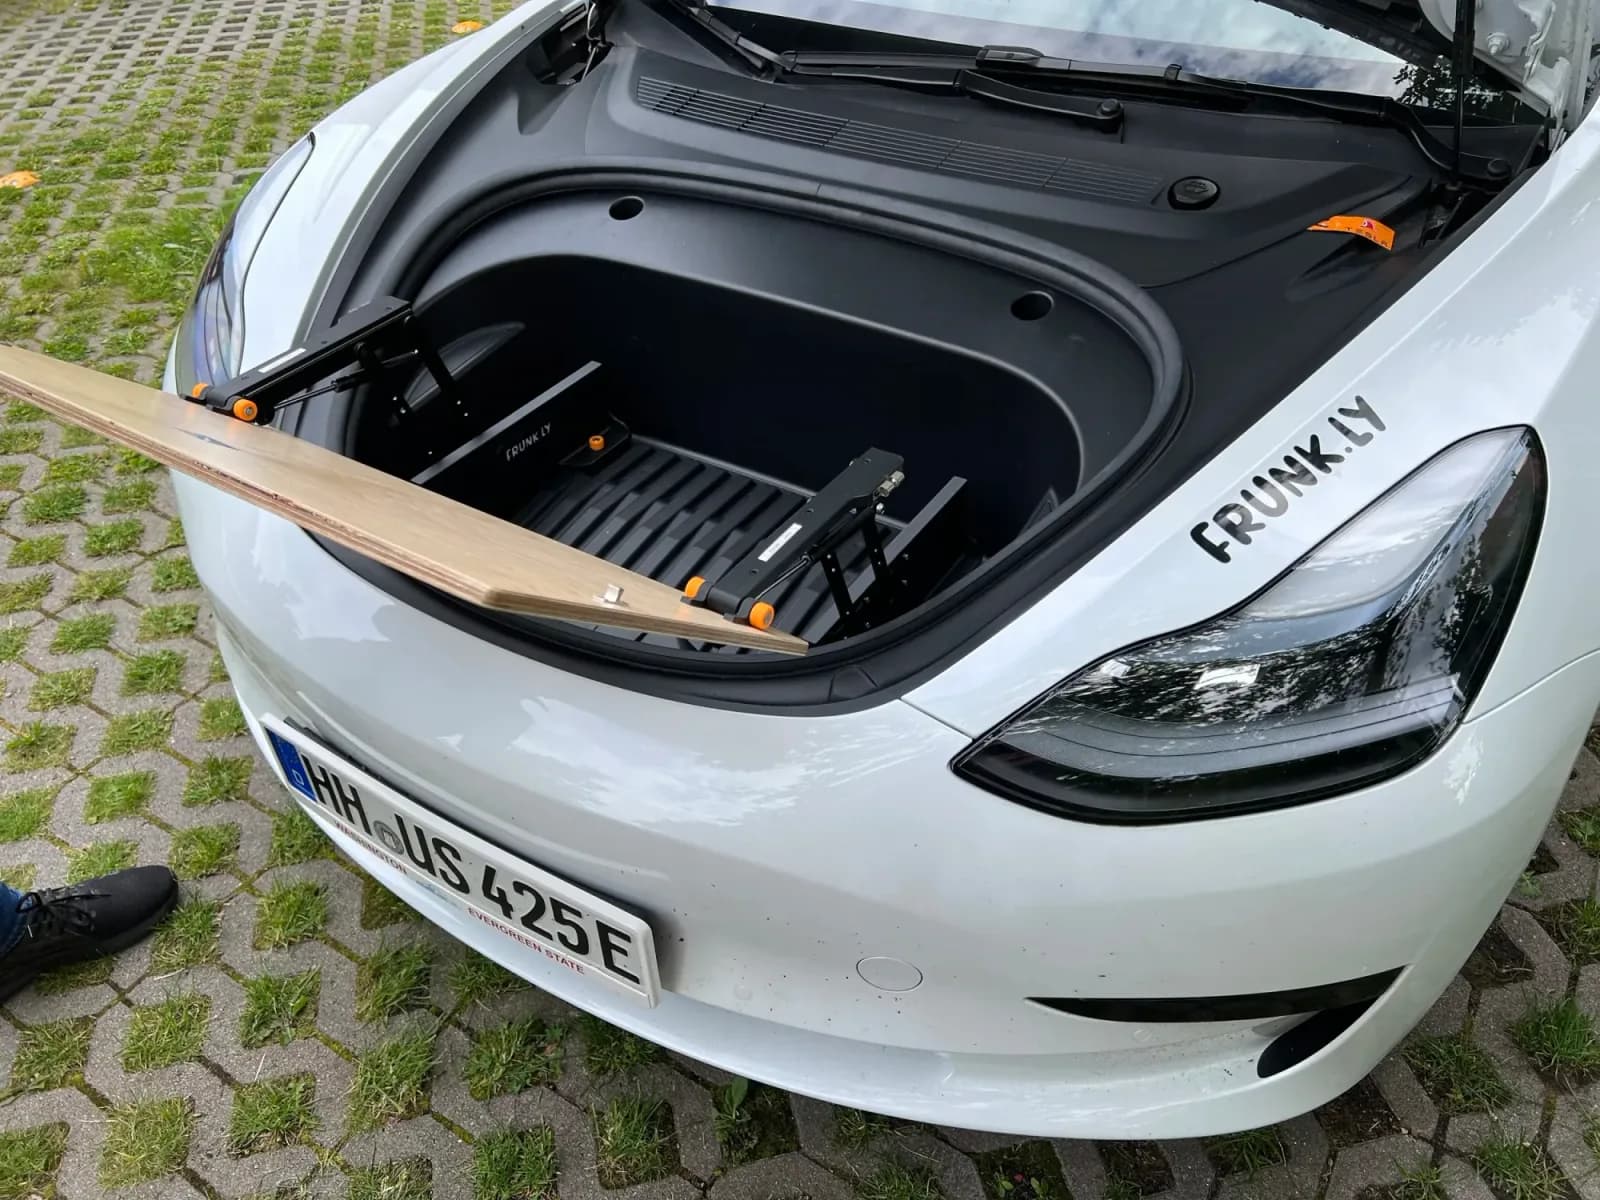
Reach past it into the frunk.
Removal
Work in reverse order, then screw the two original screws back into the frunk floor.
Don't overtighten.
Safety information
- Load: The table holds up to 10 kg, evenly distributed. Do not sit on it, lean on it or pull yourself up on it.
- After a knock: If you bump the tabletop, check that it is still secure.
- Cargo: The driver is responsible for the load and for securing it. The base frames are fixed in the frunk with the screws with handle; the tabletop's shape keeps it from sliding.
- Pinching: Fingers can get caught when the hinges fold open or shut. Mind your hands.
The U-brackets are the two parts under the tabletop that seat it on the hinges. If one breaks, swap in one from the spare parts bag. Each is held by 4 Torx screws.
Questions or spare parts? support@frunk.ly
Don't have a Frunkly yet?
Discover our Frunkly LT, the perfect companion for your Tesla adventure.
Discover Now