Frunkly Series 1 Guide
For Tesla Model 3 (pre-Highland) and Model Y (pre-Juniper). Installation guide for our original Frunkly Series 1.
Installation
How to install your Frunkly Series 1 in the frunk.
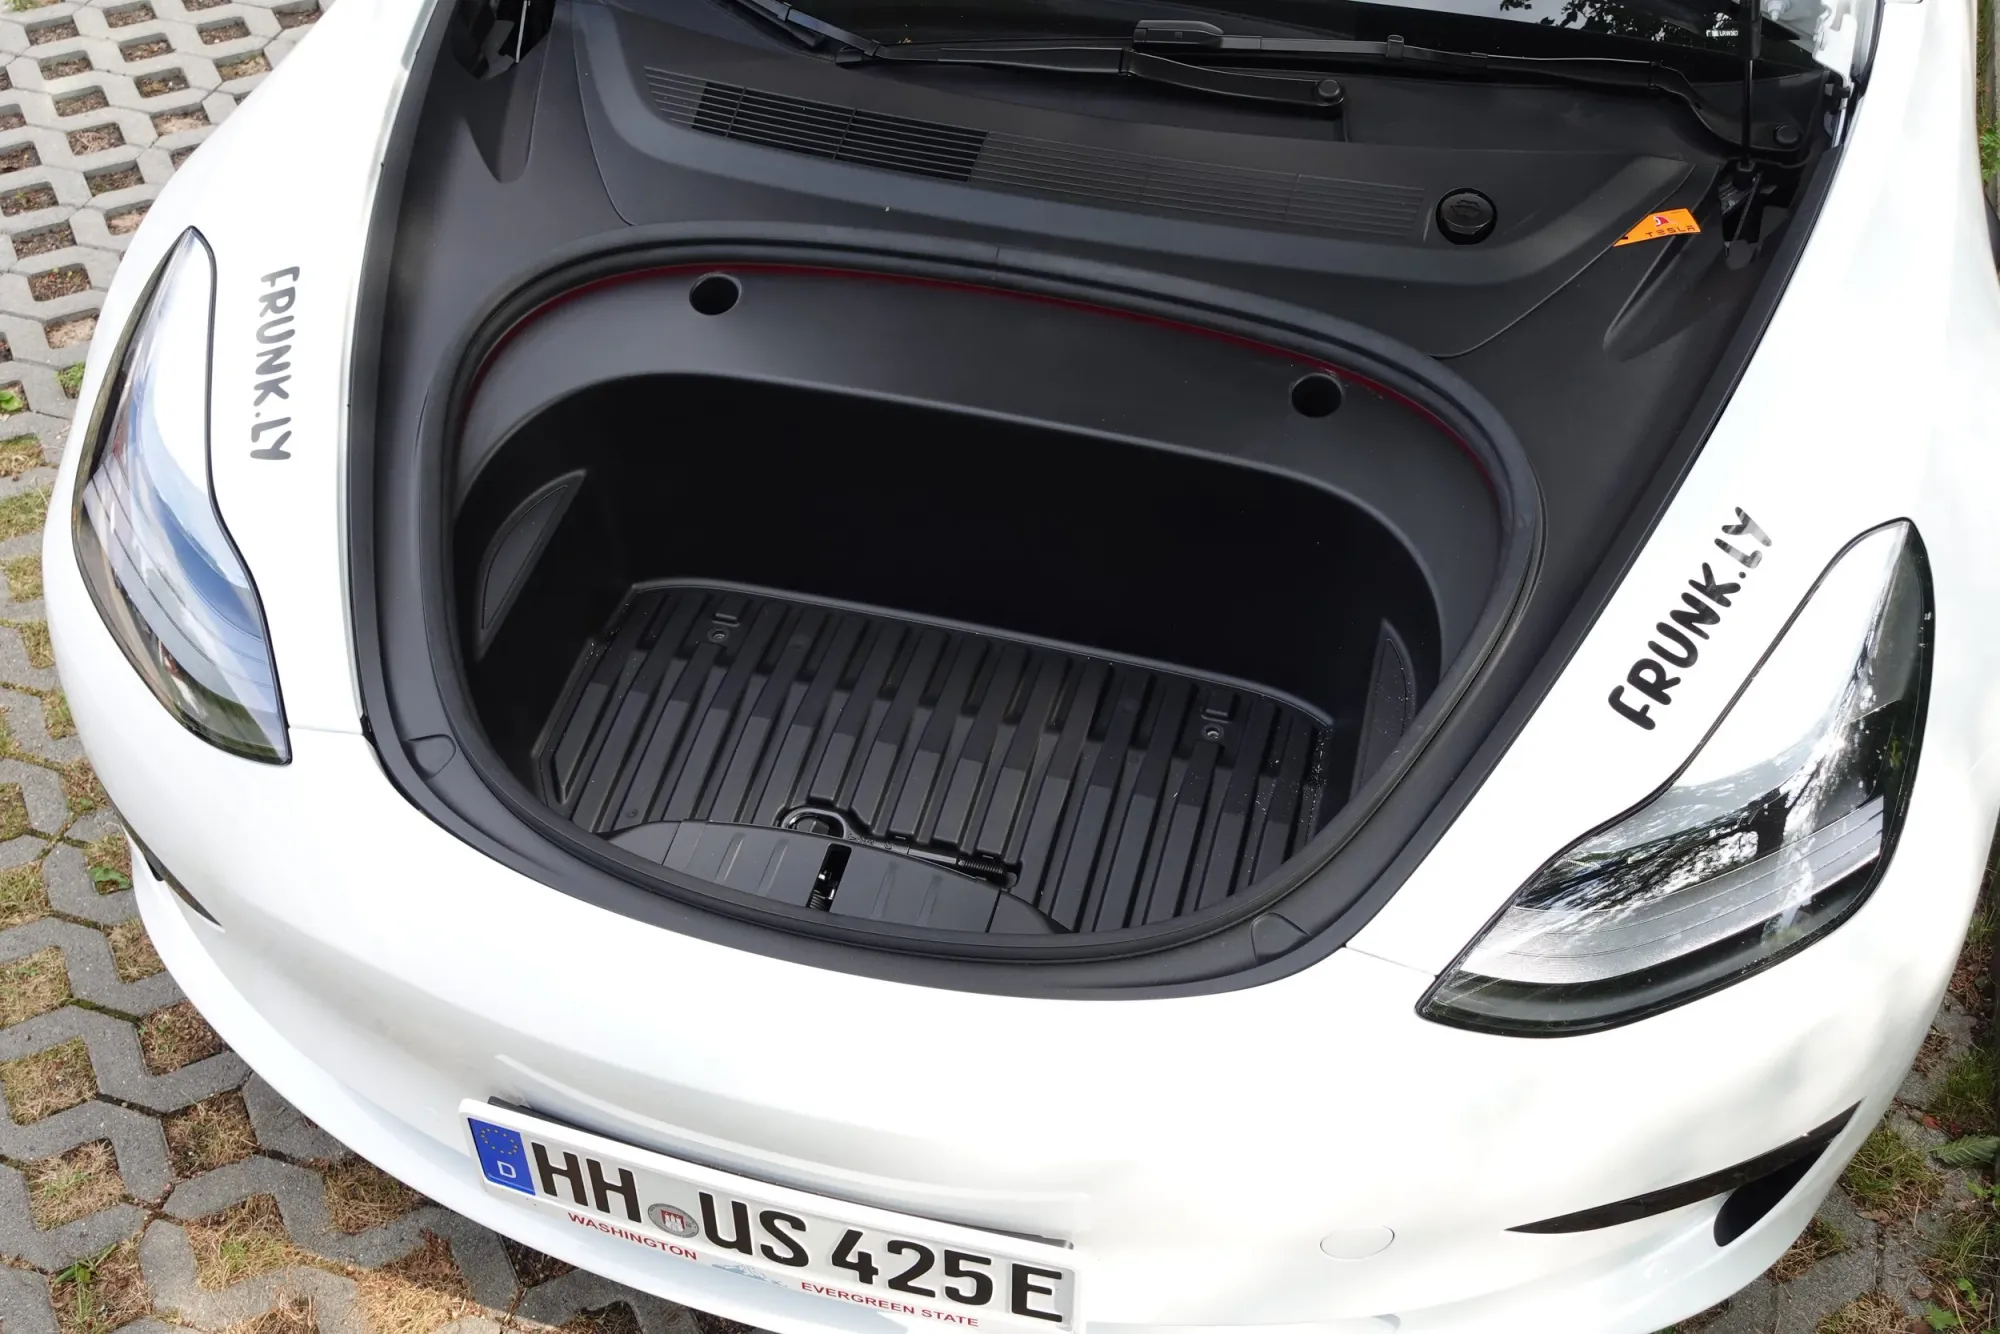
Step 1
Empty the frunk completely.
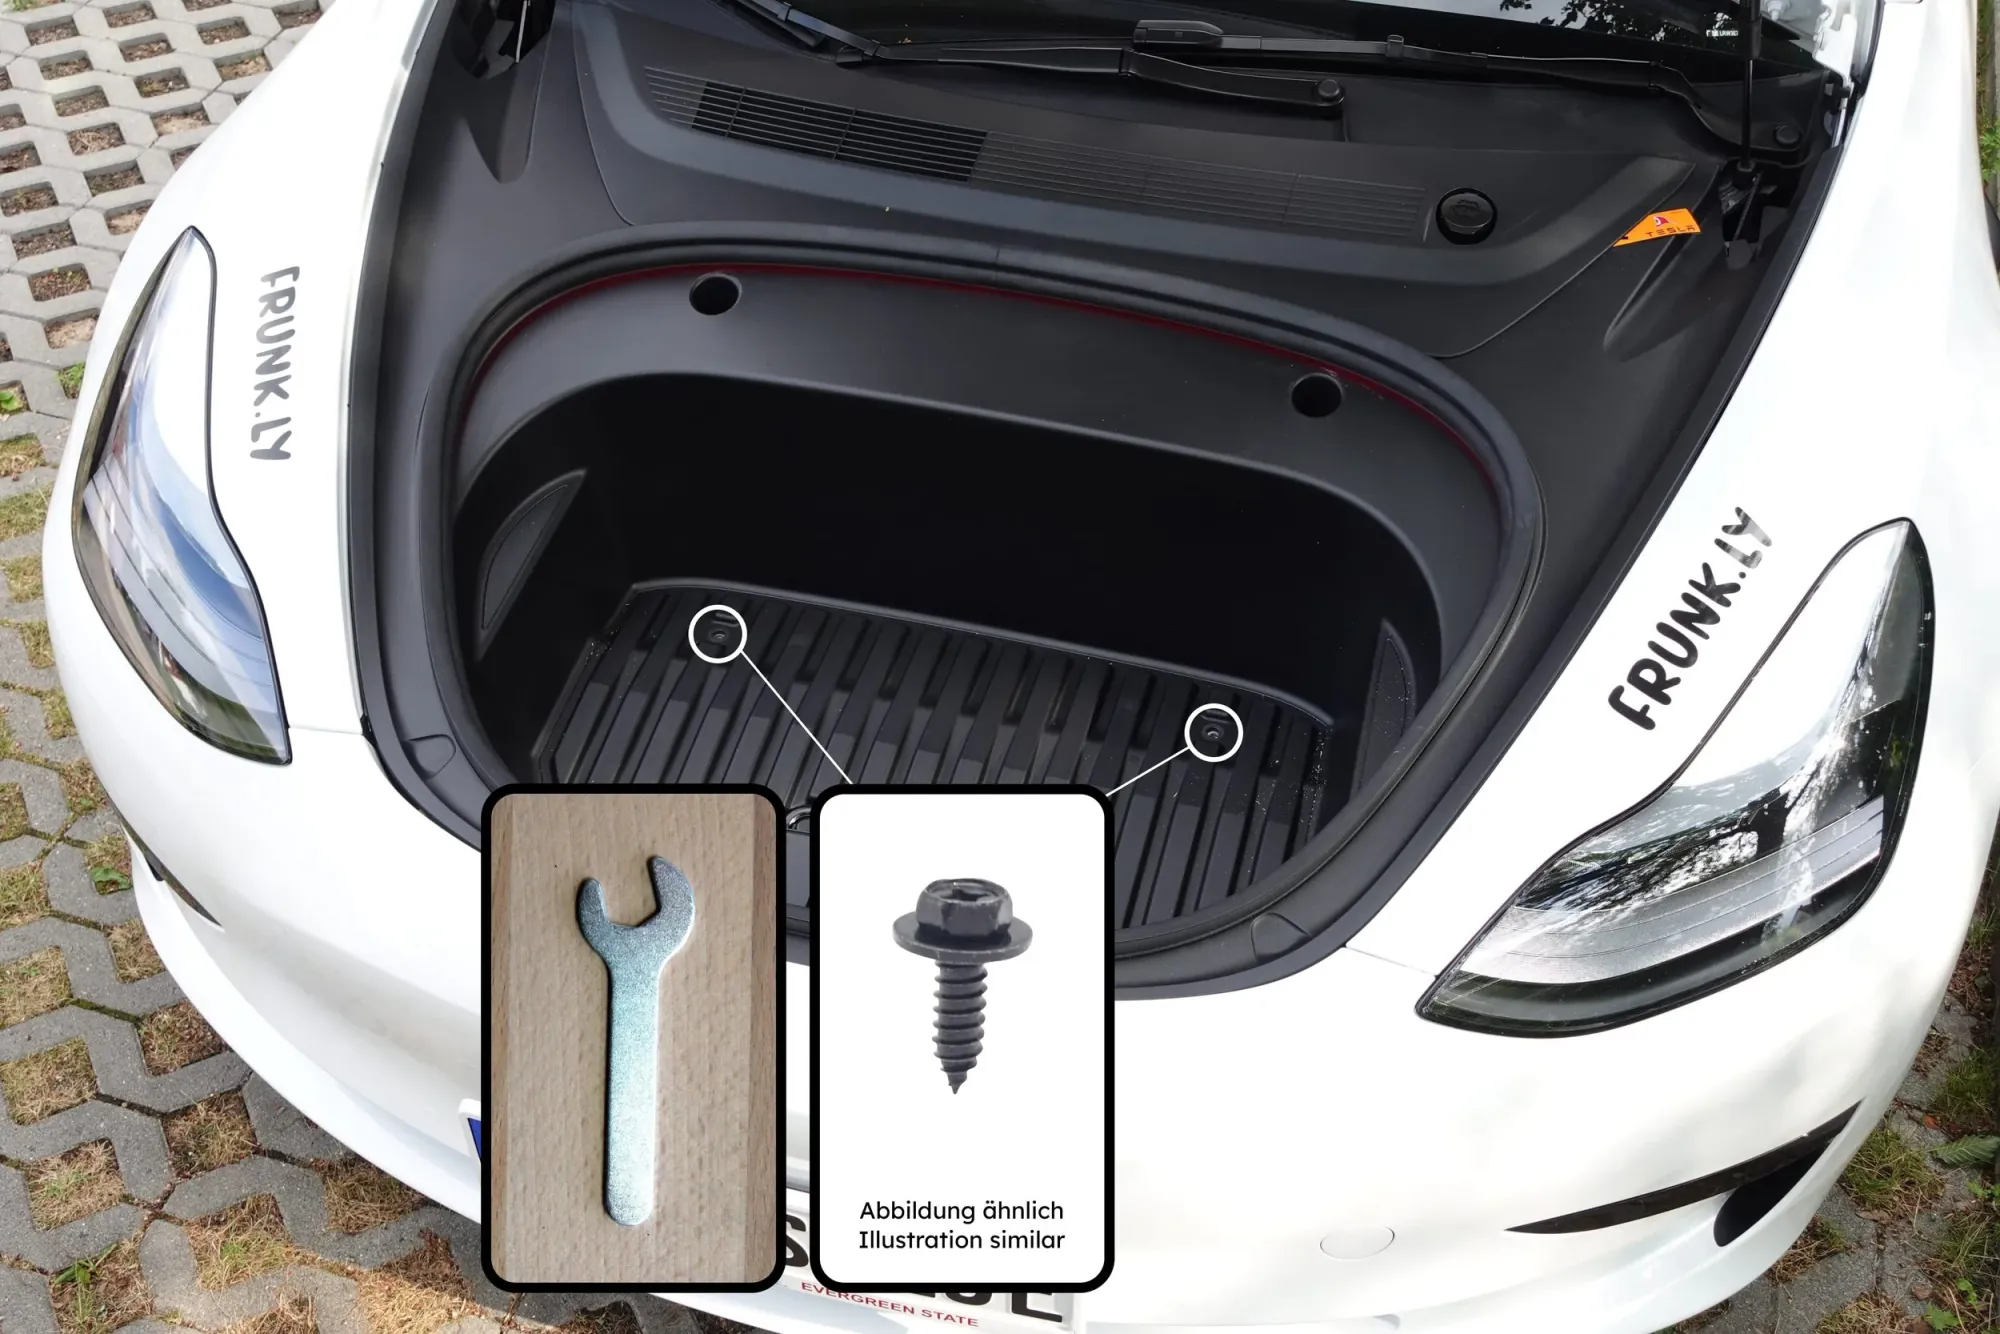
Step 2
Remove the two screws in the frunk.
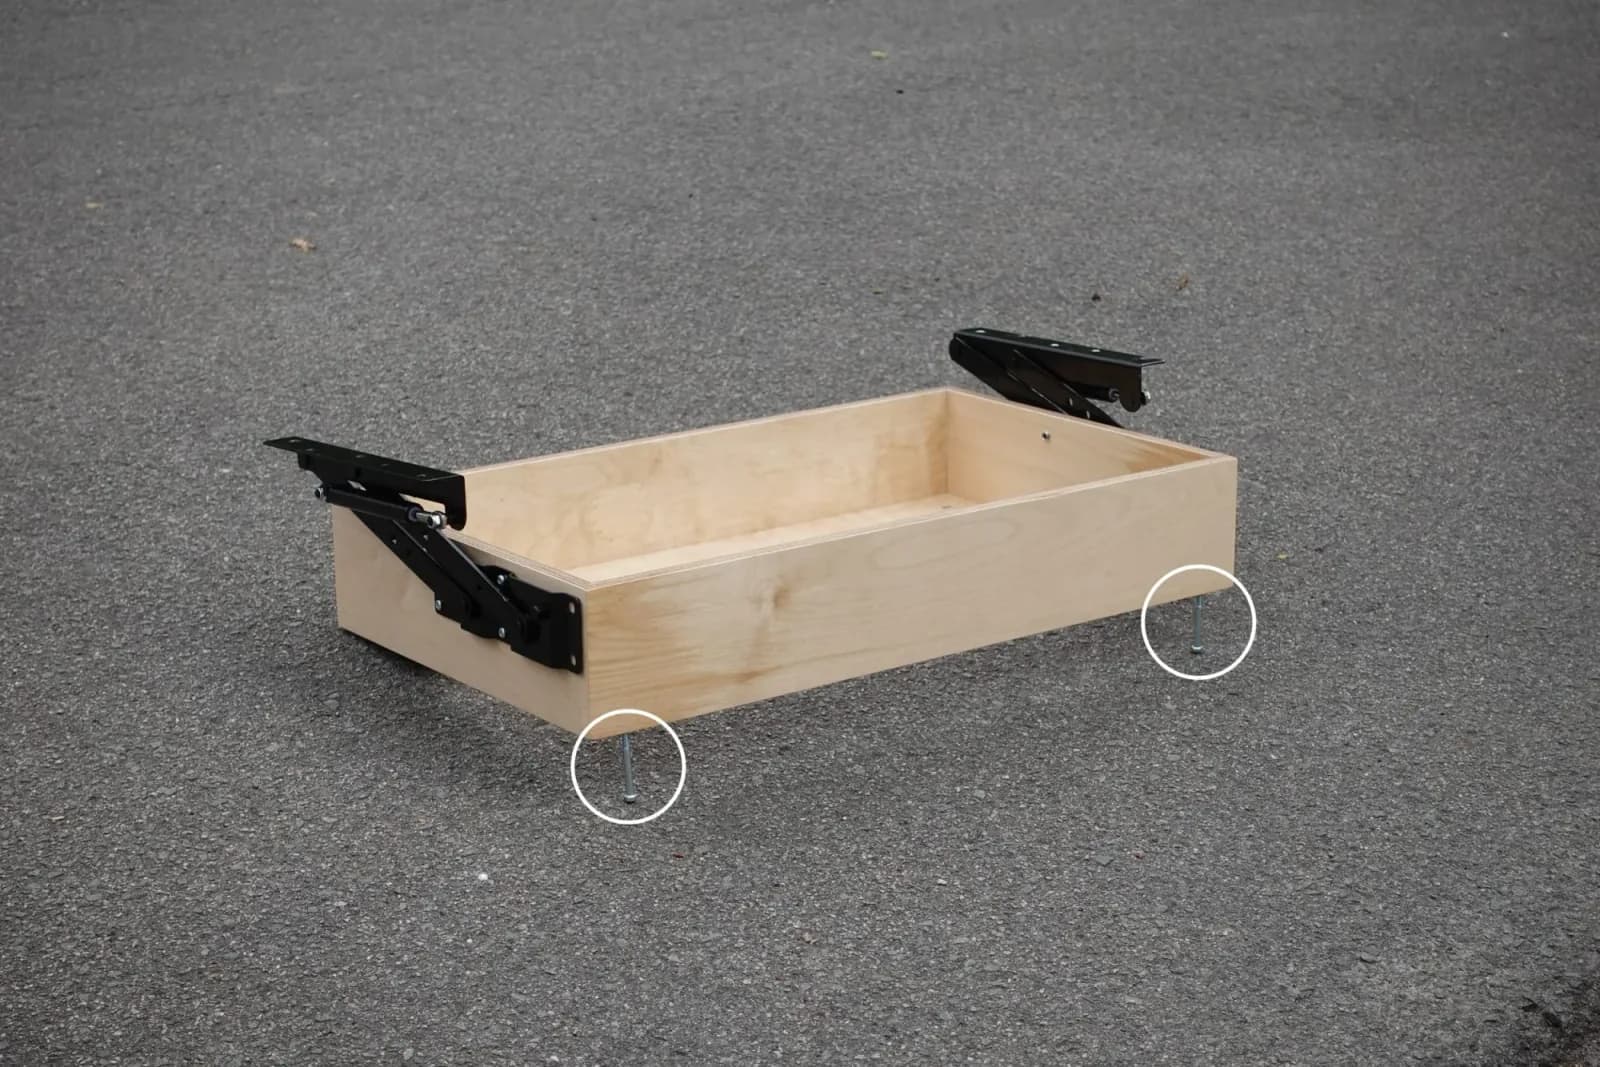
Step 3
Attach the feet to the base frame.
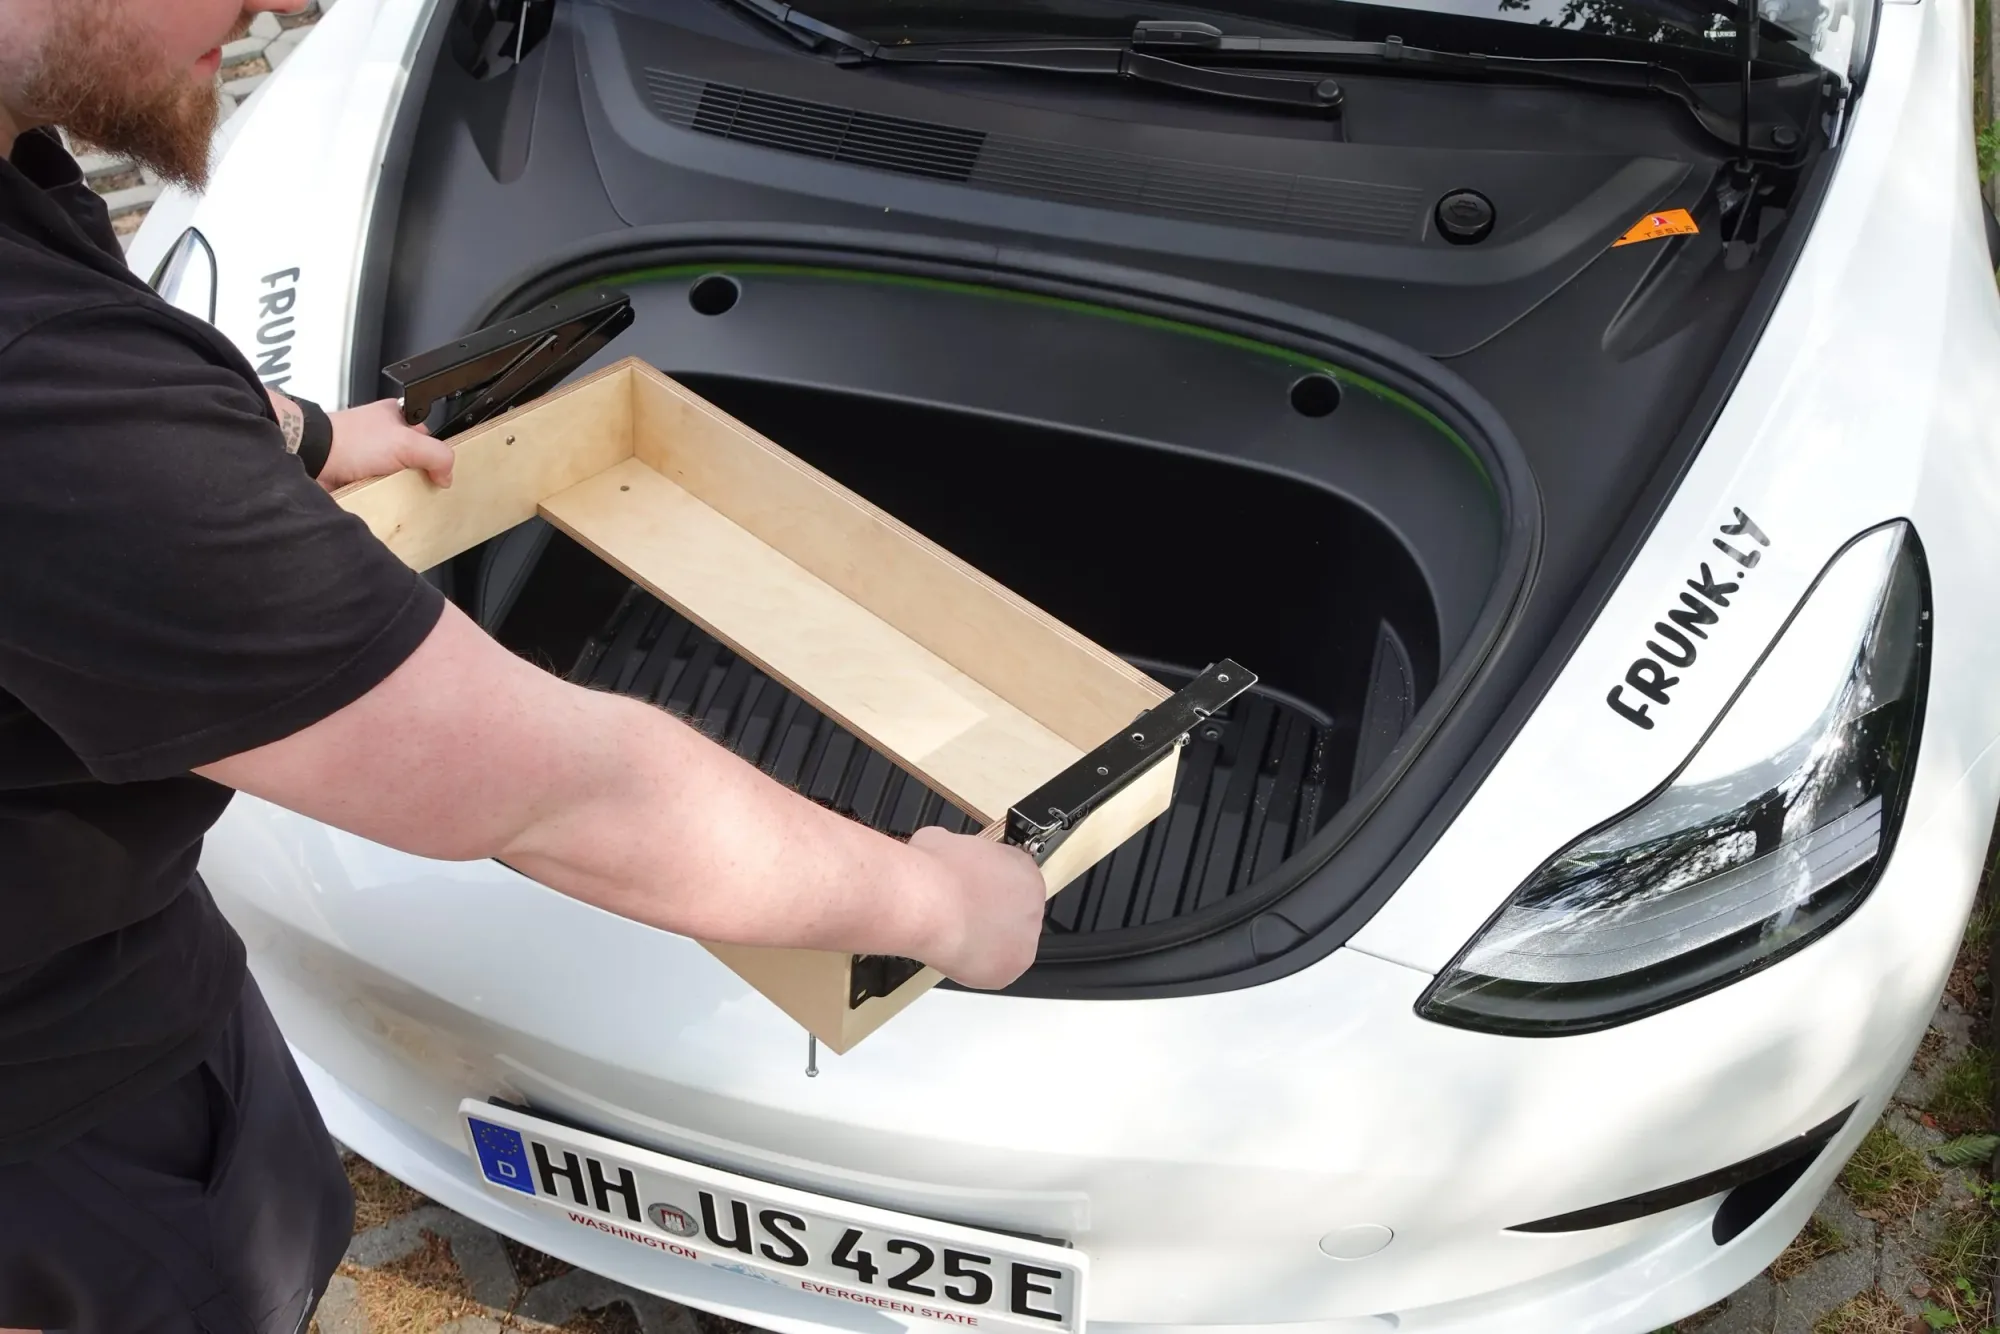
Step 4
Position the frame in the frunk.
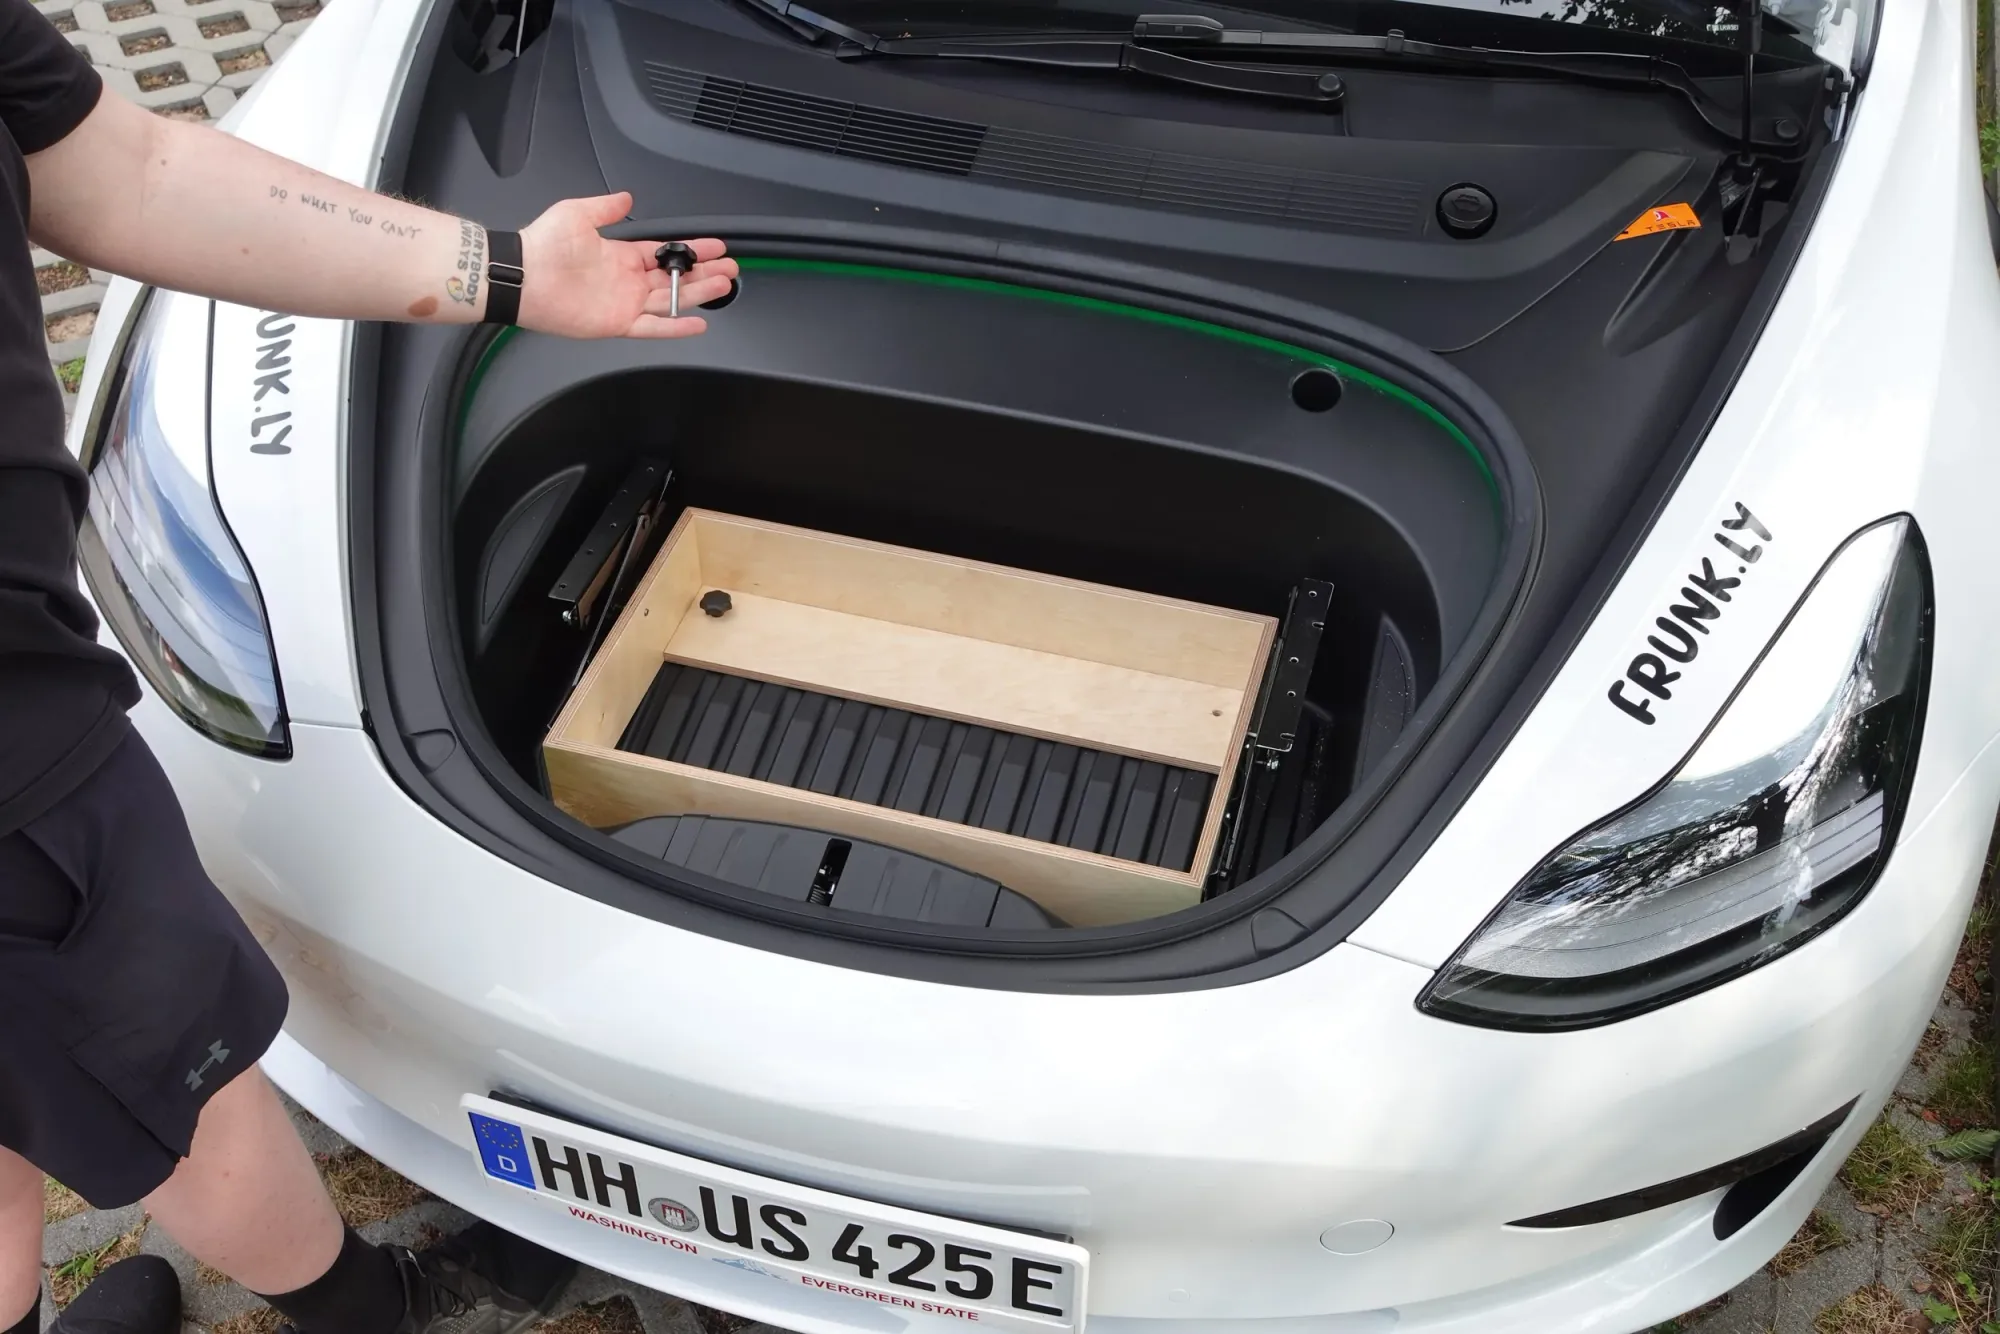
Step 5
Secure the frame with the screws.
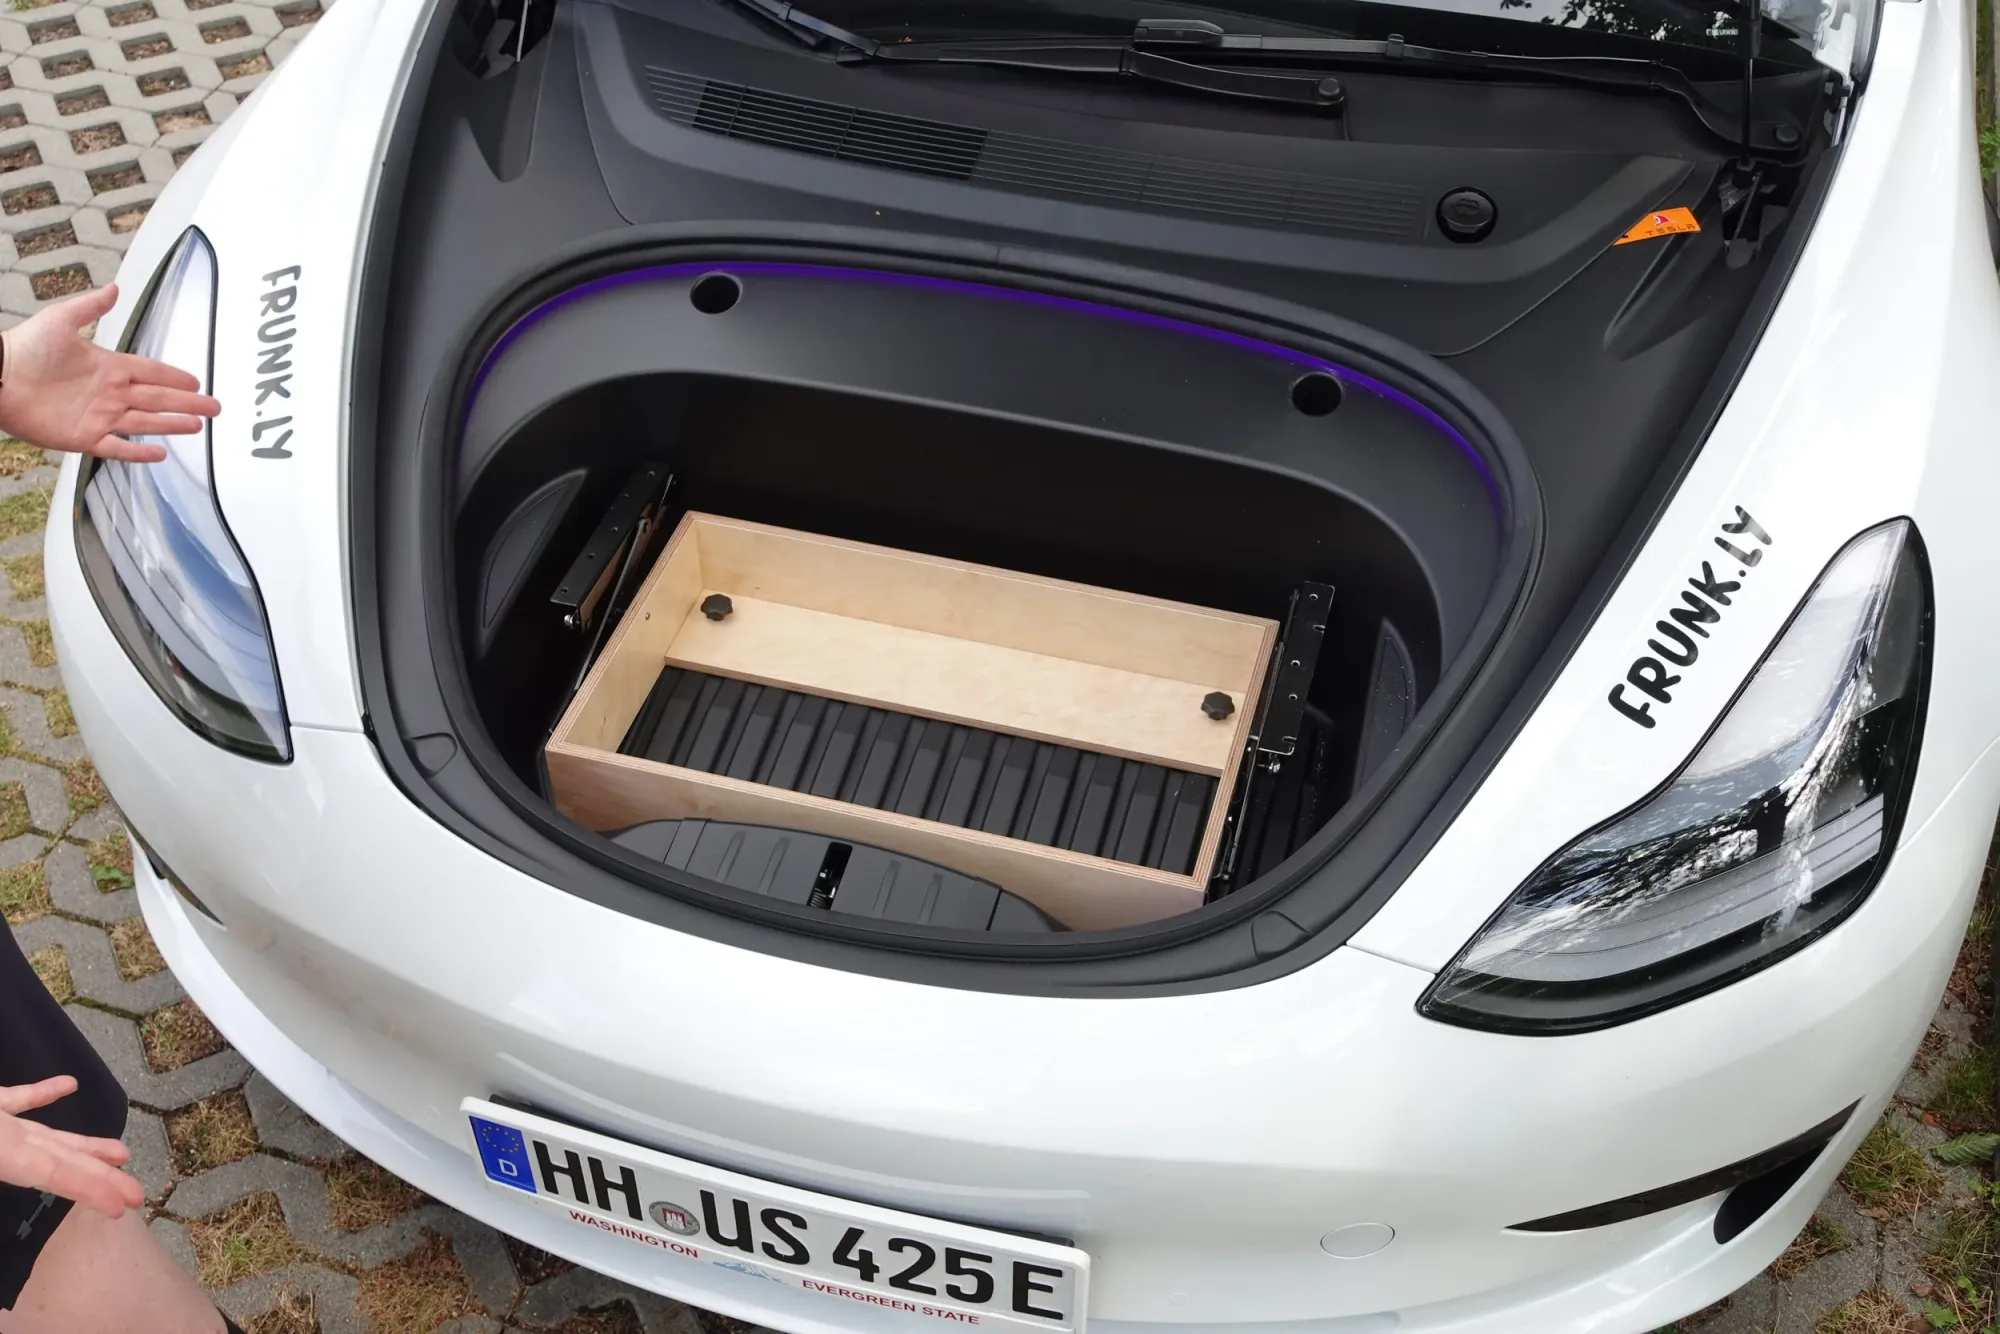
Step 6
Fine-tune the front legs.
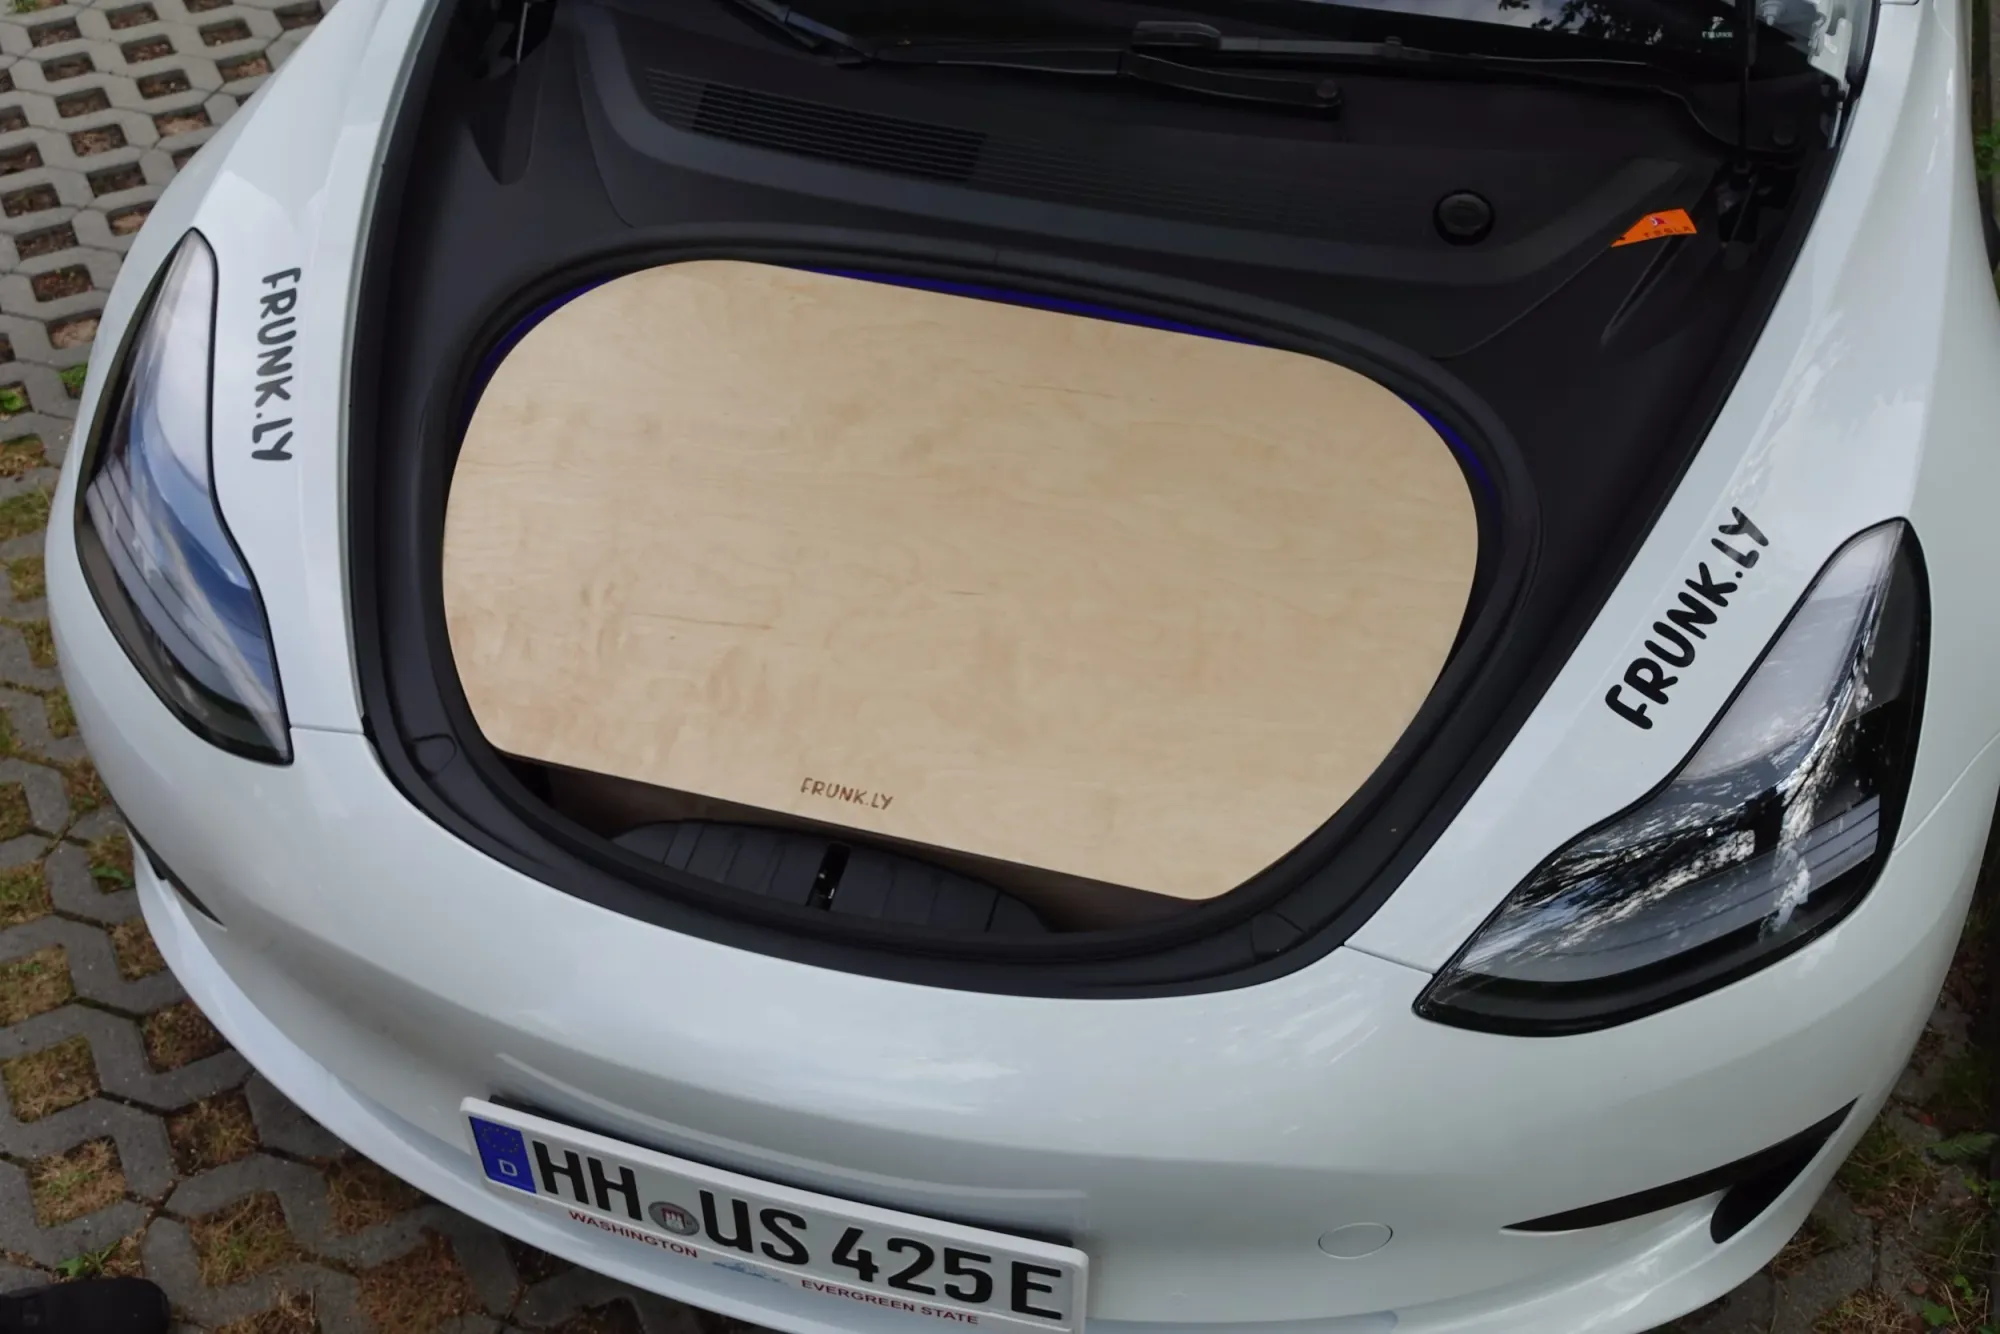
Step 7
Insert the table top.
Removal
How to remove the Frunkly Series 1.
Step 1
Remove the table top.
Step 2
Clear all items.
Step 3
Loosen the mounting screws.
Step 4
Remove the frame.
Step 5
Reinstall the original screws.
Setup
How to set up the table in seconds.
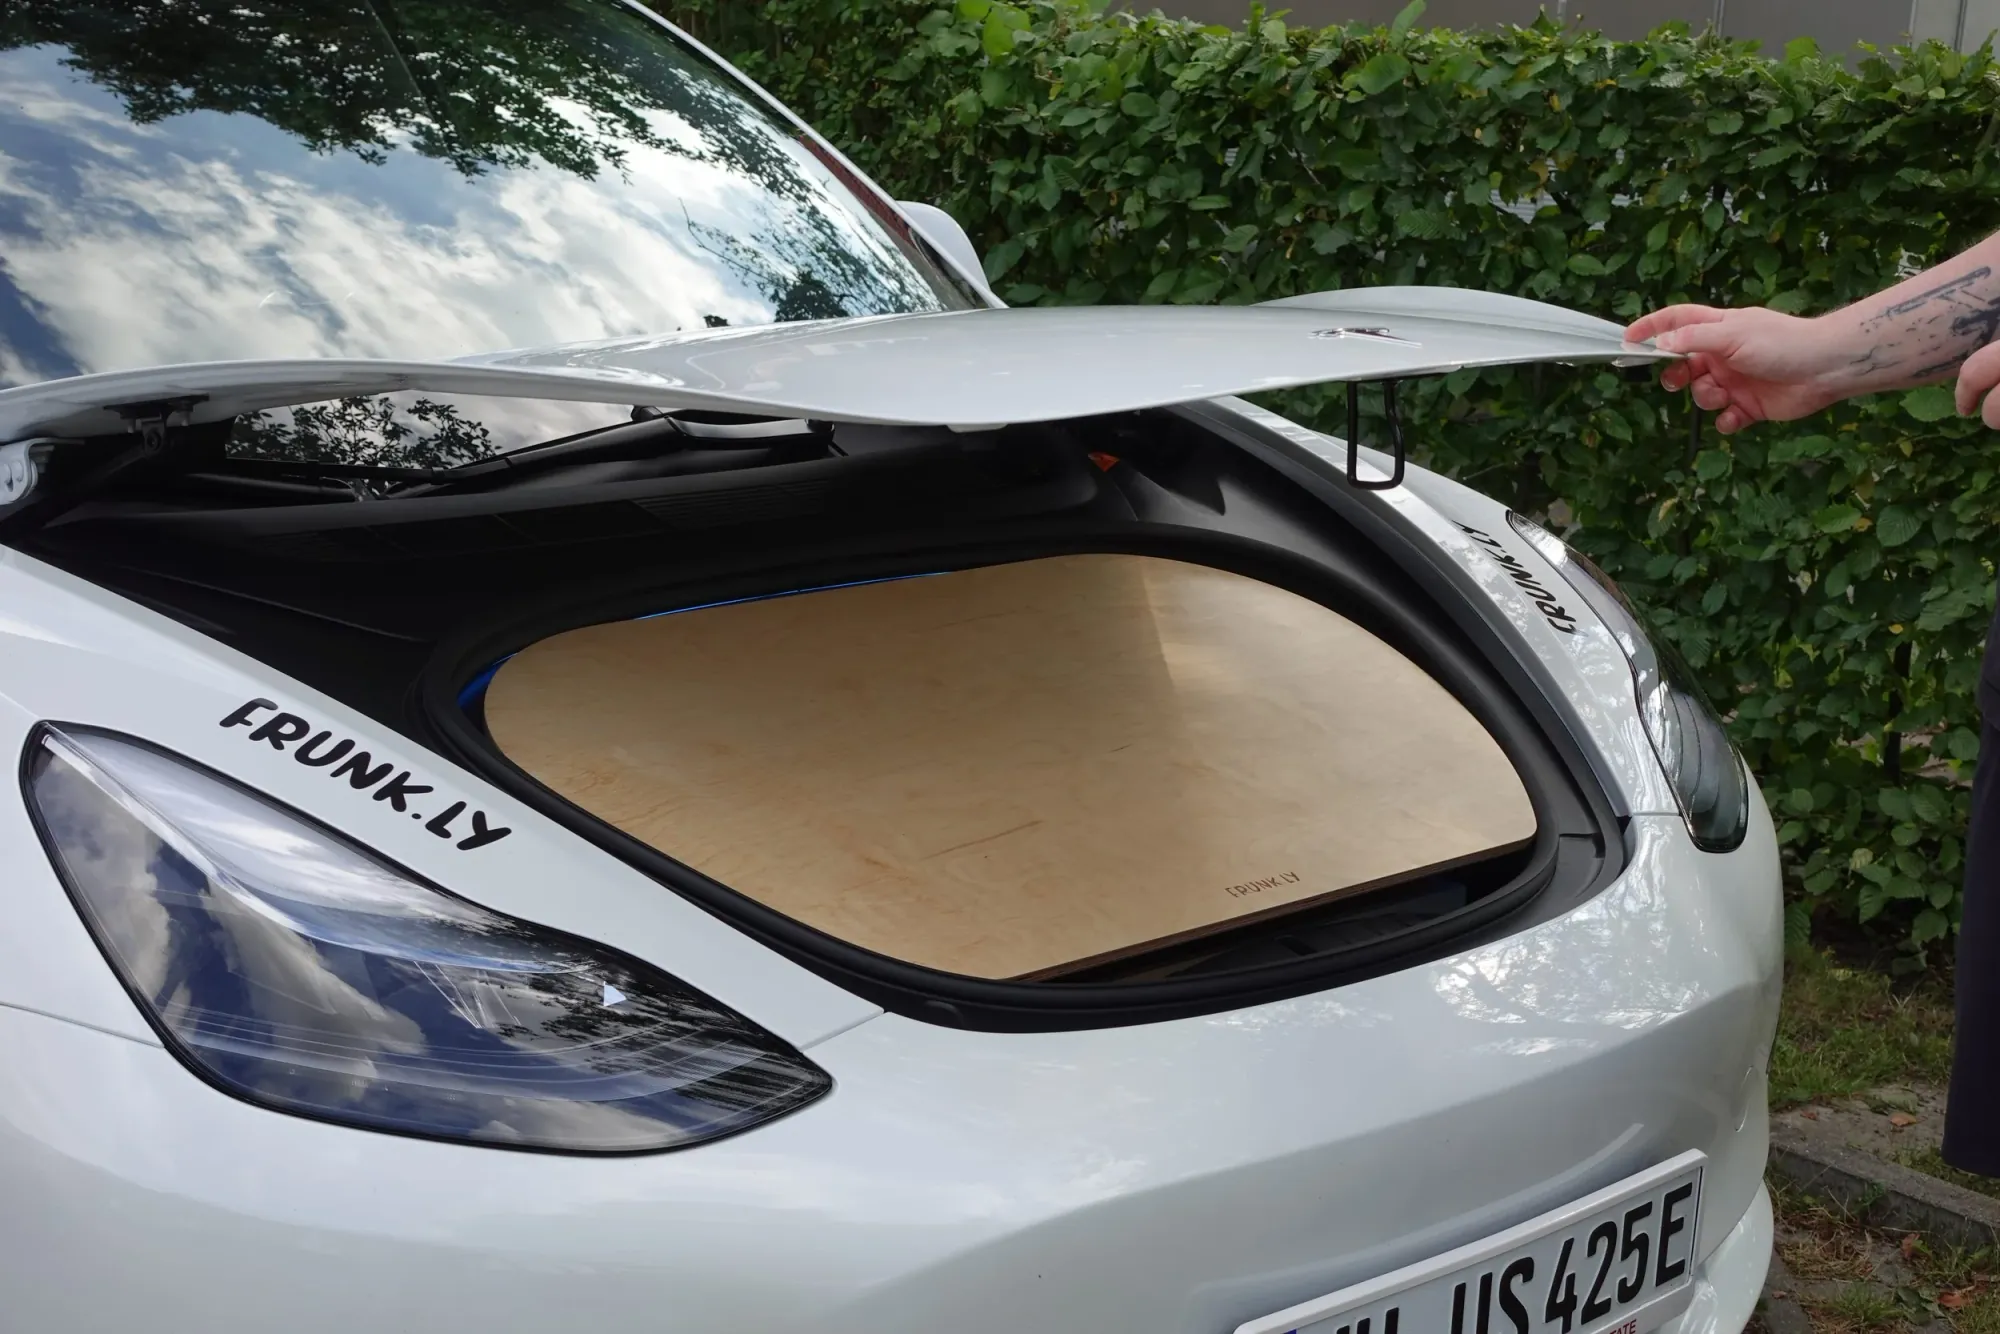
Step 1
Open the frunk.
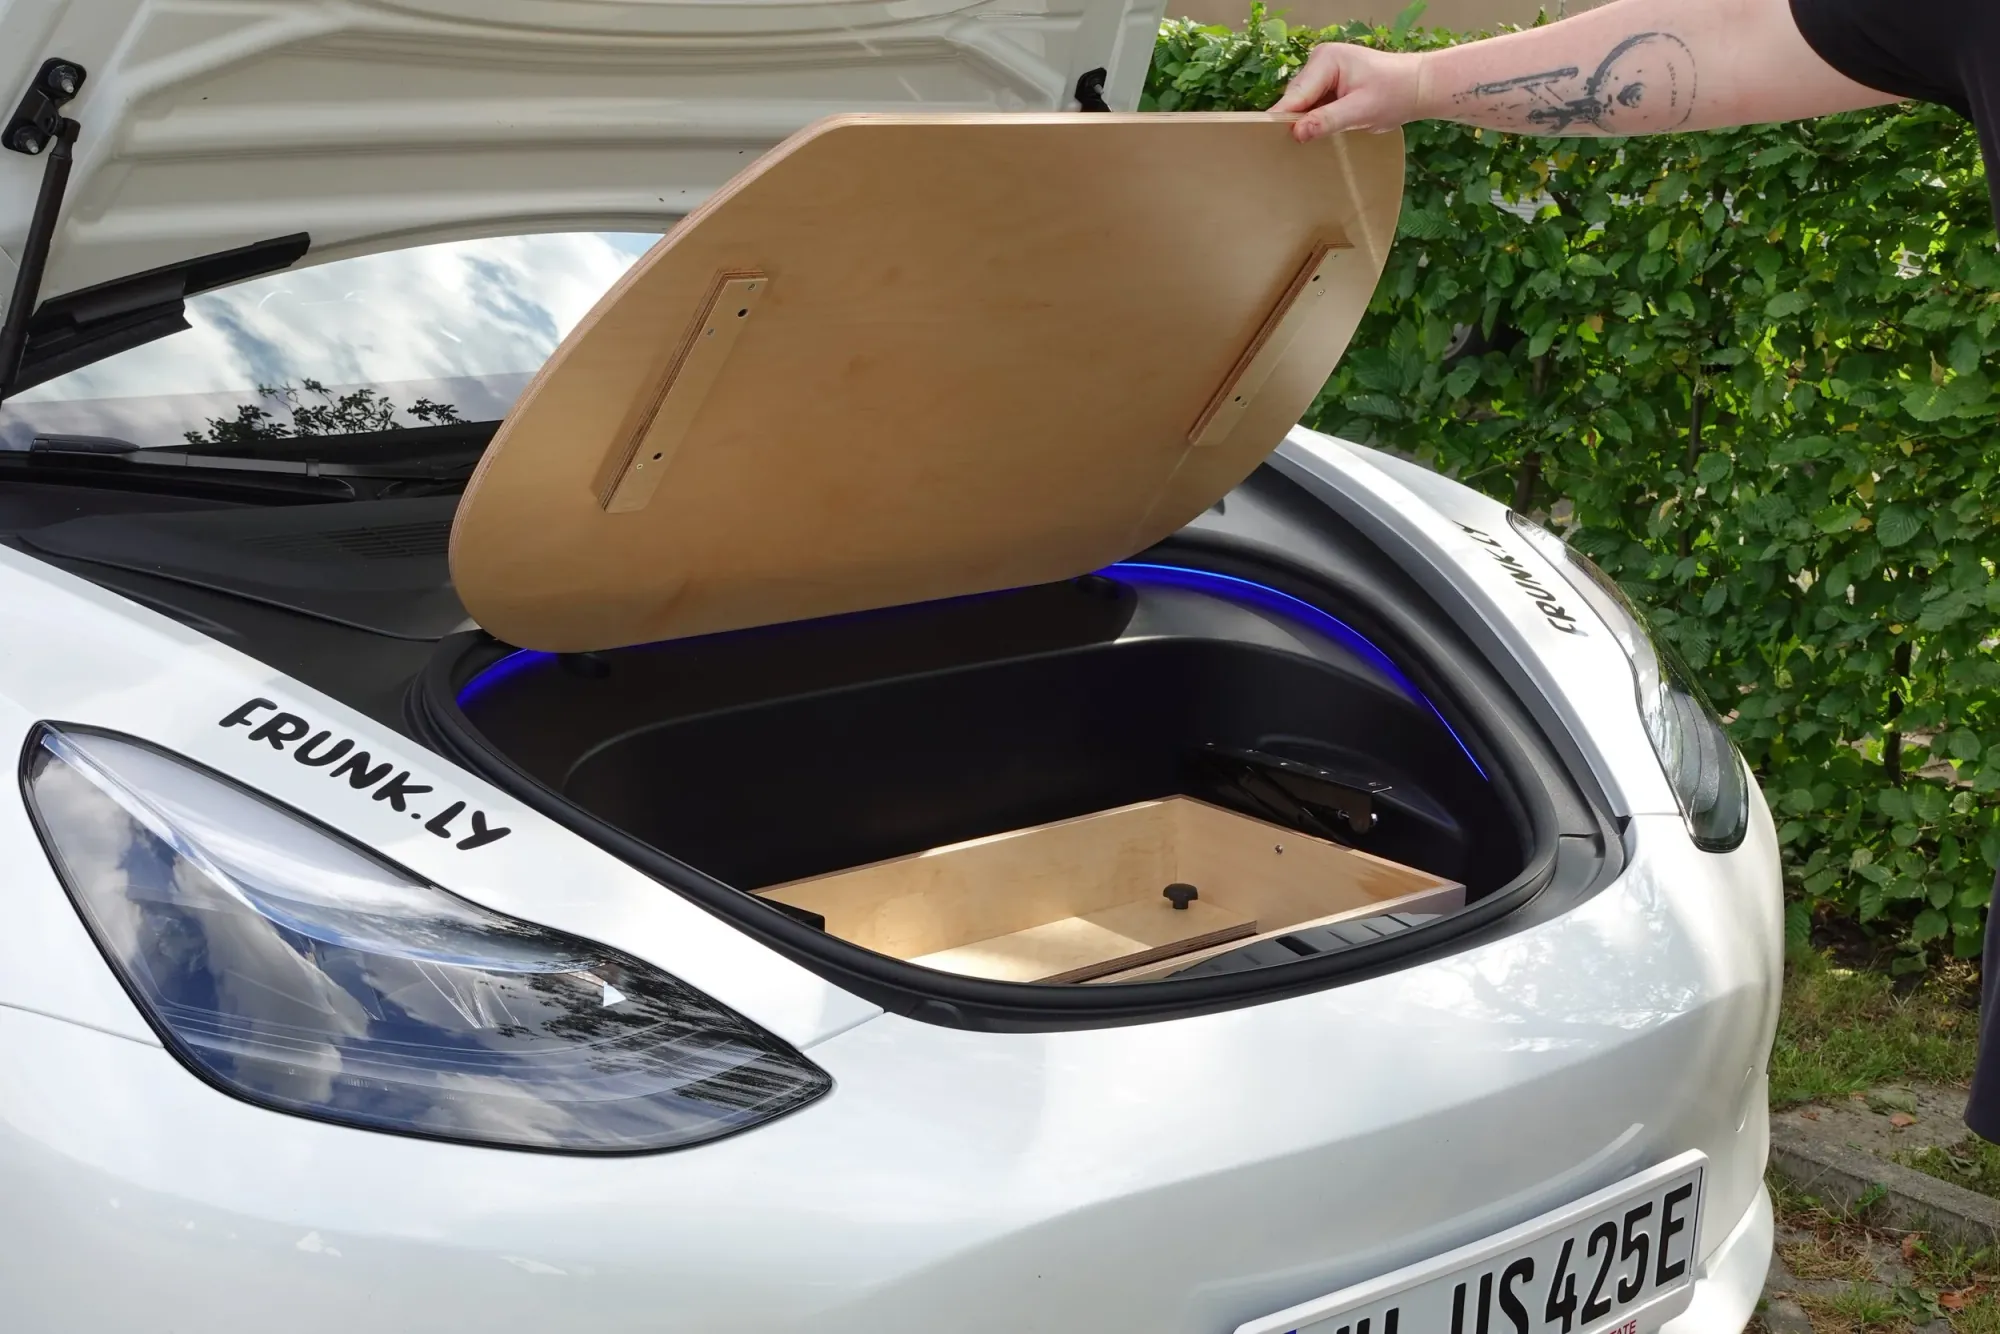
Step 2
Lift the table top.
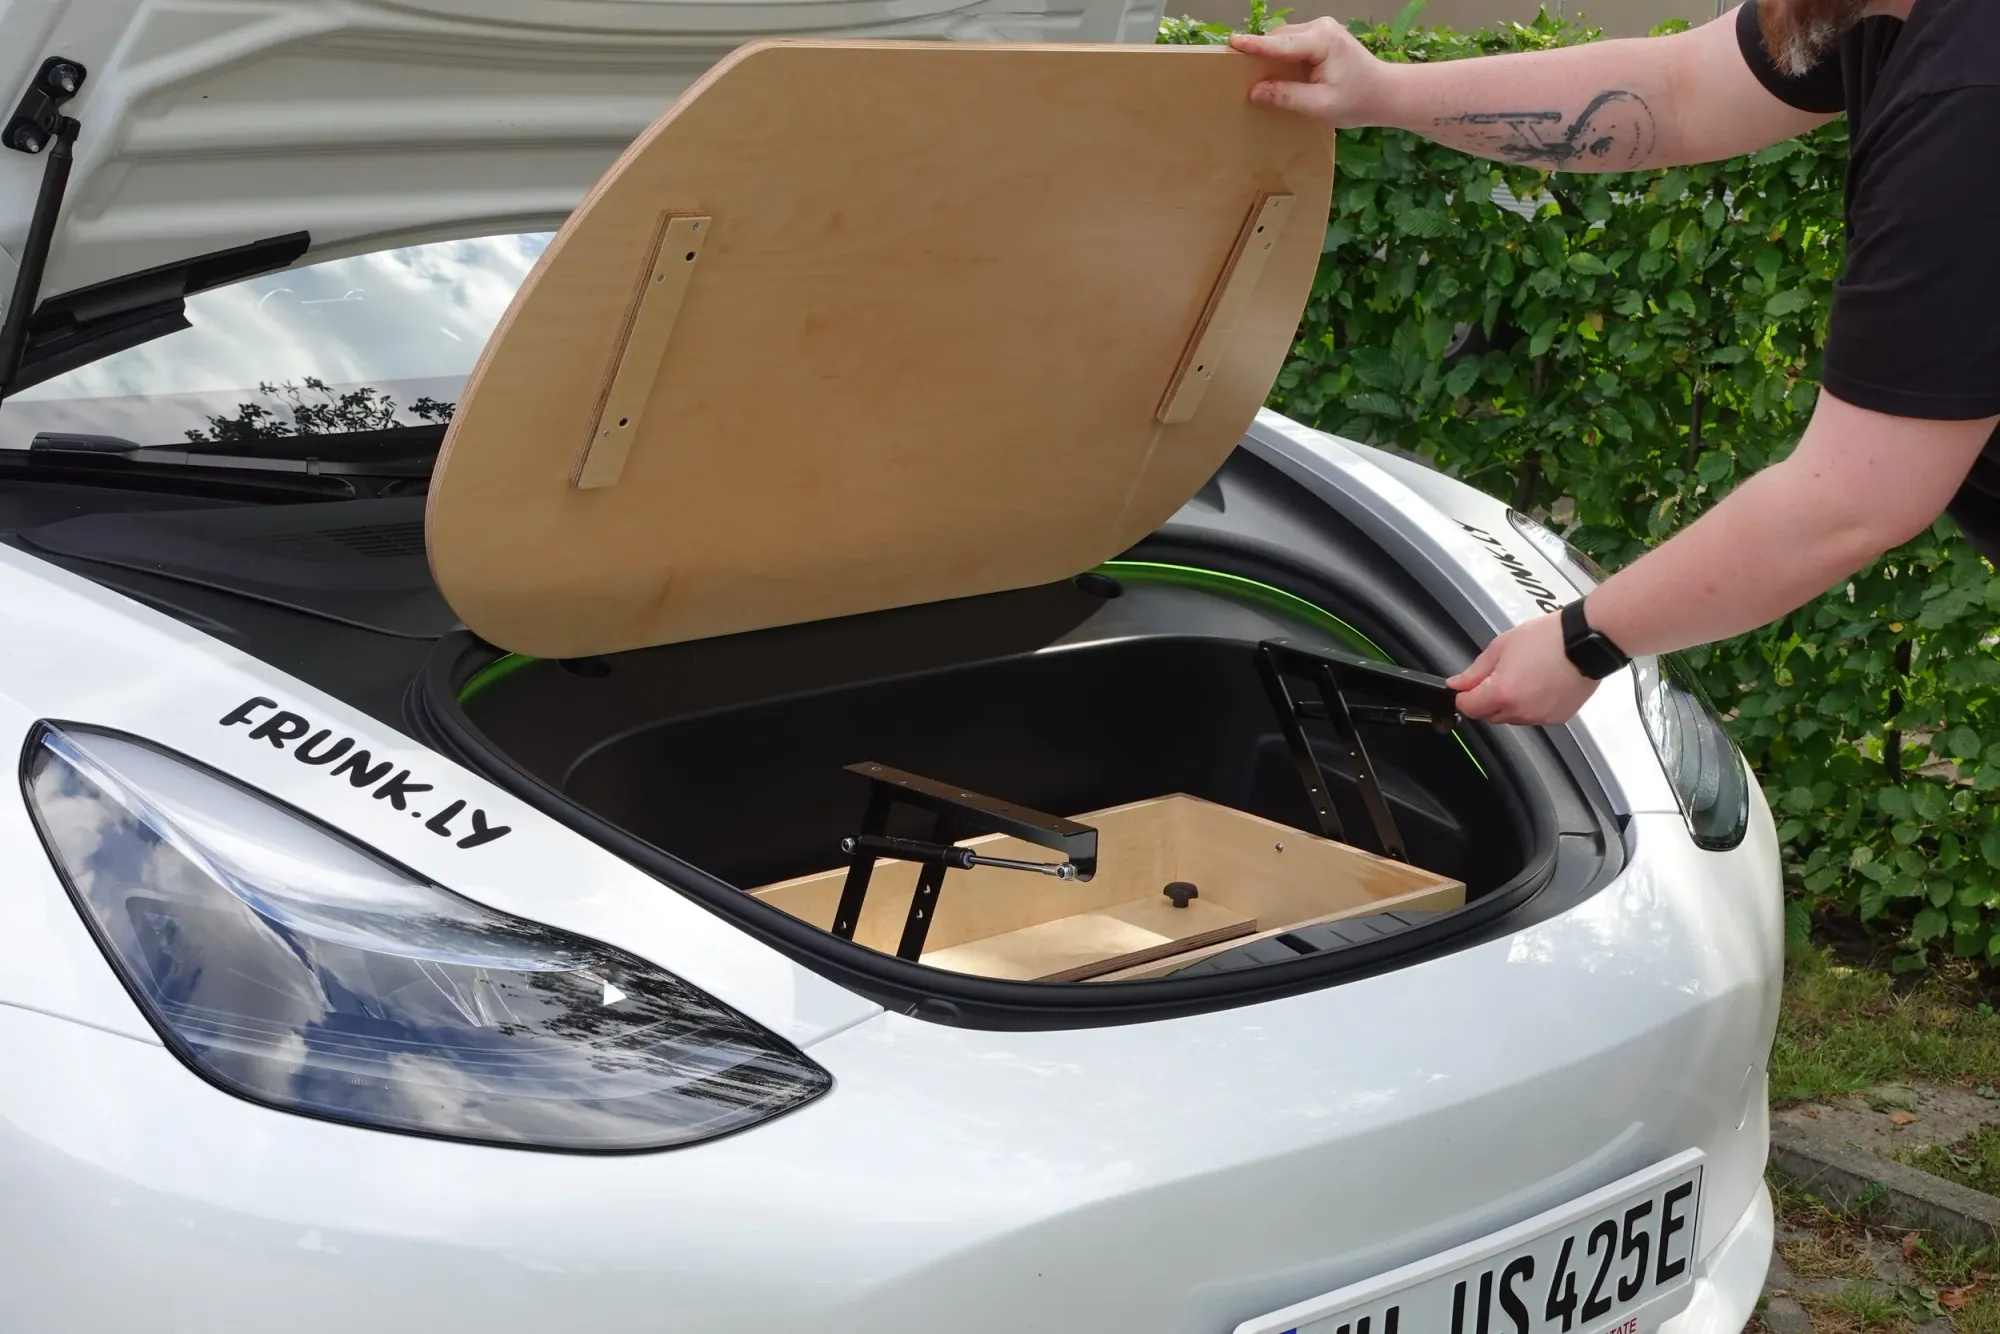
Step 3
Extend the folding hinges.
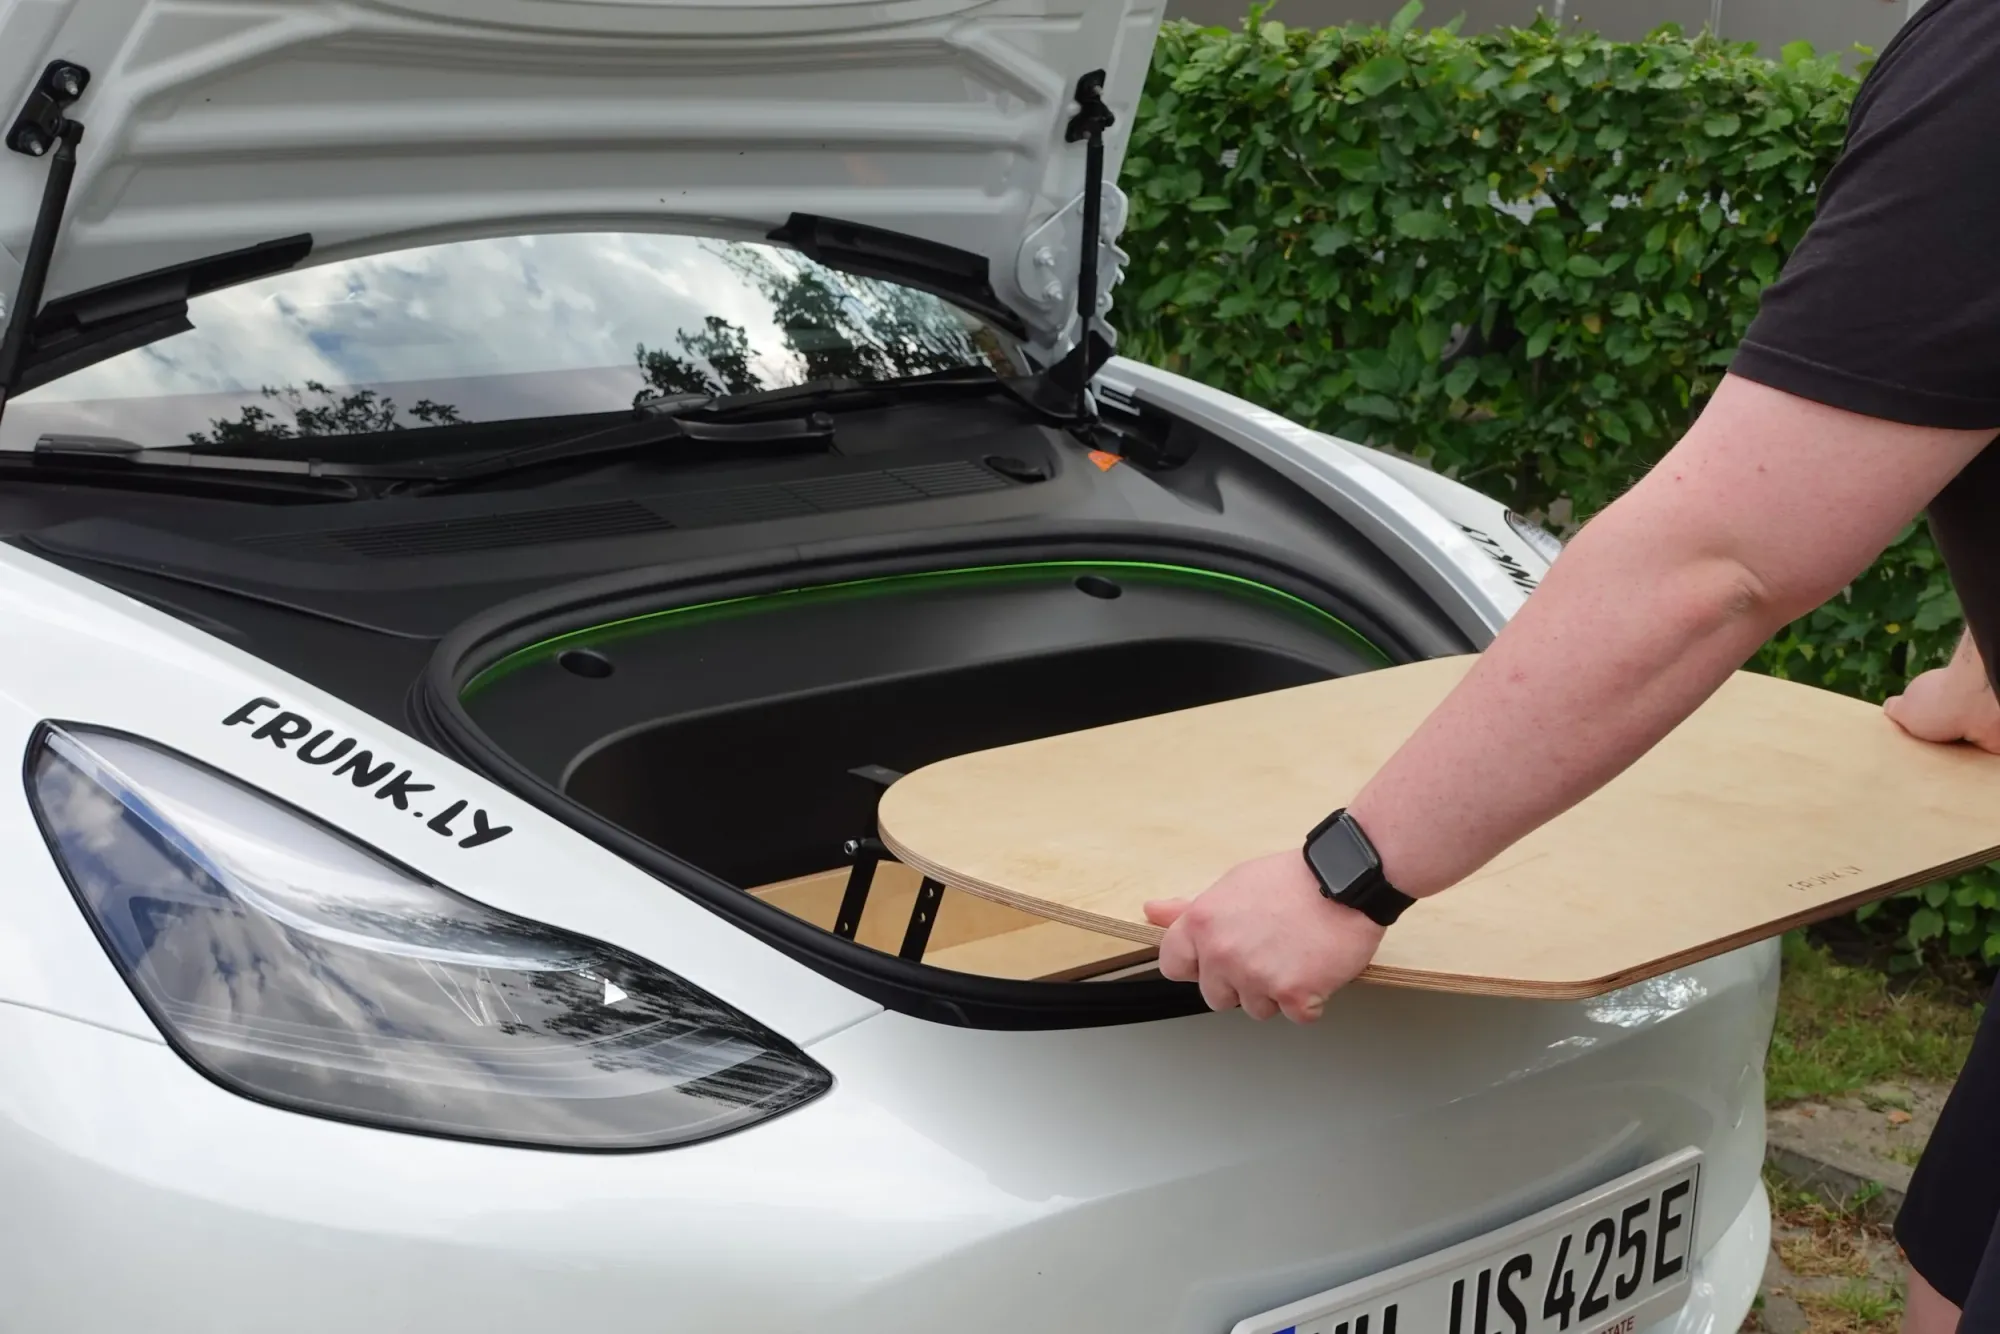
Step 4
Align the table top.
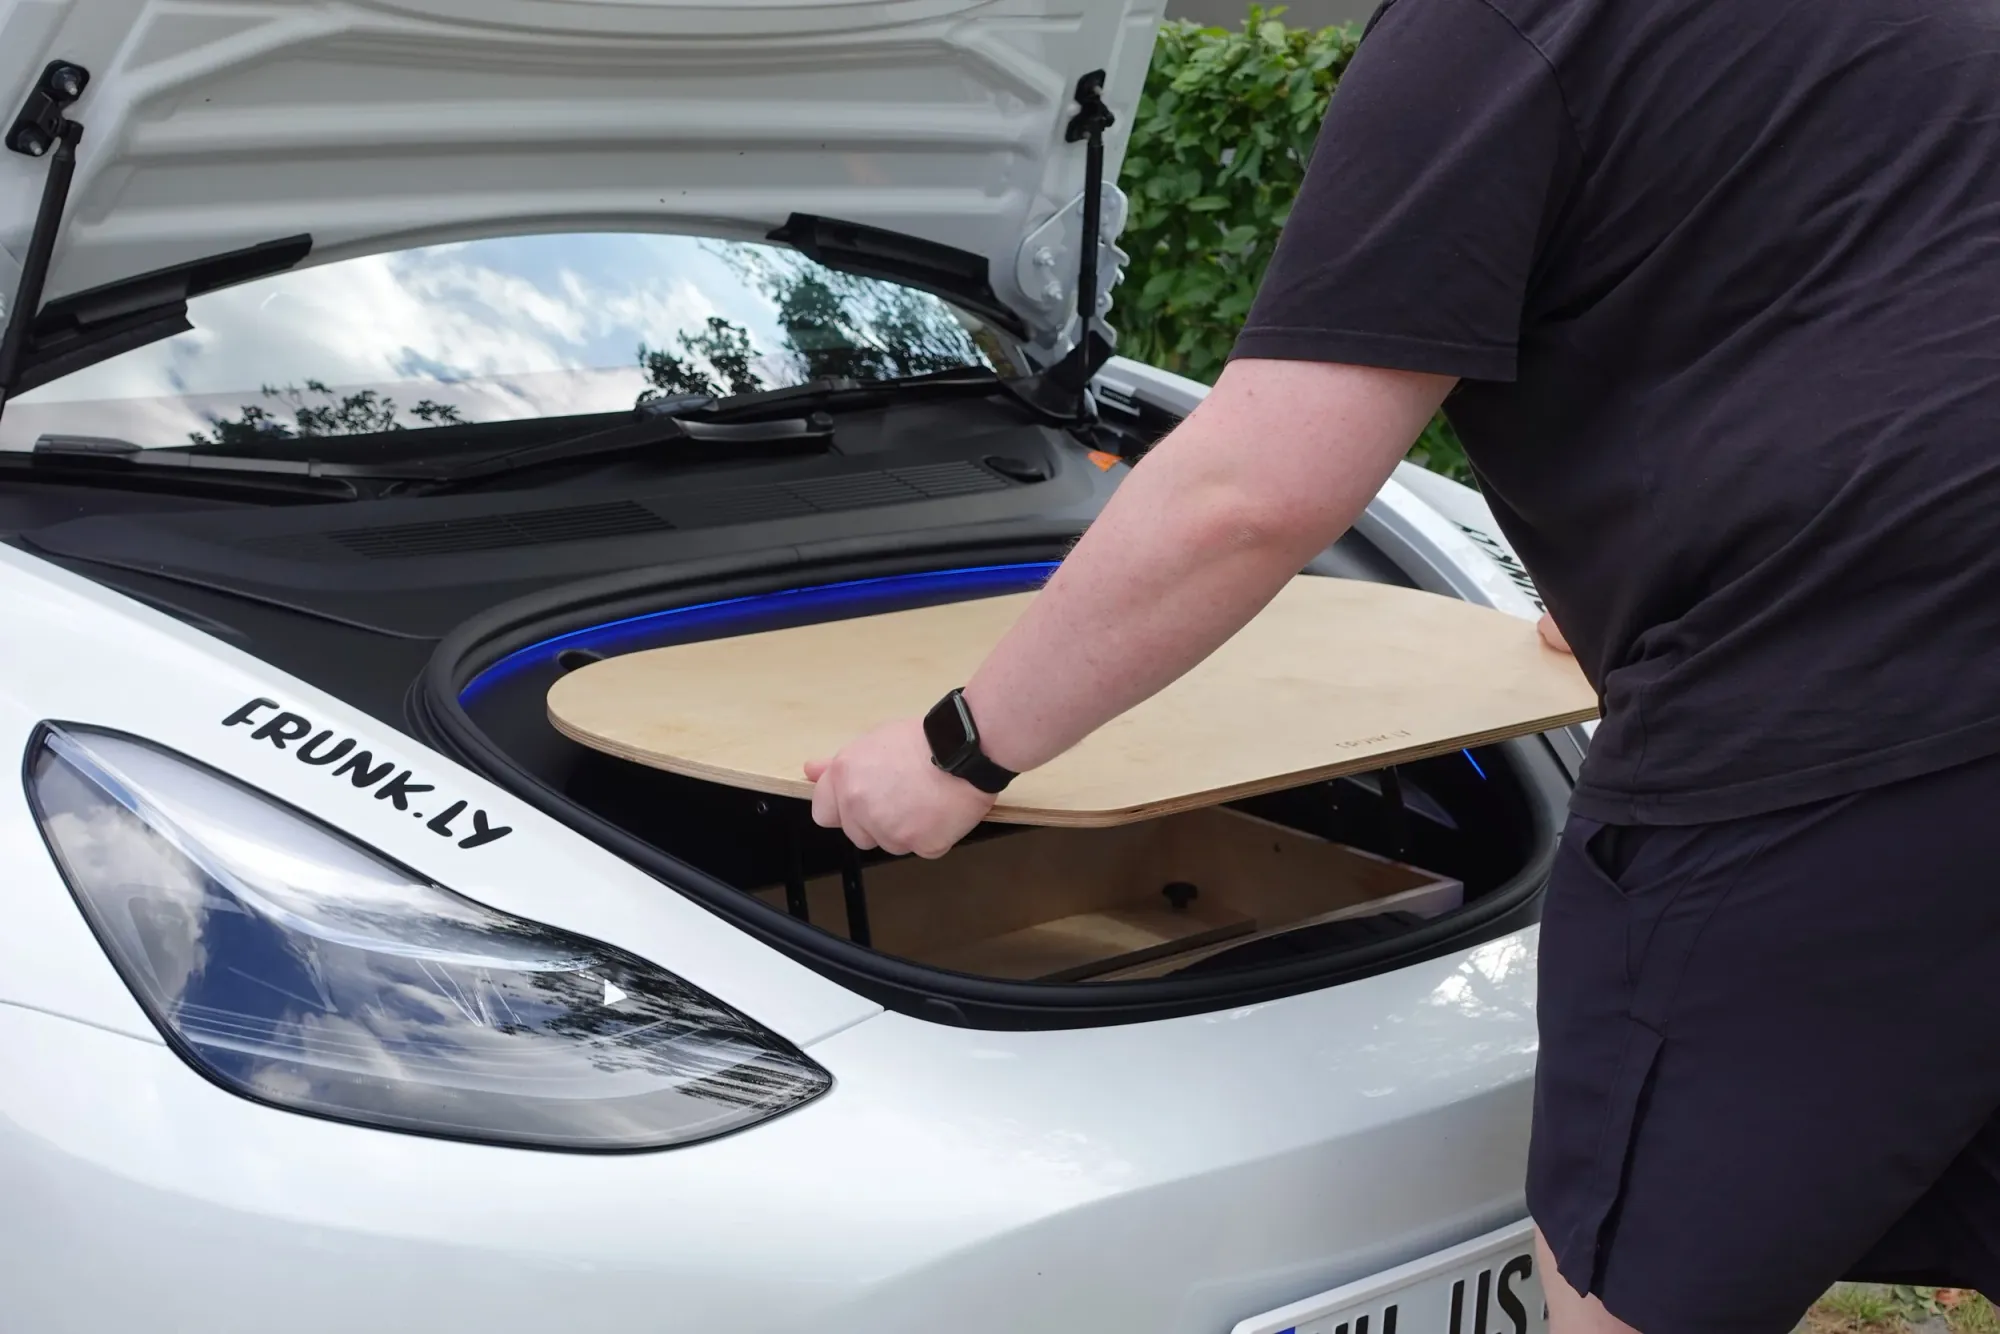
Step 5
Slide the top onto the hinges.
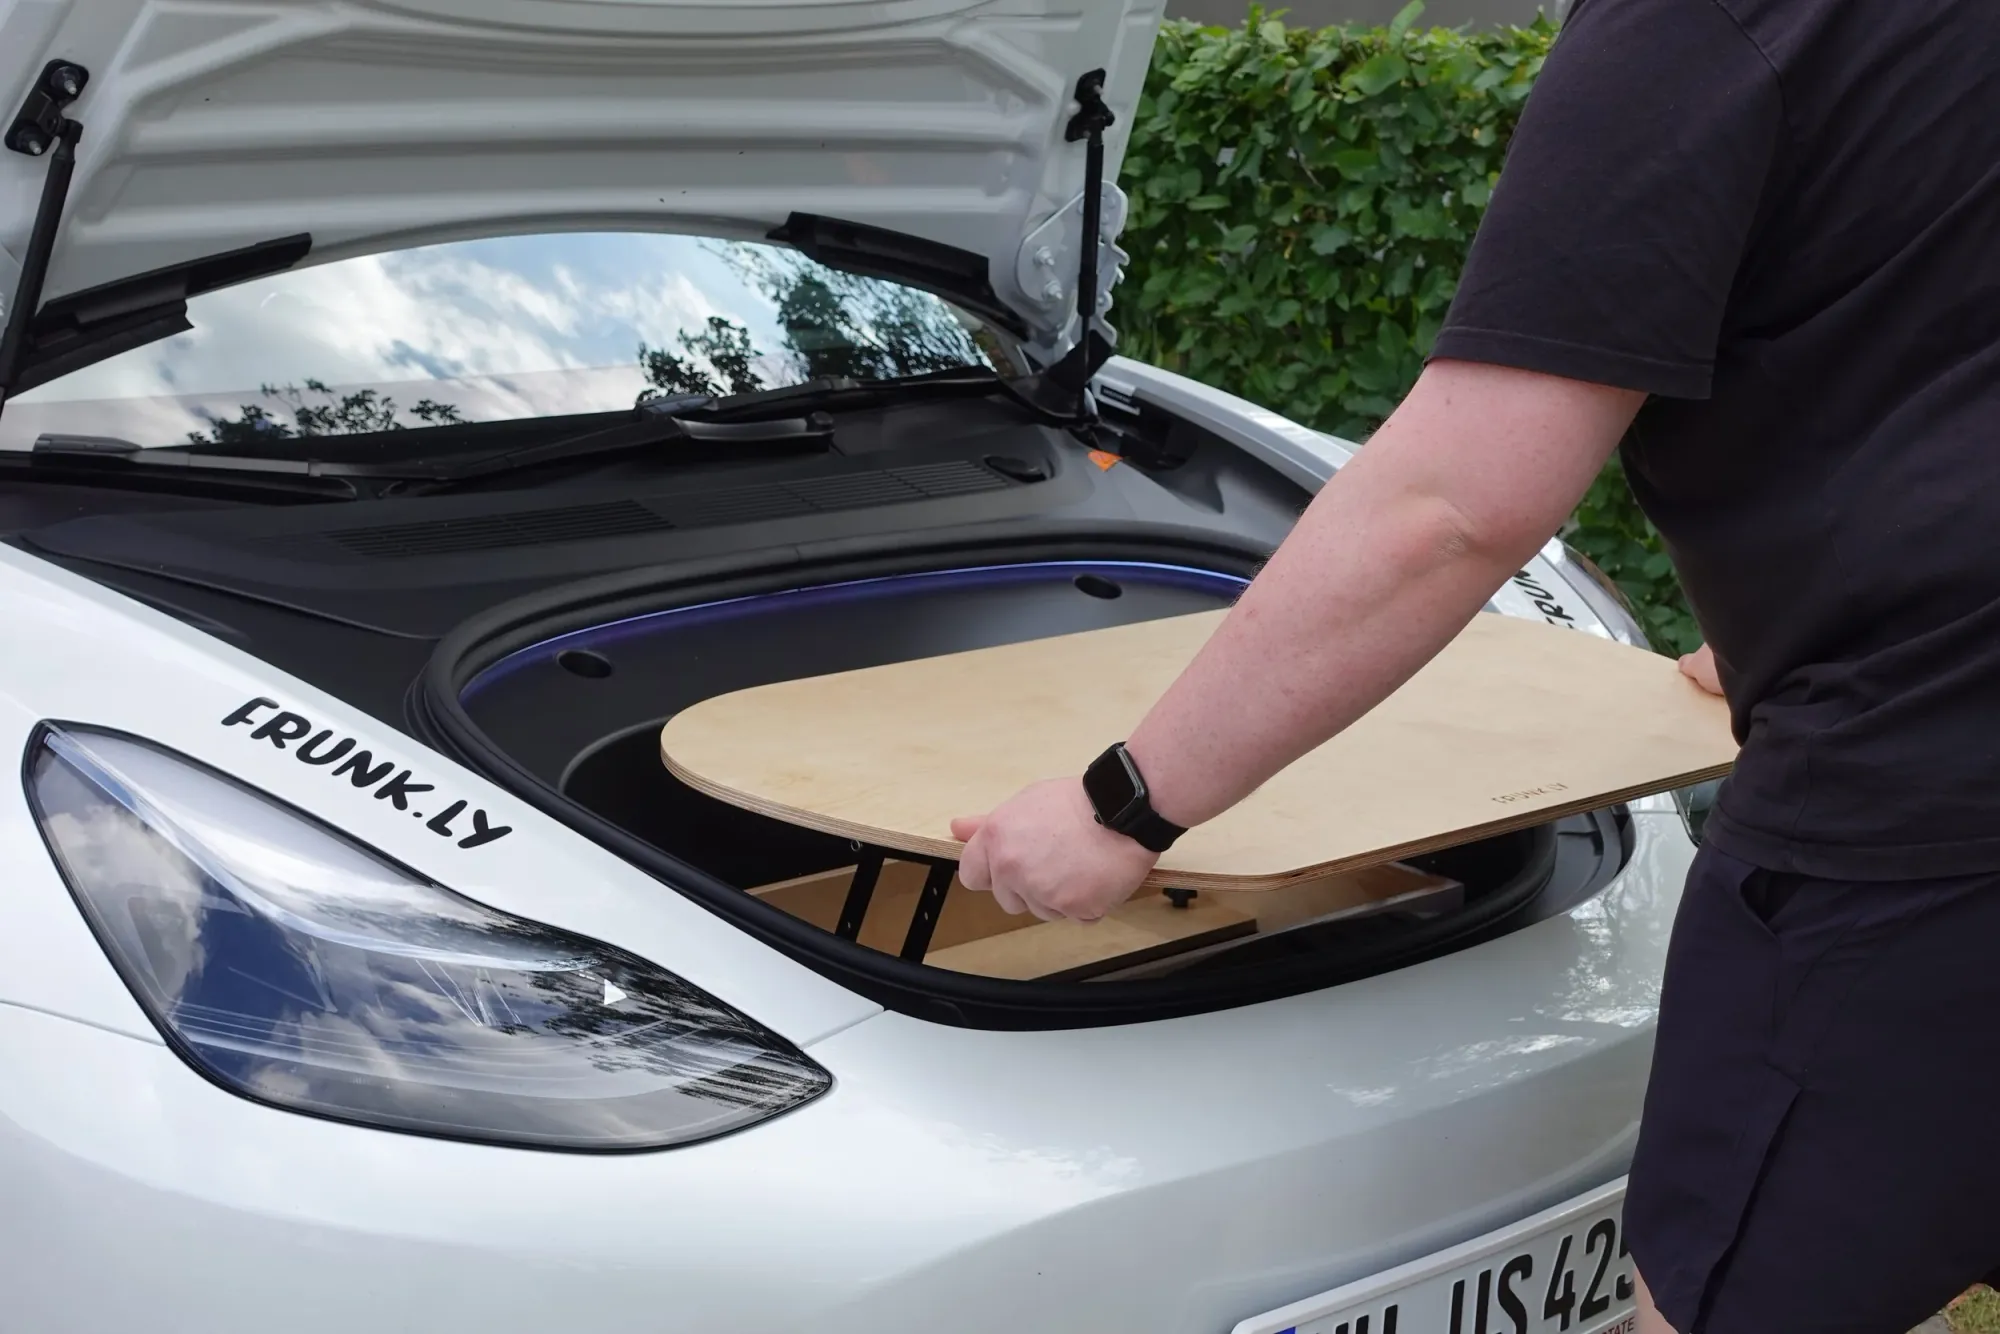
Step 6
Check for secure fit.
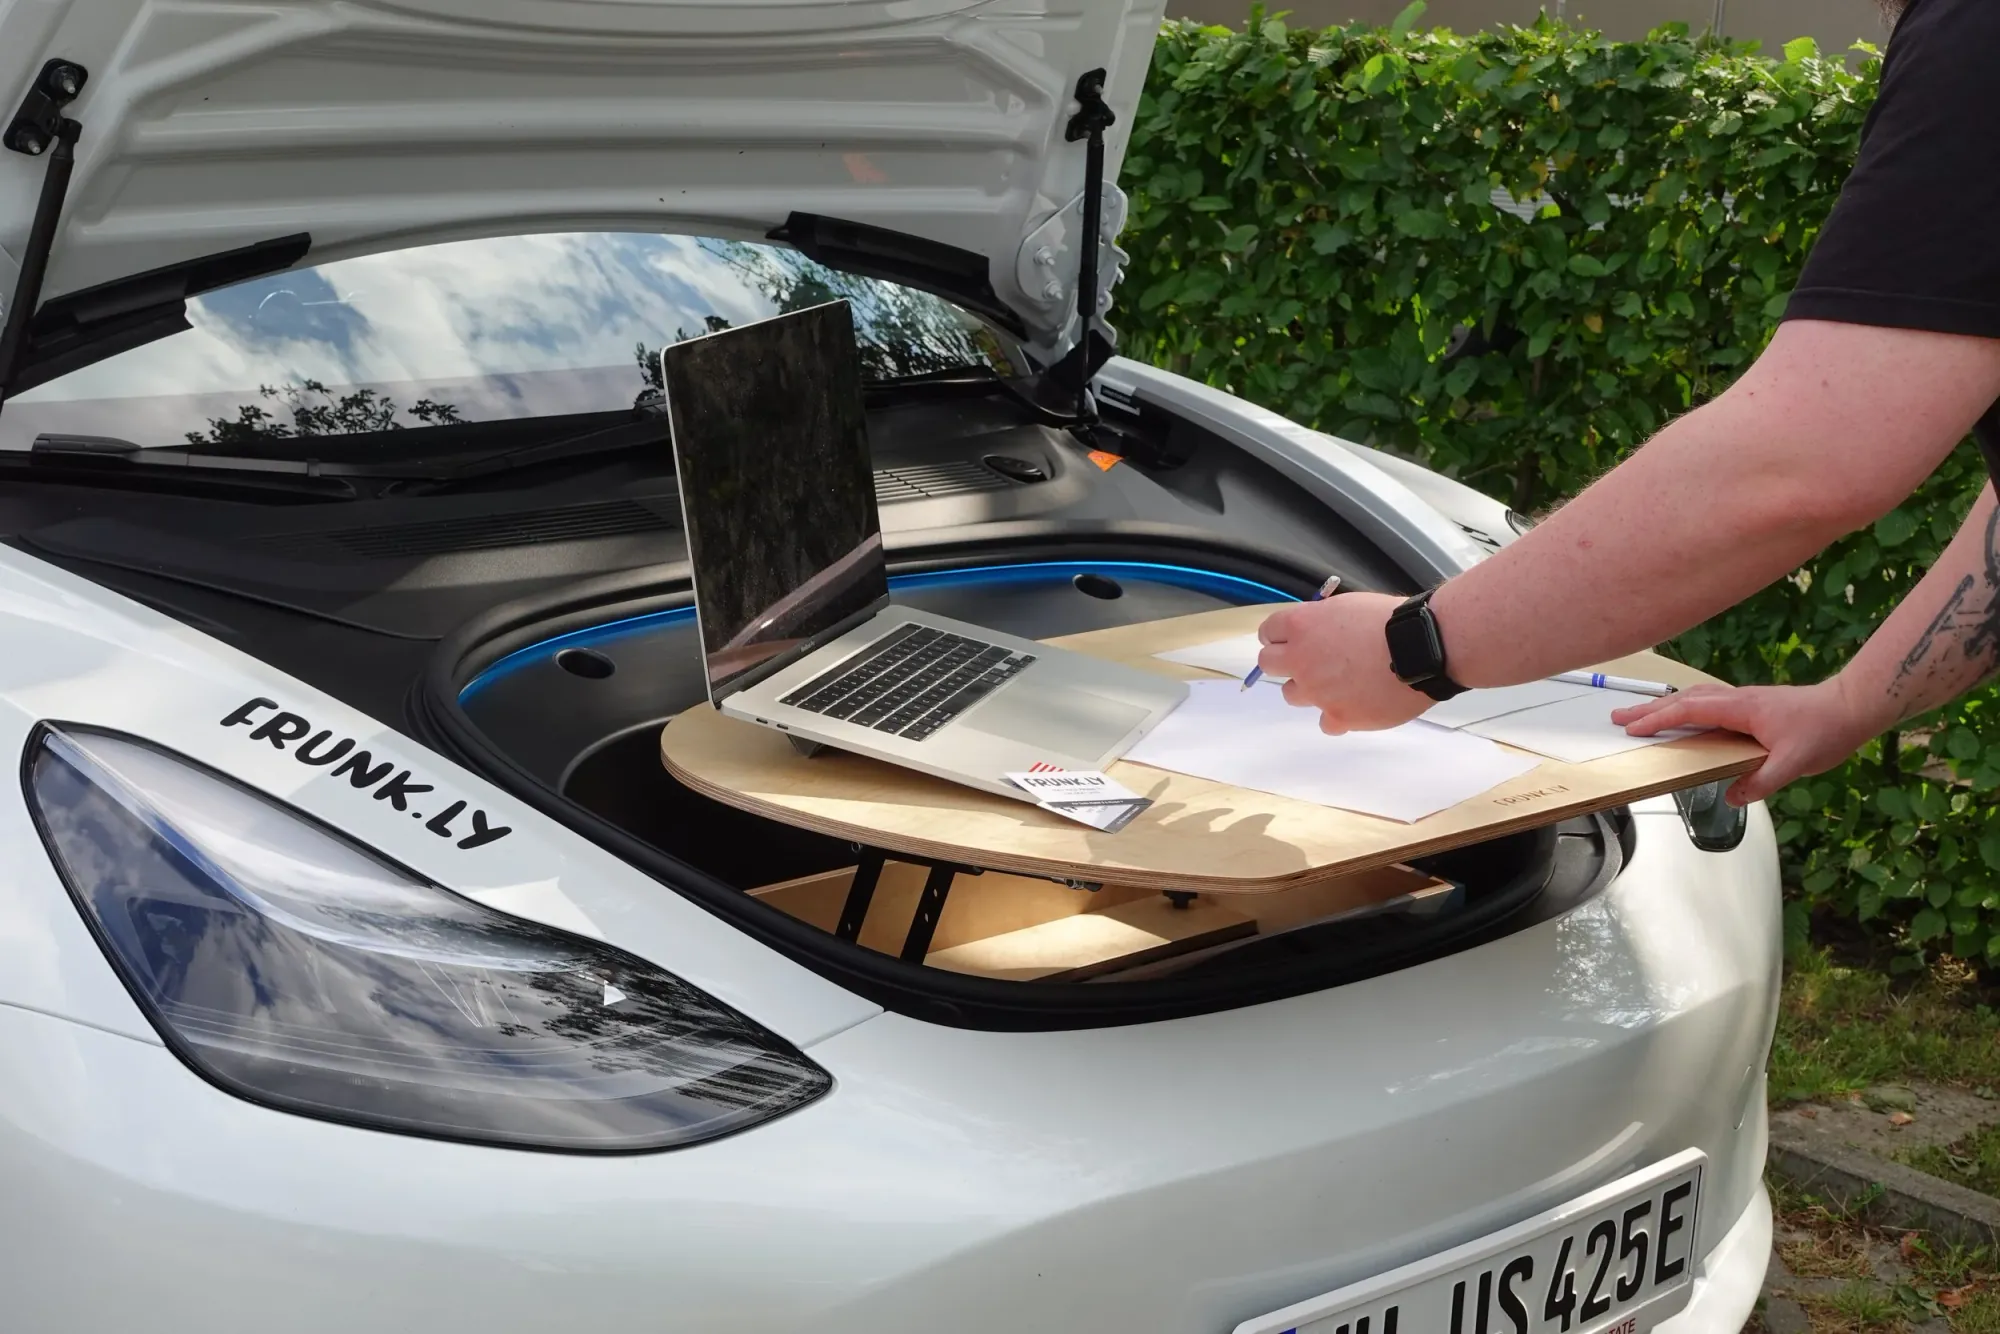
Step 7
Done, enjoy your table!
Teardown
How to quickly fold the table.
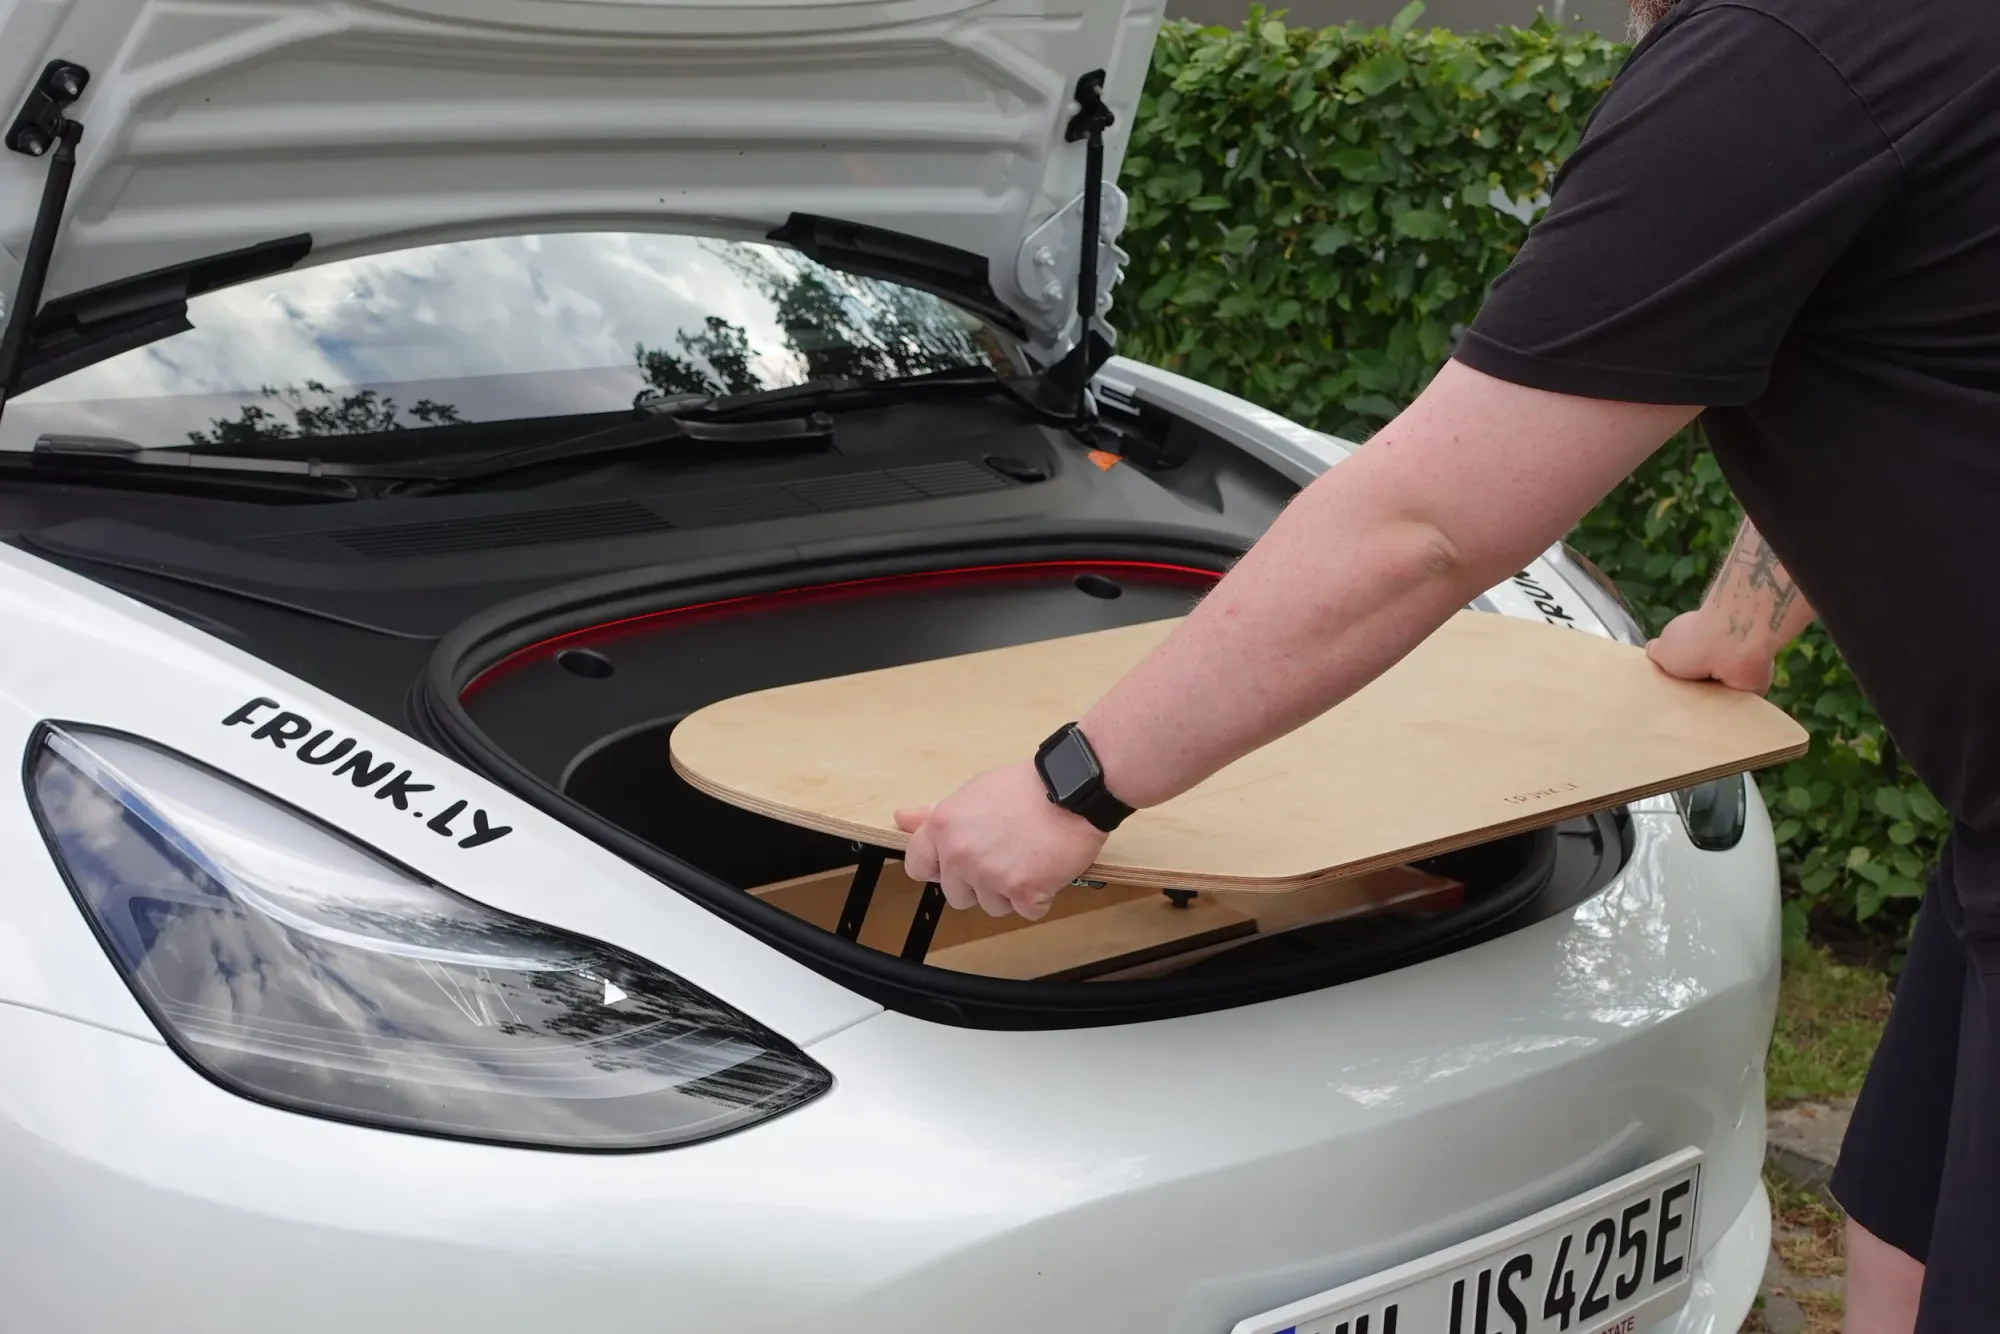
Step 1
Grip the table top on the sides.
Step 2
Pull the top away from the hinges.
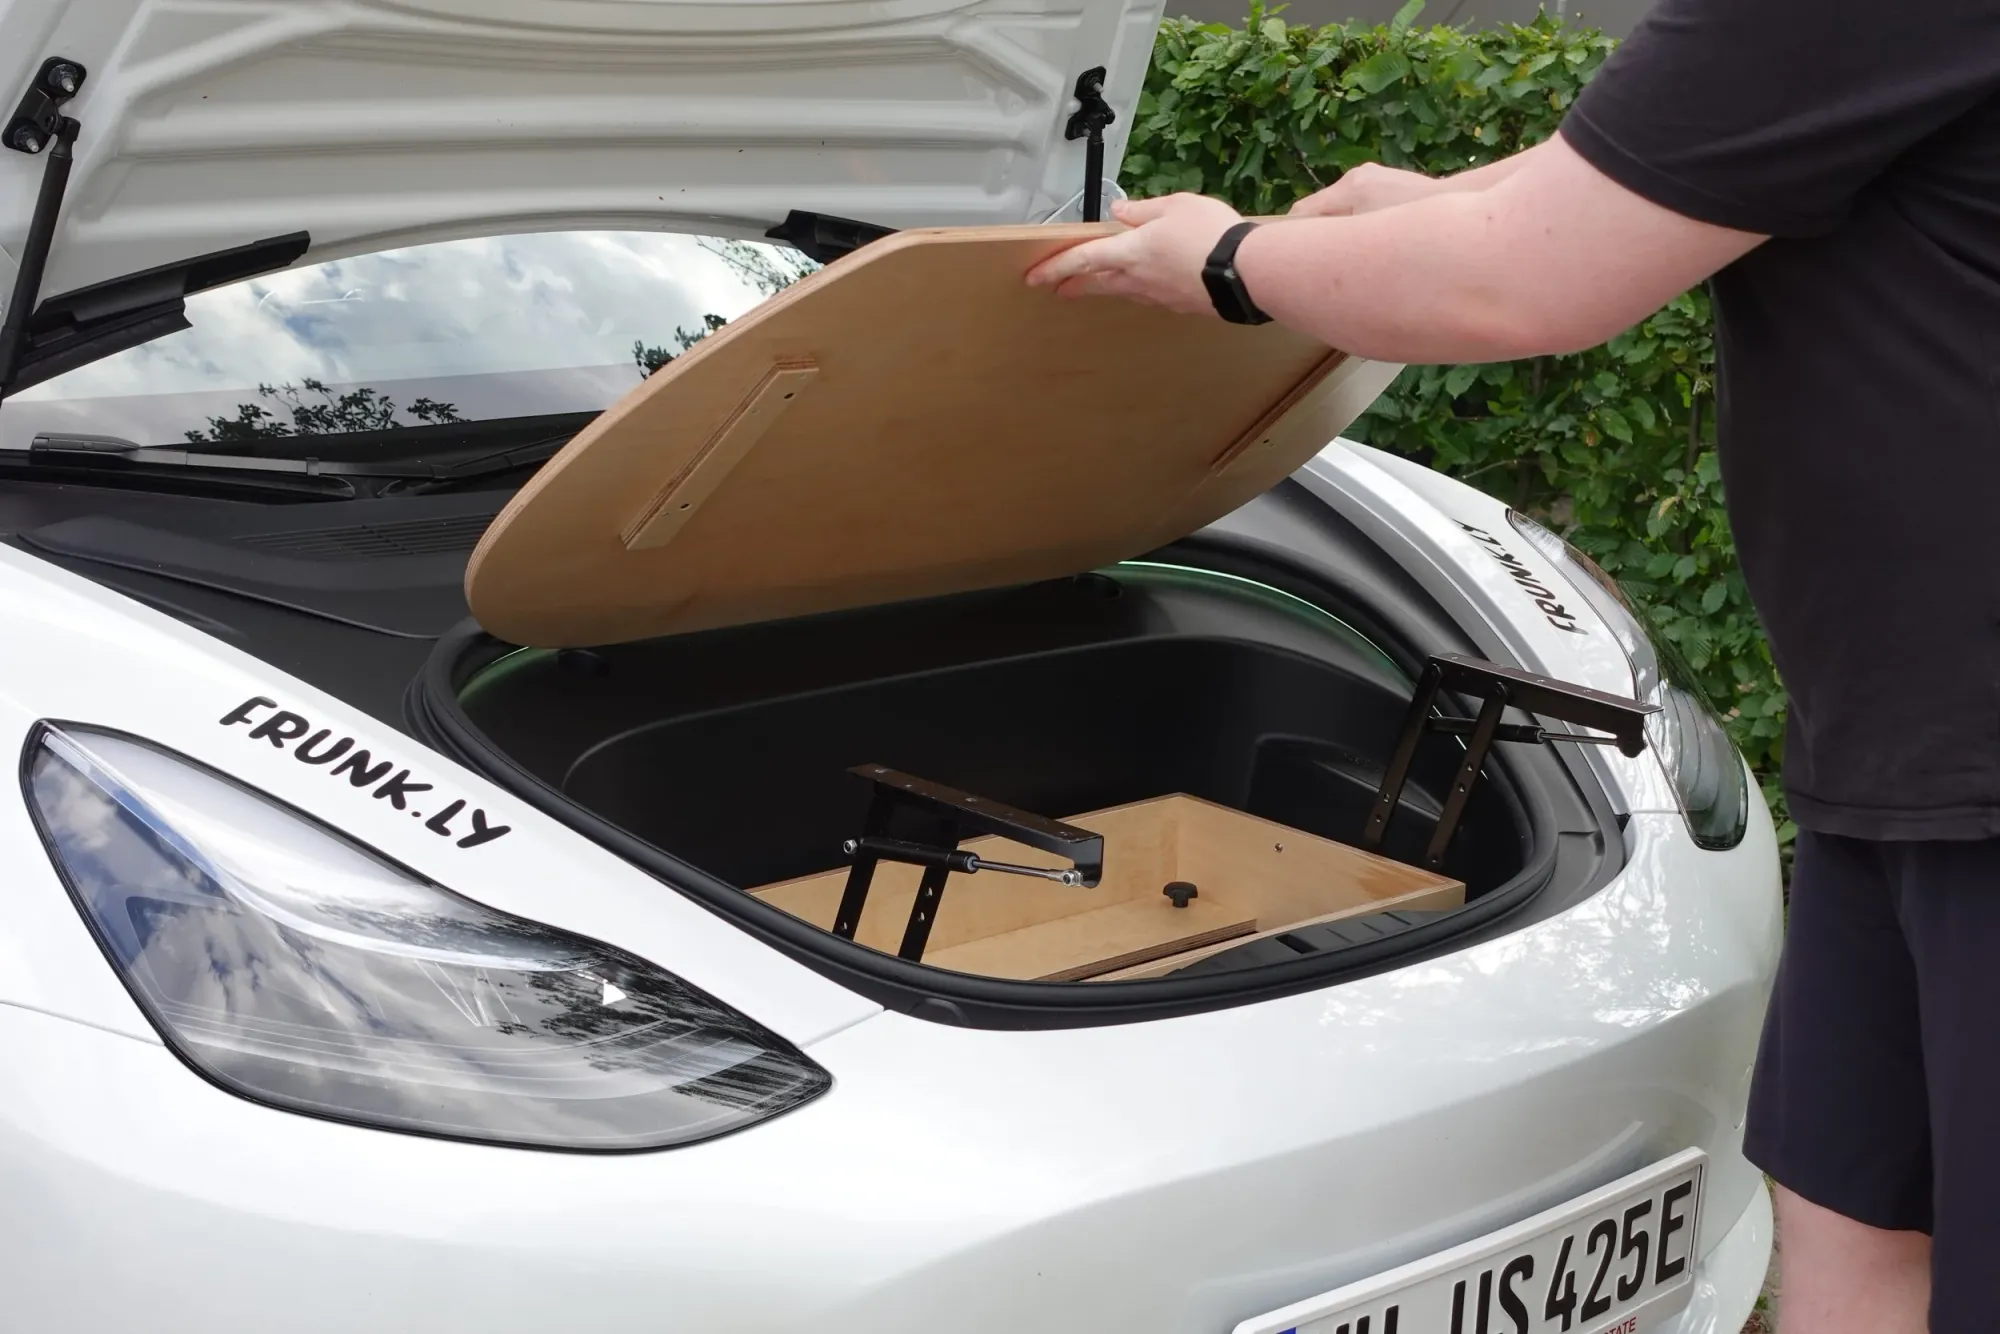
Step 3
Set the top aside.
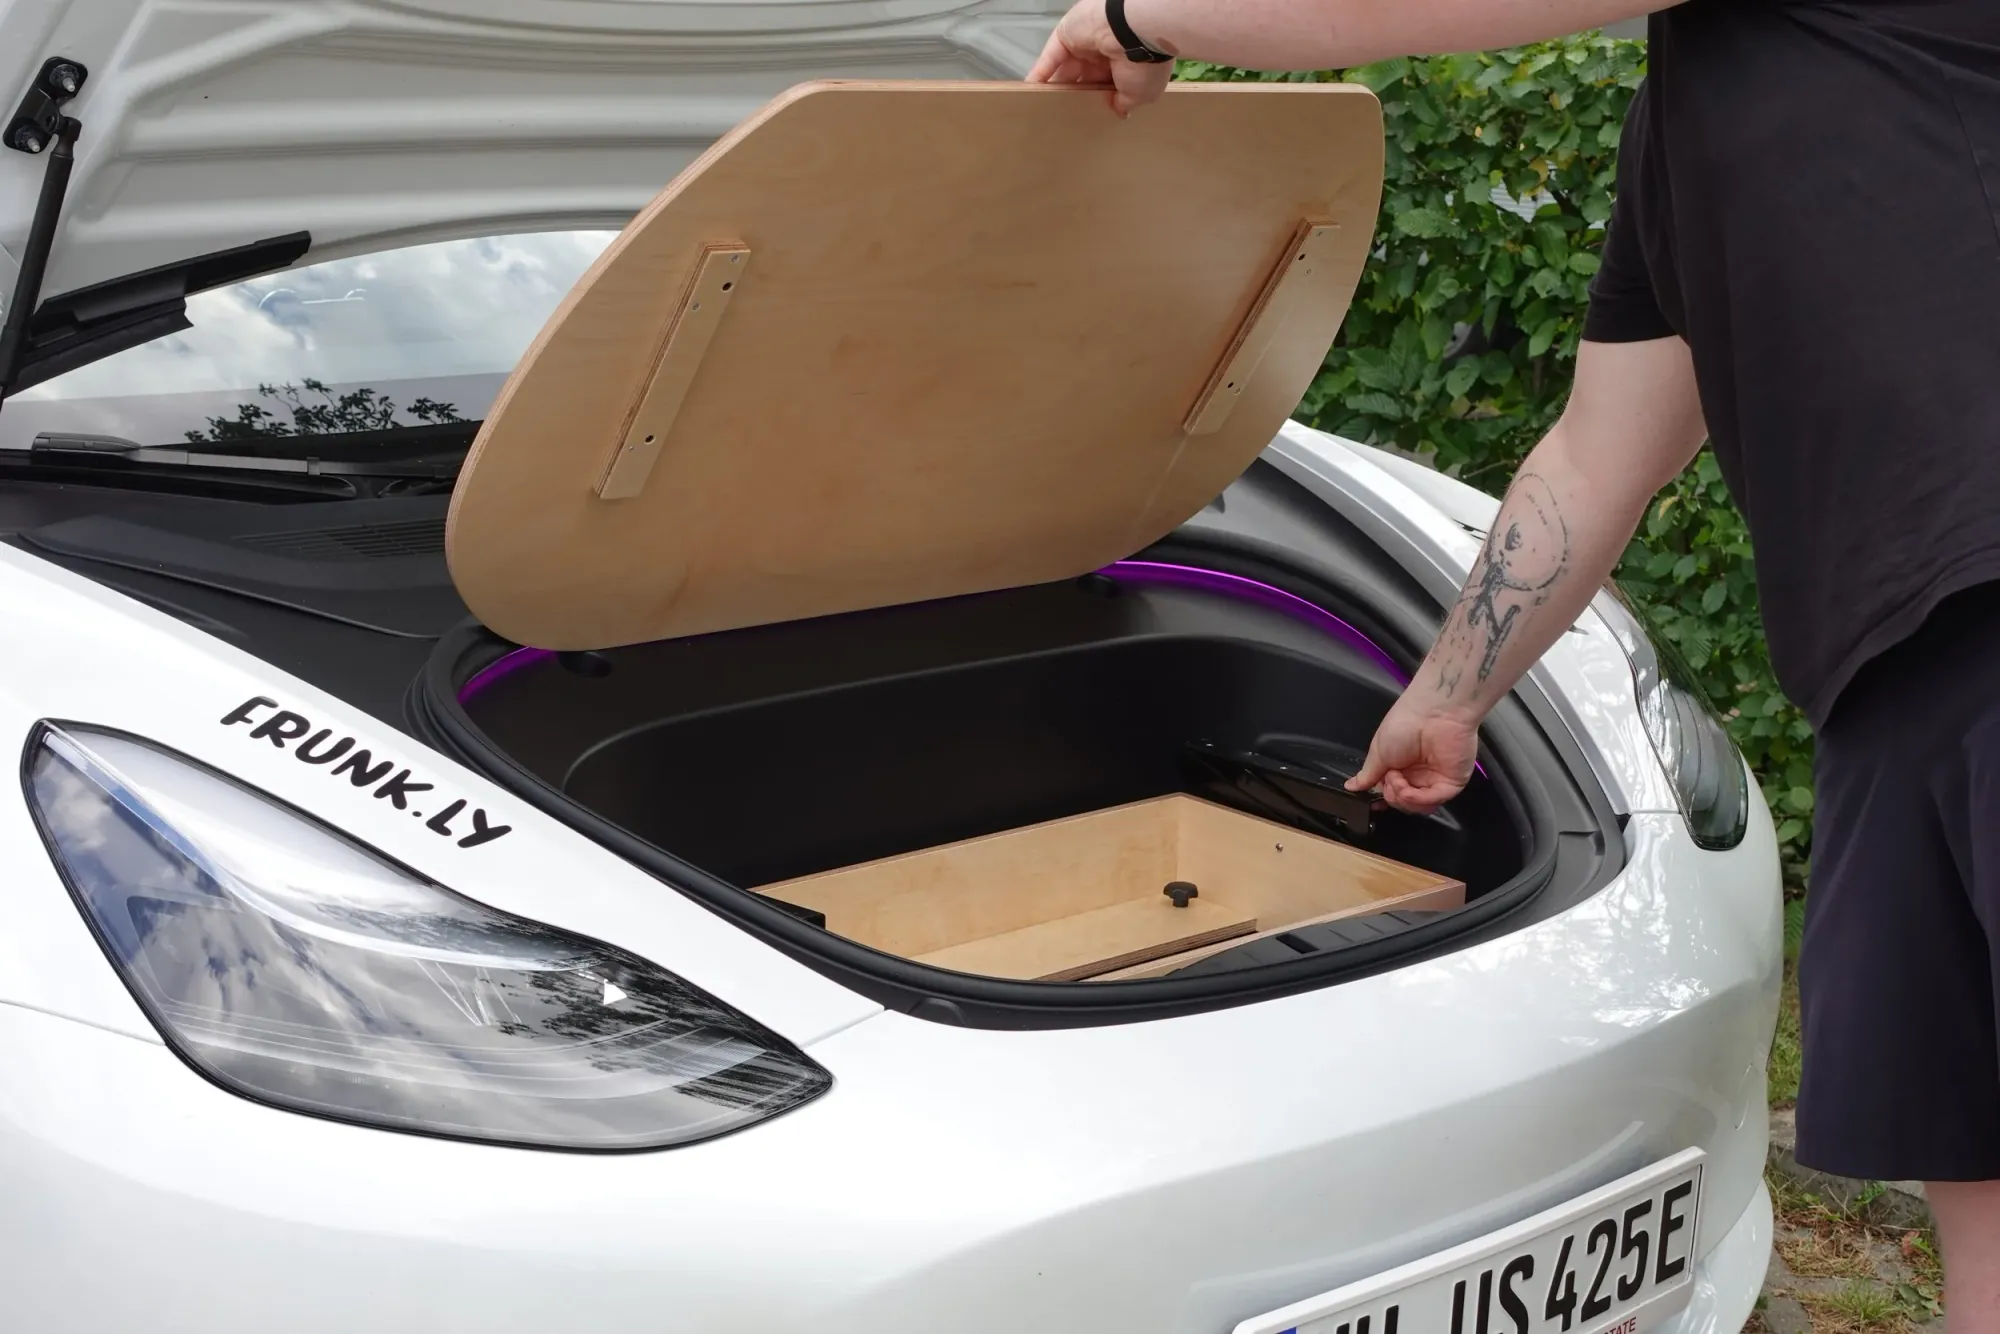
Step 4
Fold the hinges closed.
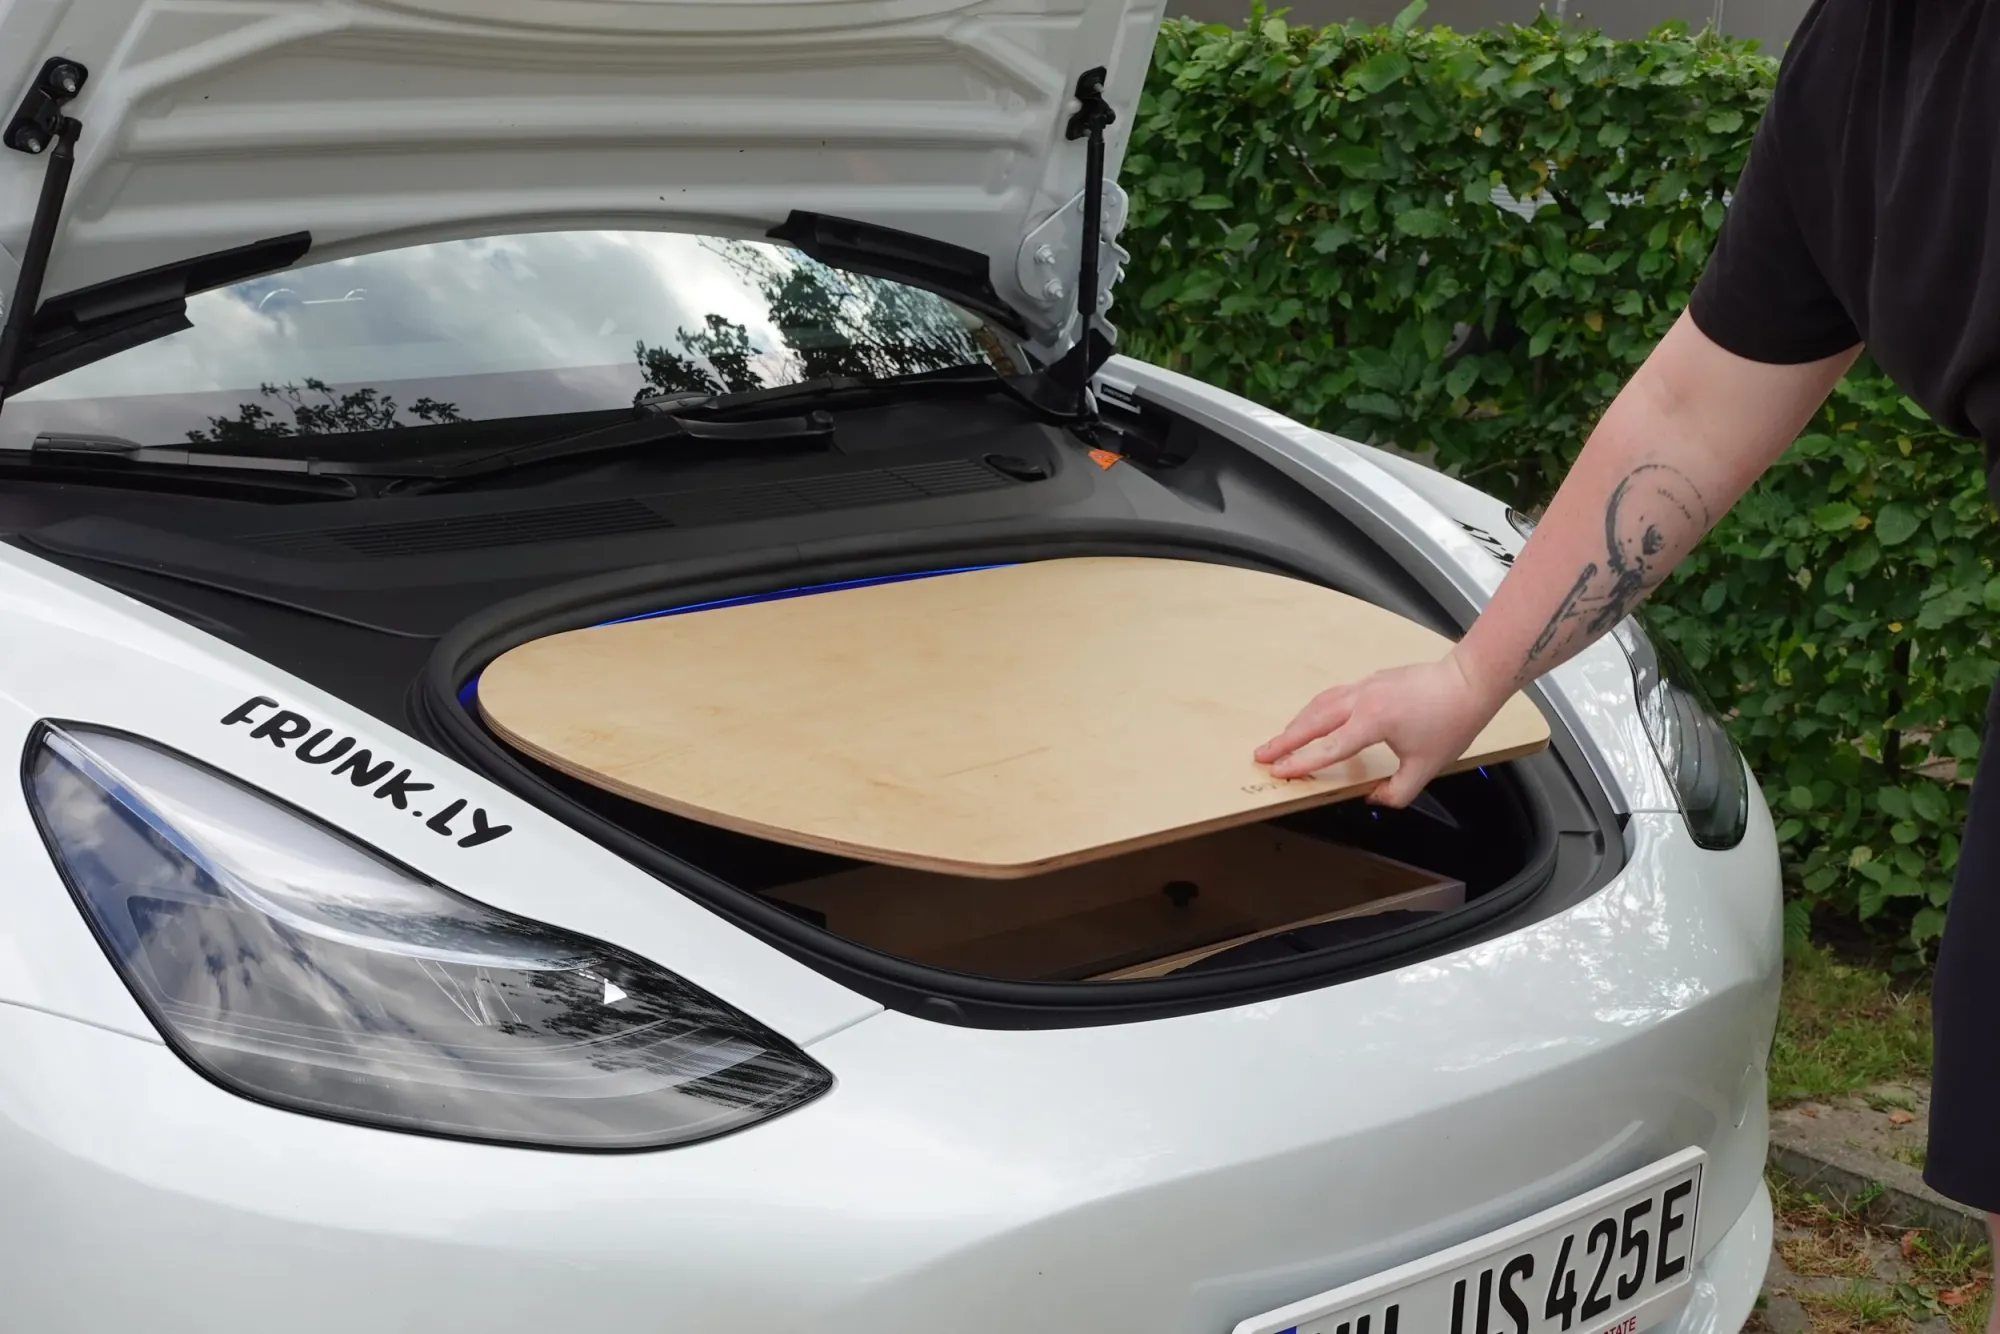
Step 5
Carefully replace the top.
Interested in a Frunkly Series 1?
The Series 1 is no longer in production. If you're interested in a custom order, reach out to us via the contact form.
Contact Us