Frunkly LT & LTX Guide
For all Tesla Model 3 and Model Y versions. Step-by-step installation in just a few minutes - no tools required.
Installation
Step 1
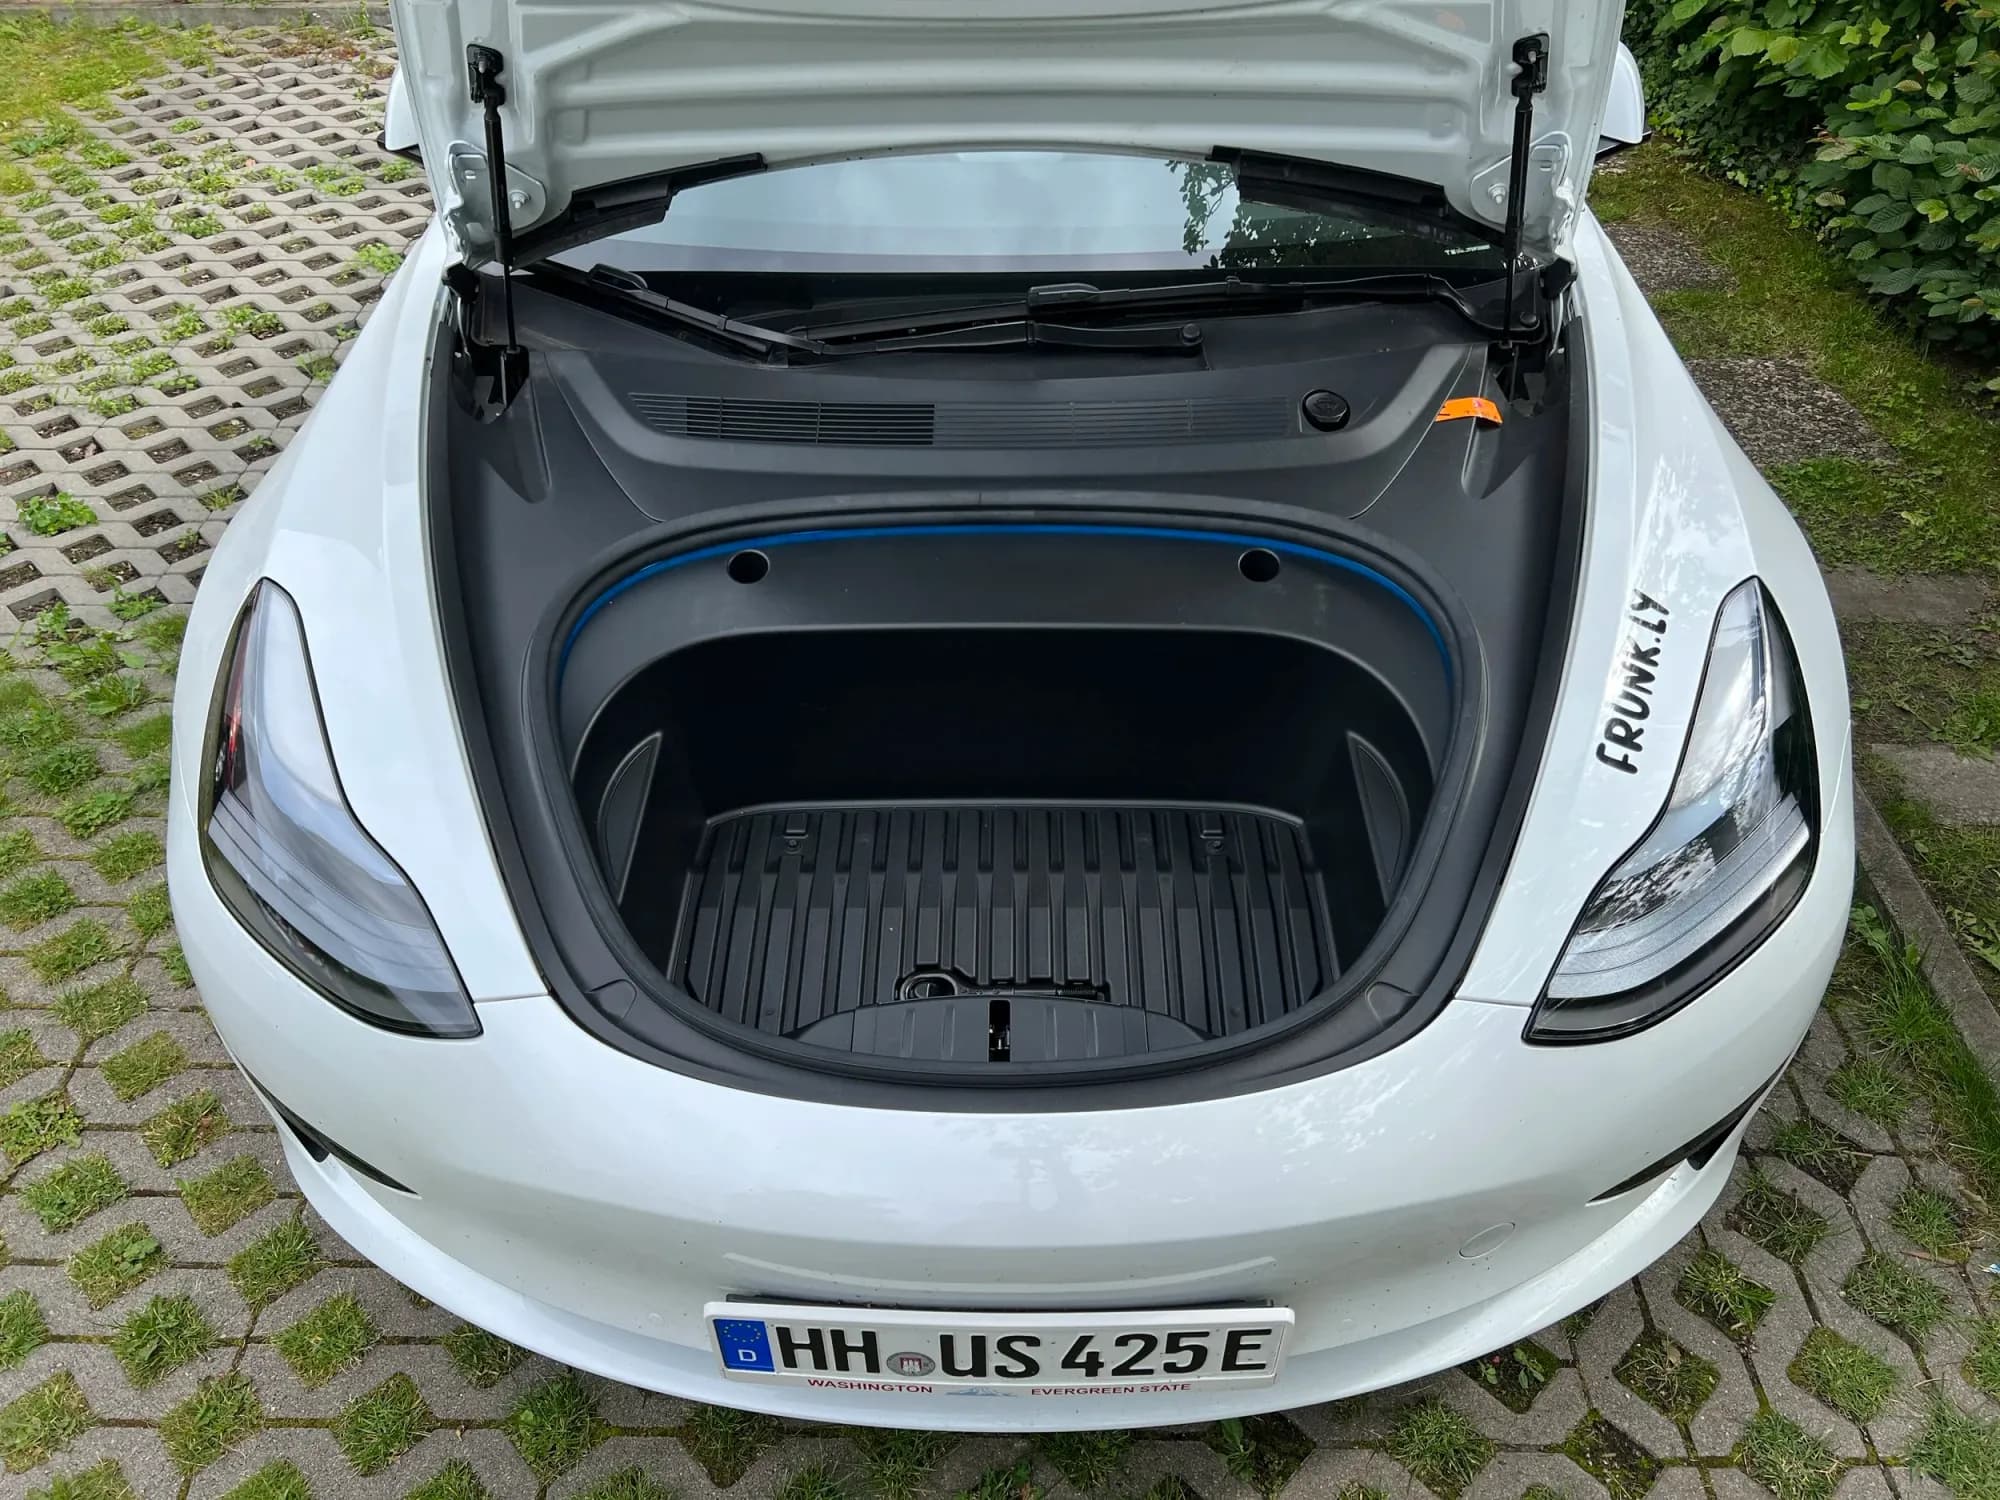
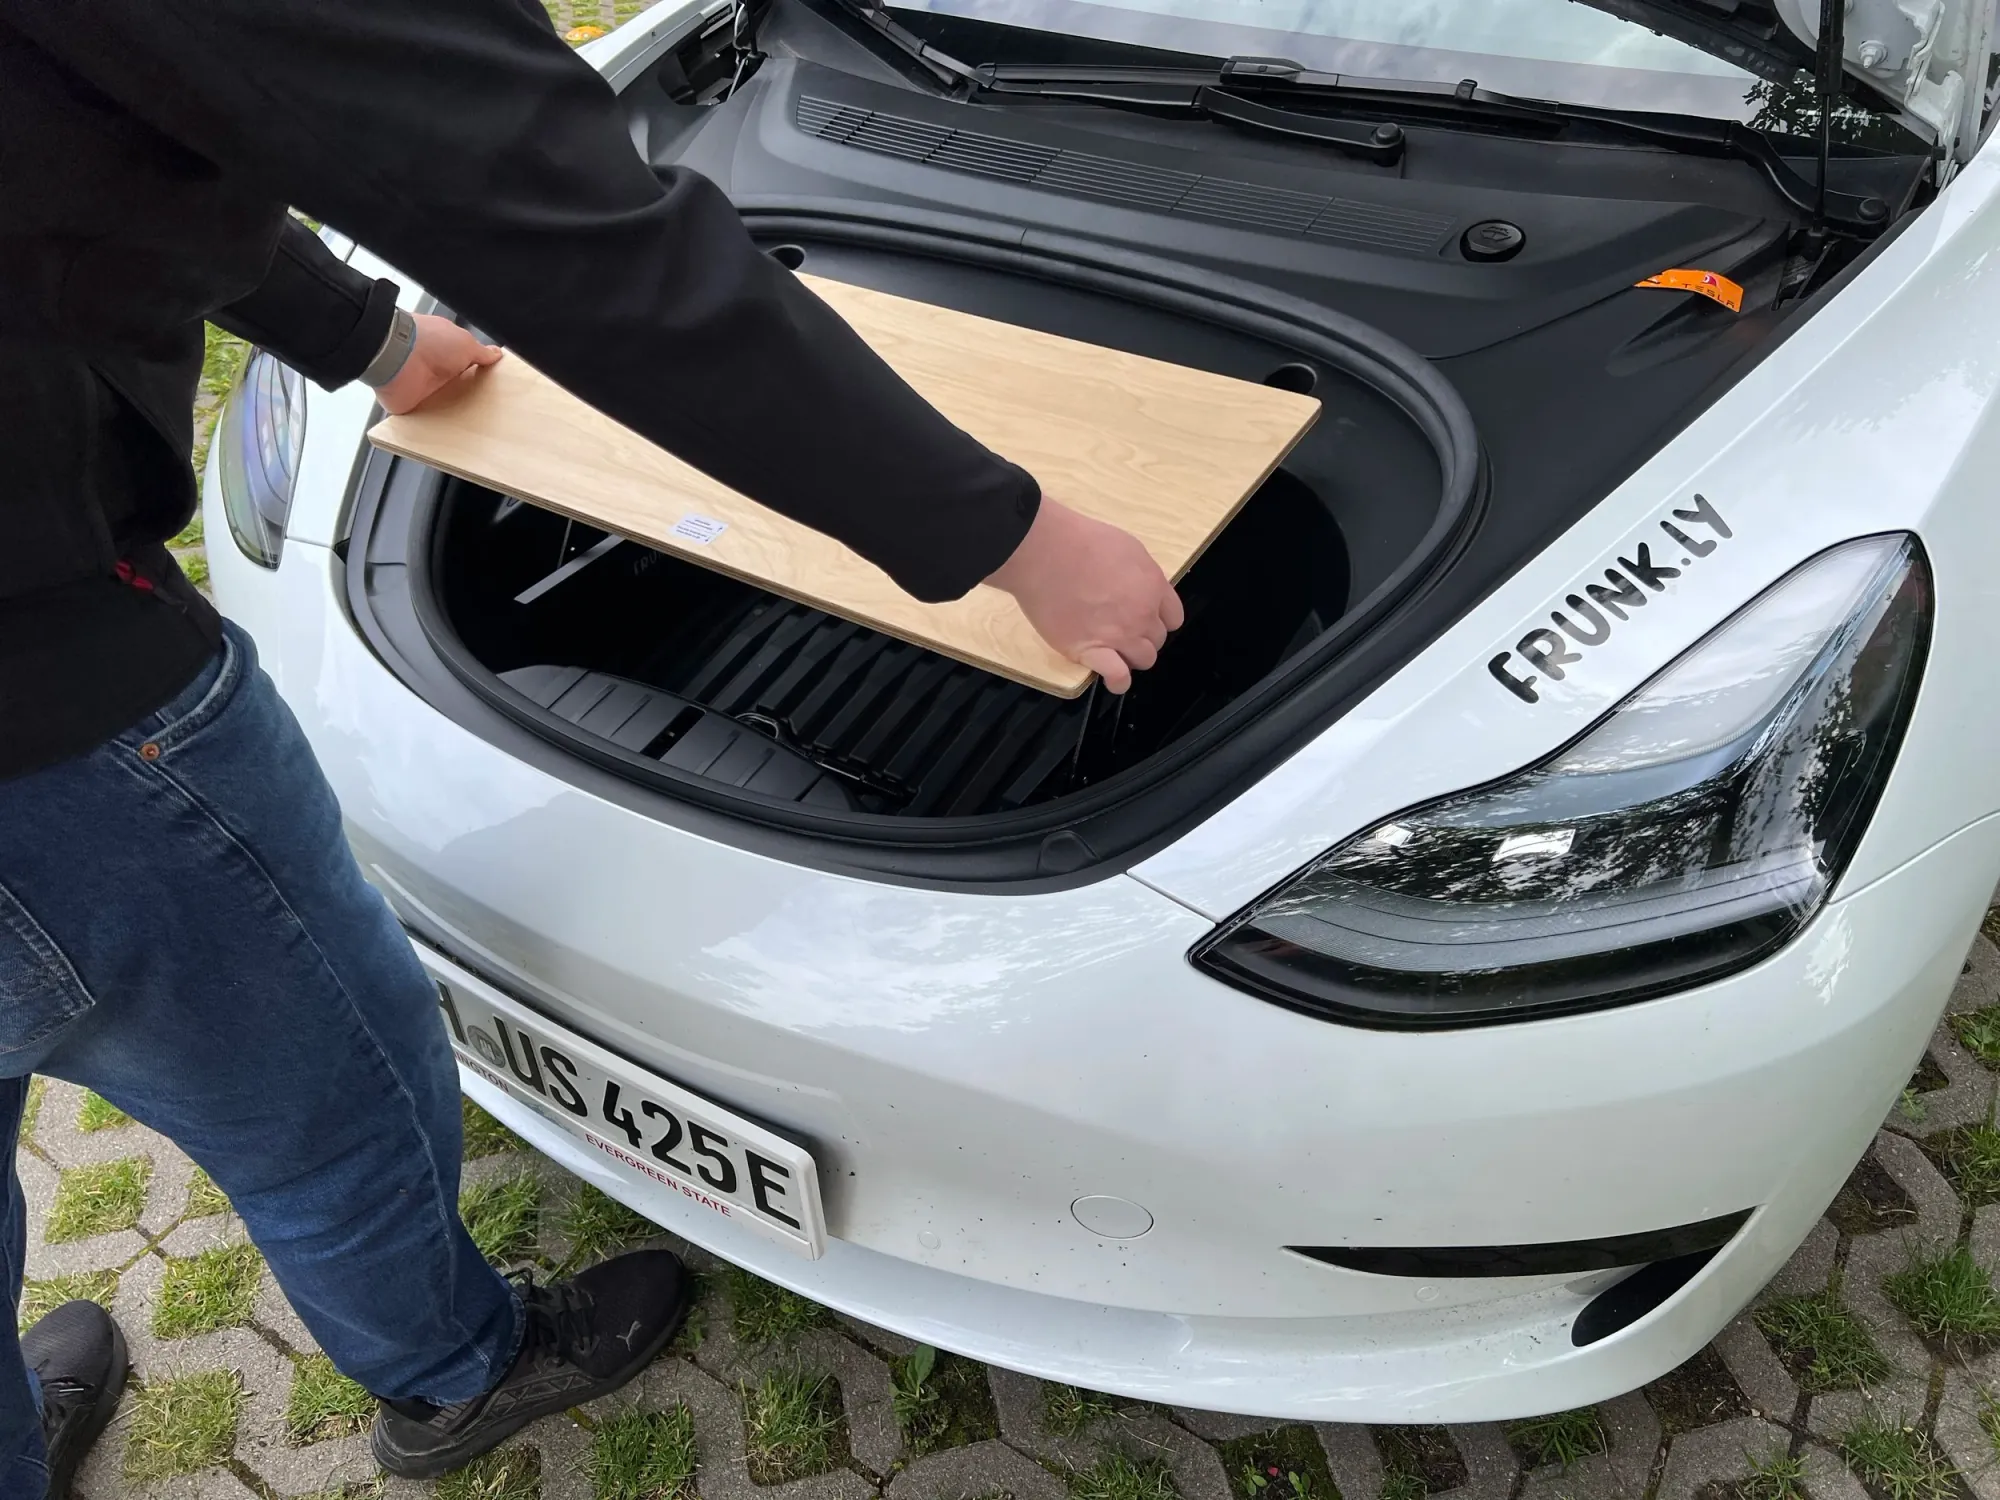
Remove all items from the frunk.

Step 2
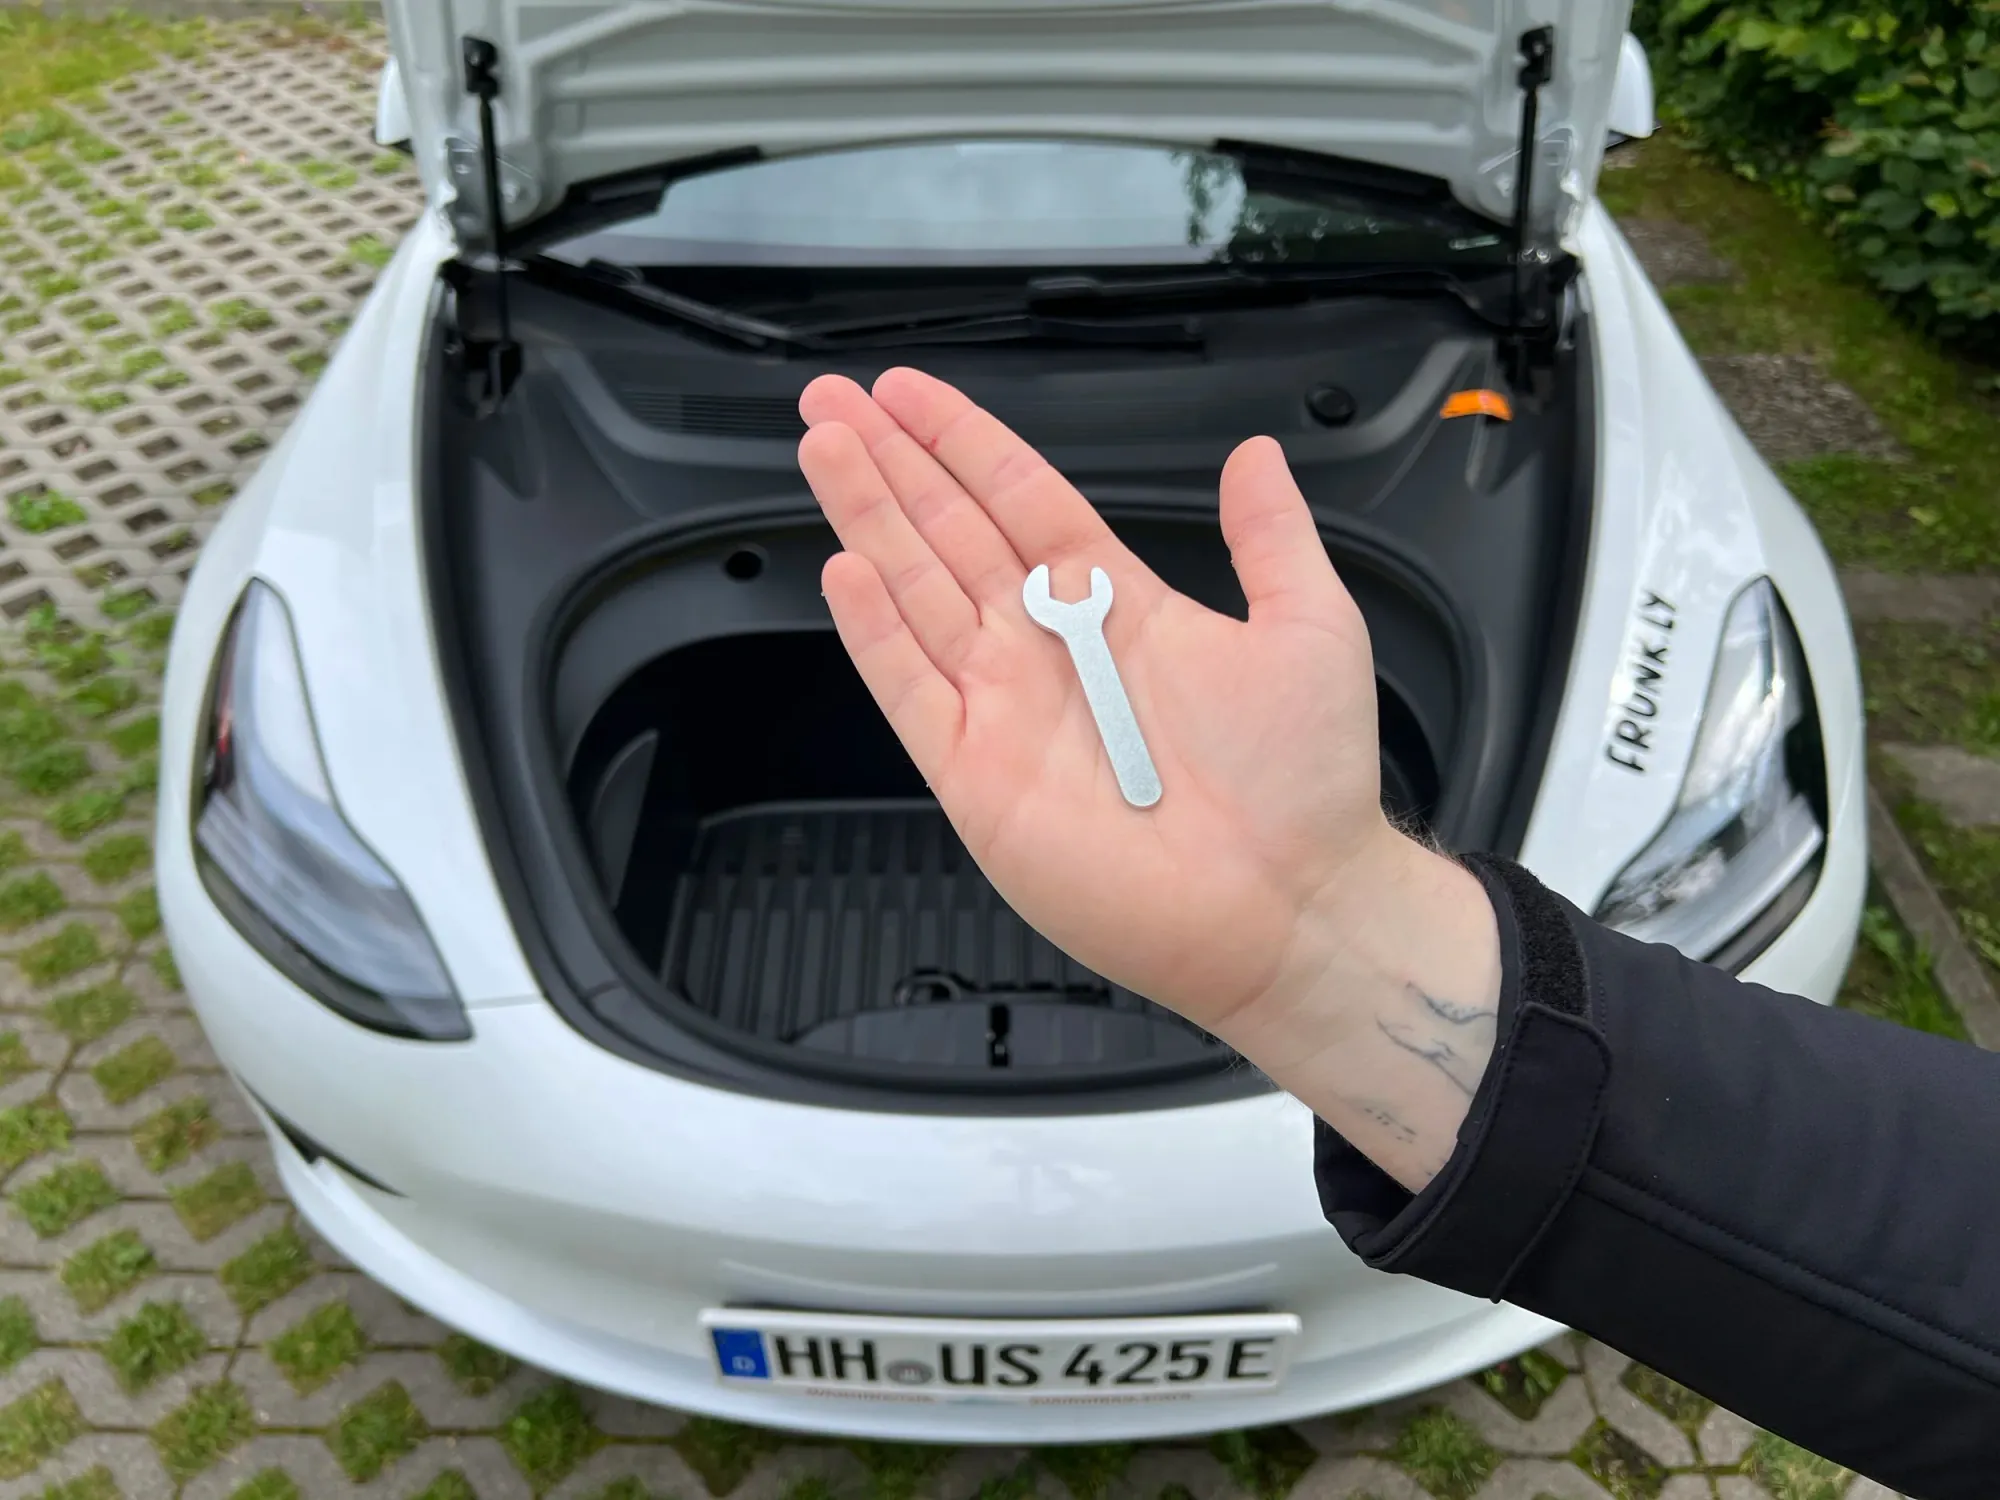
Get the bag with screws and tools.
Step 3
Take the wrench from the bag.
Step 4
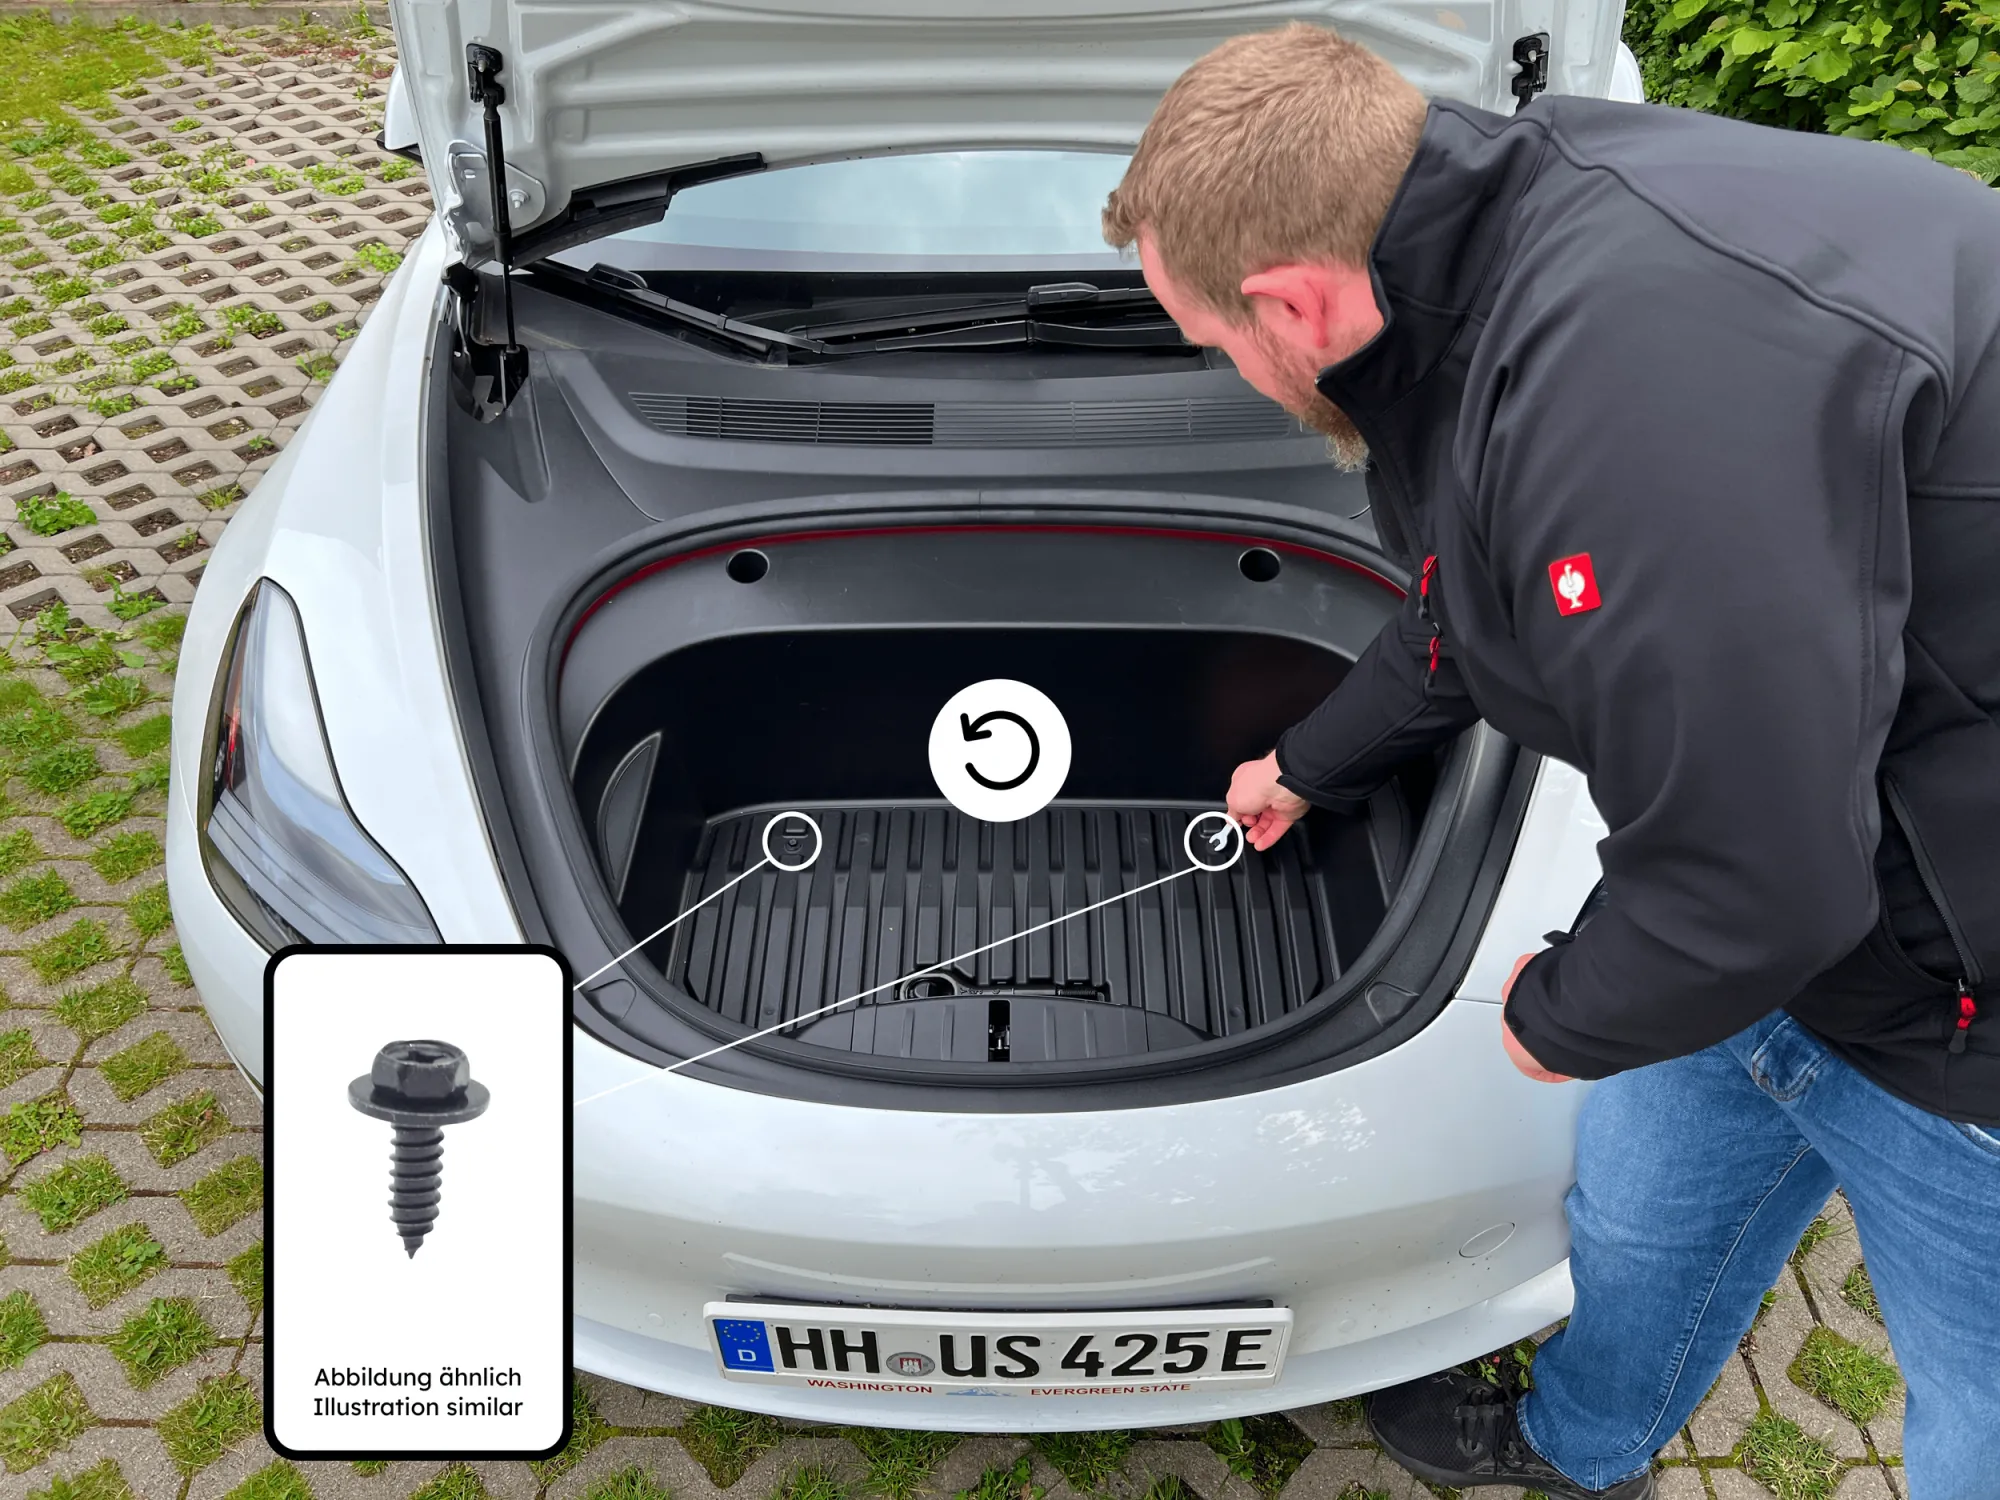
Remove the two screws in the frunk.
Step 5
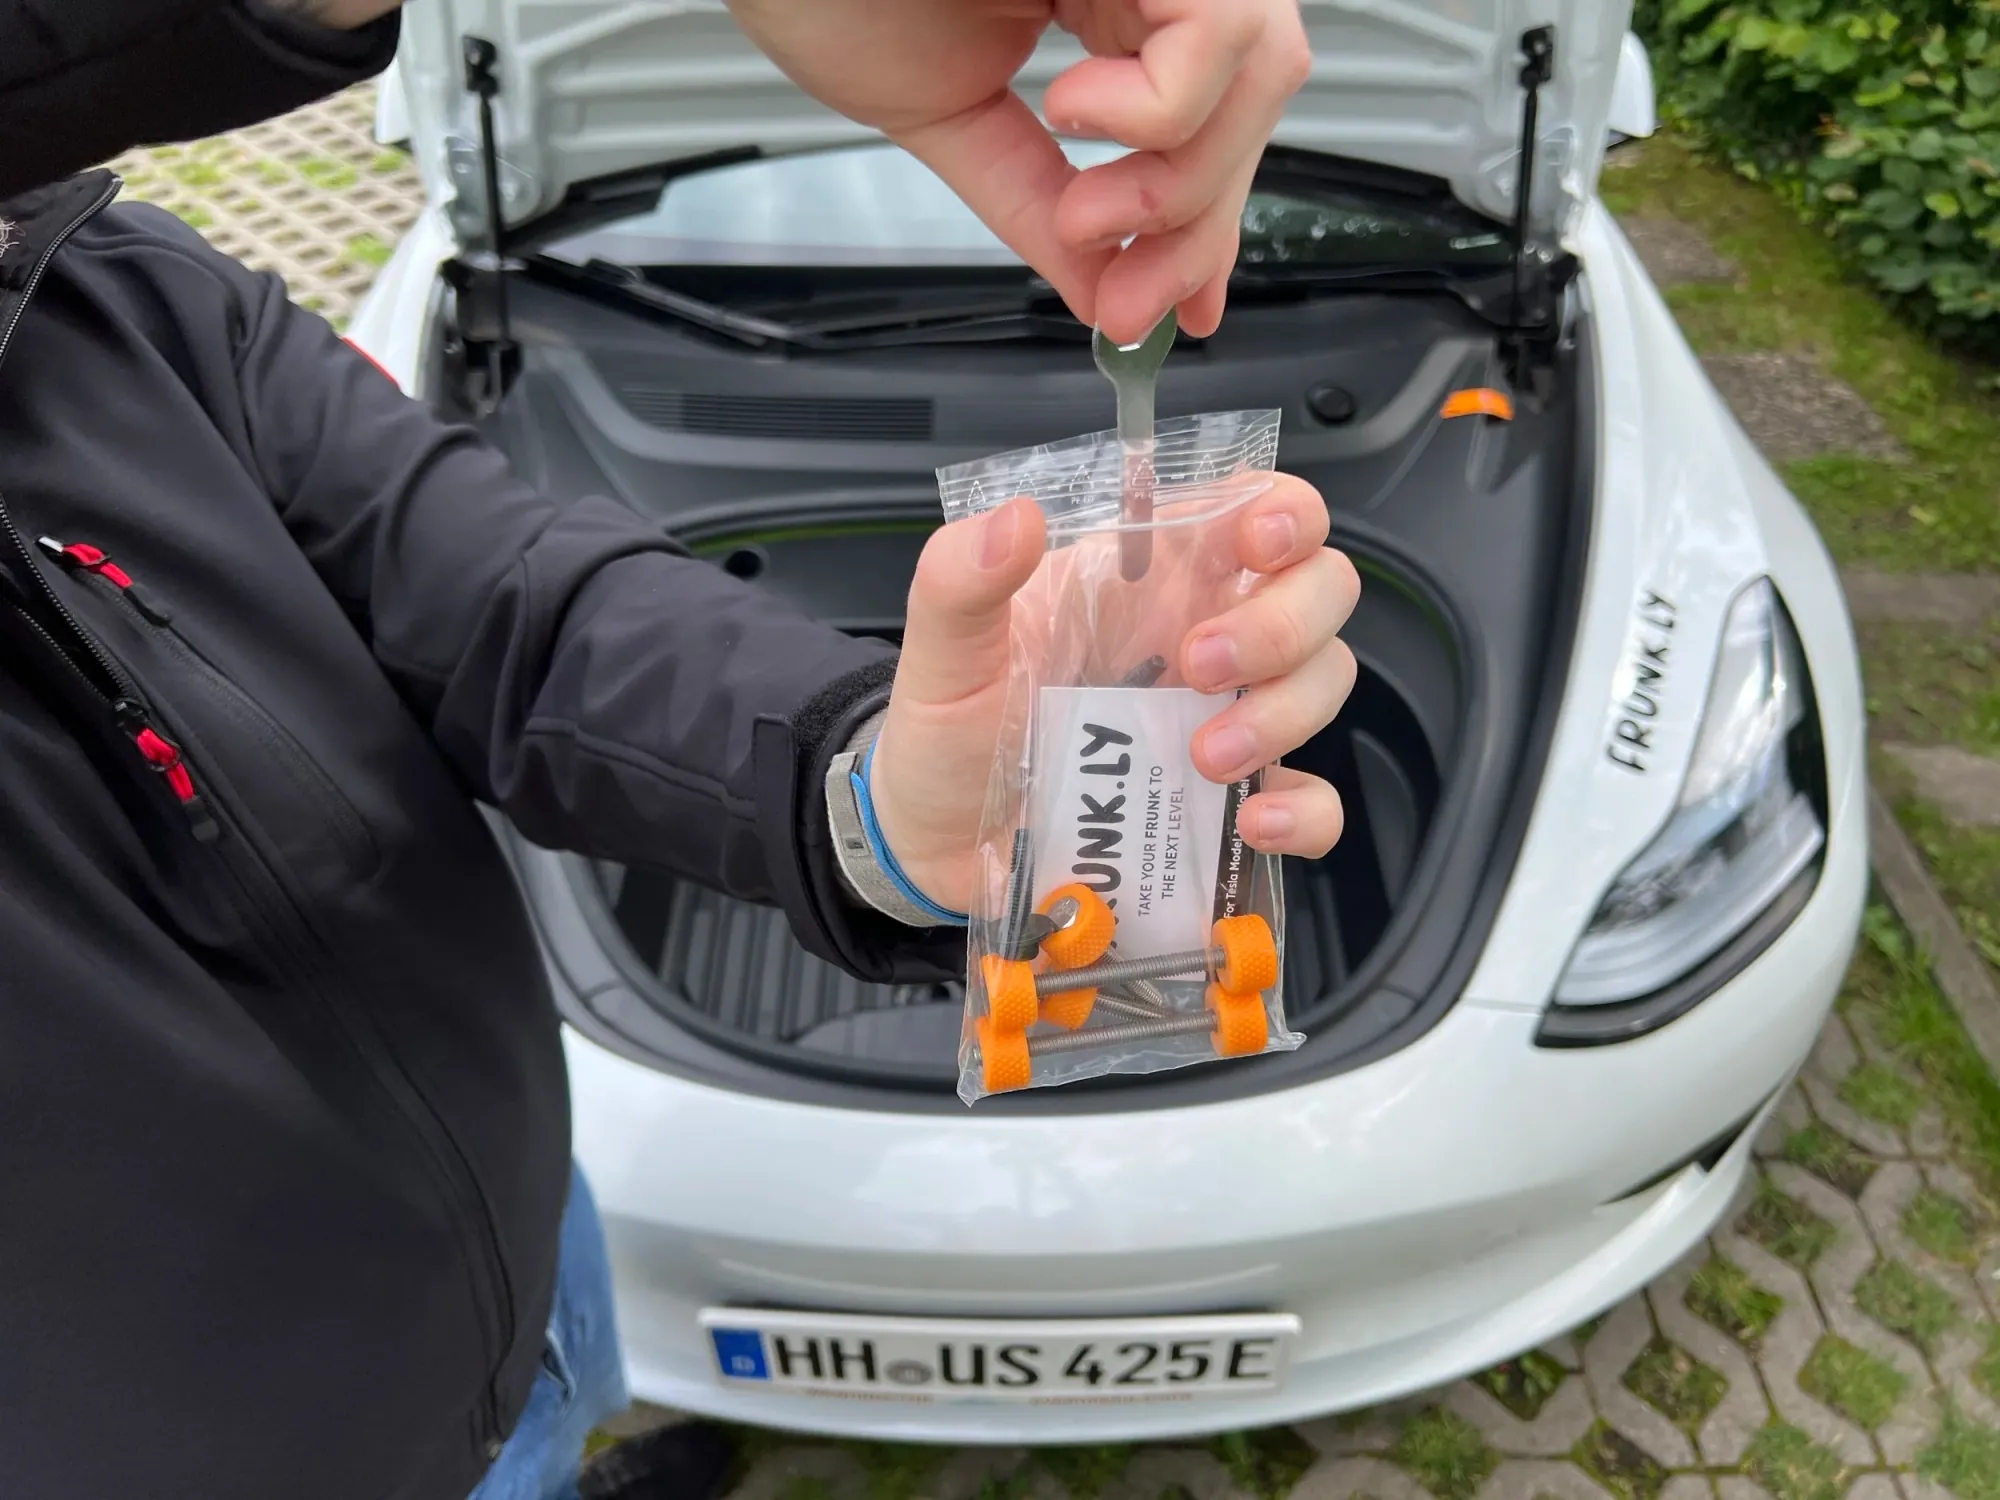
Store the screws and wrench in the bag.
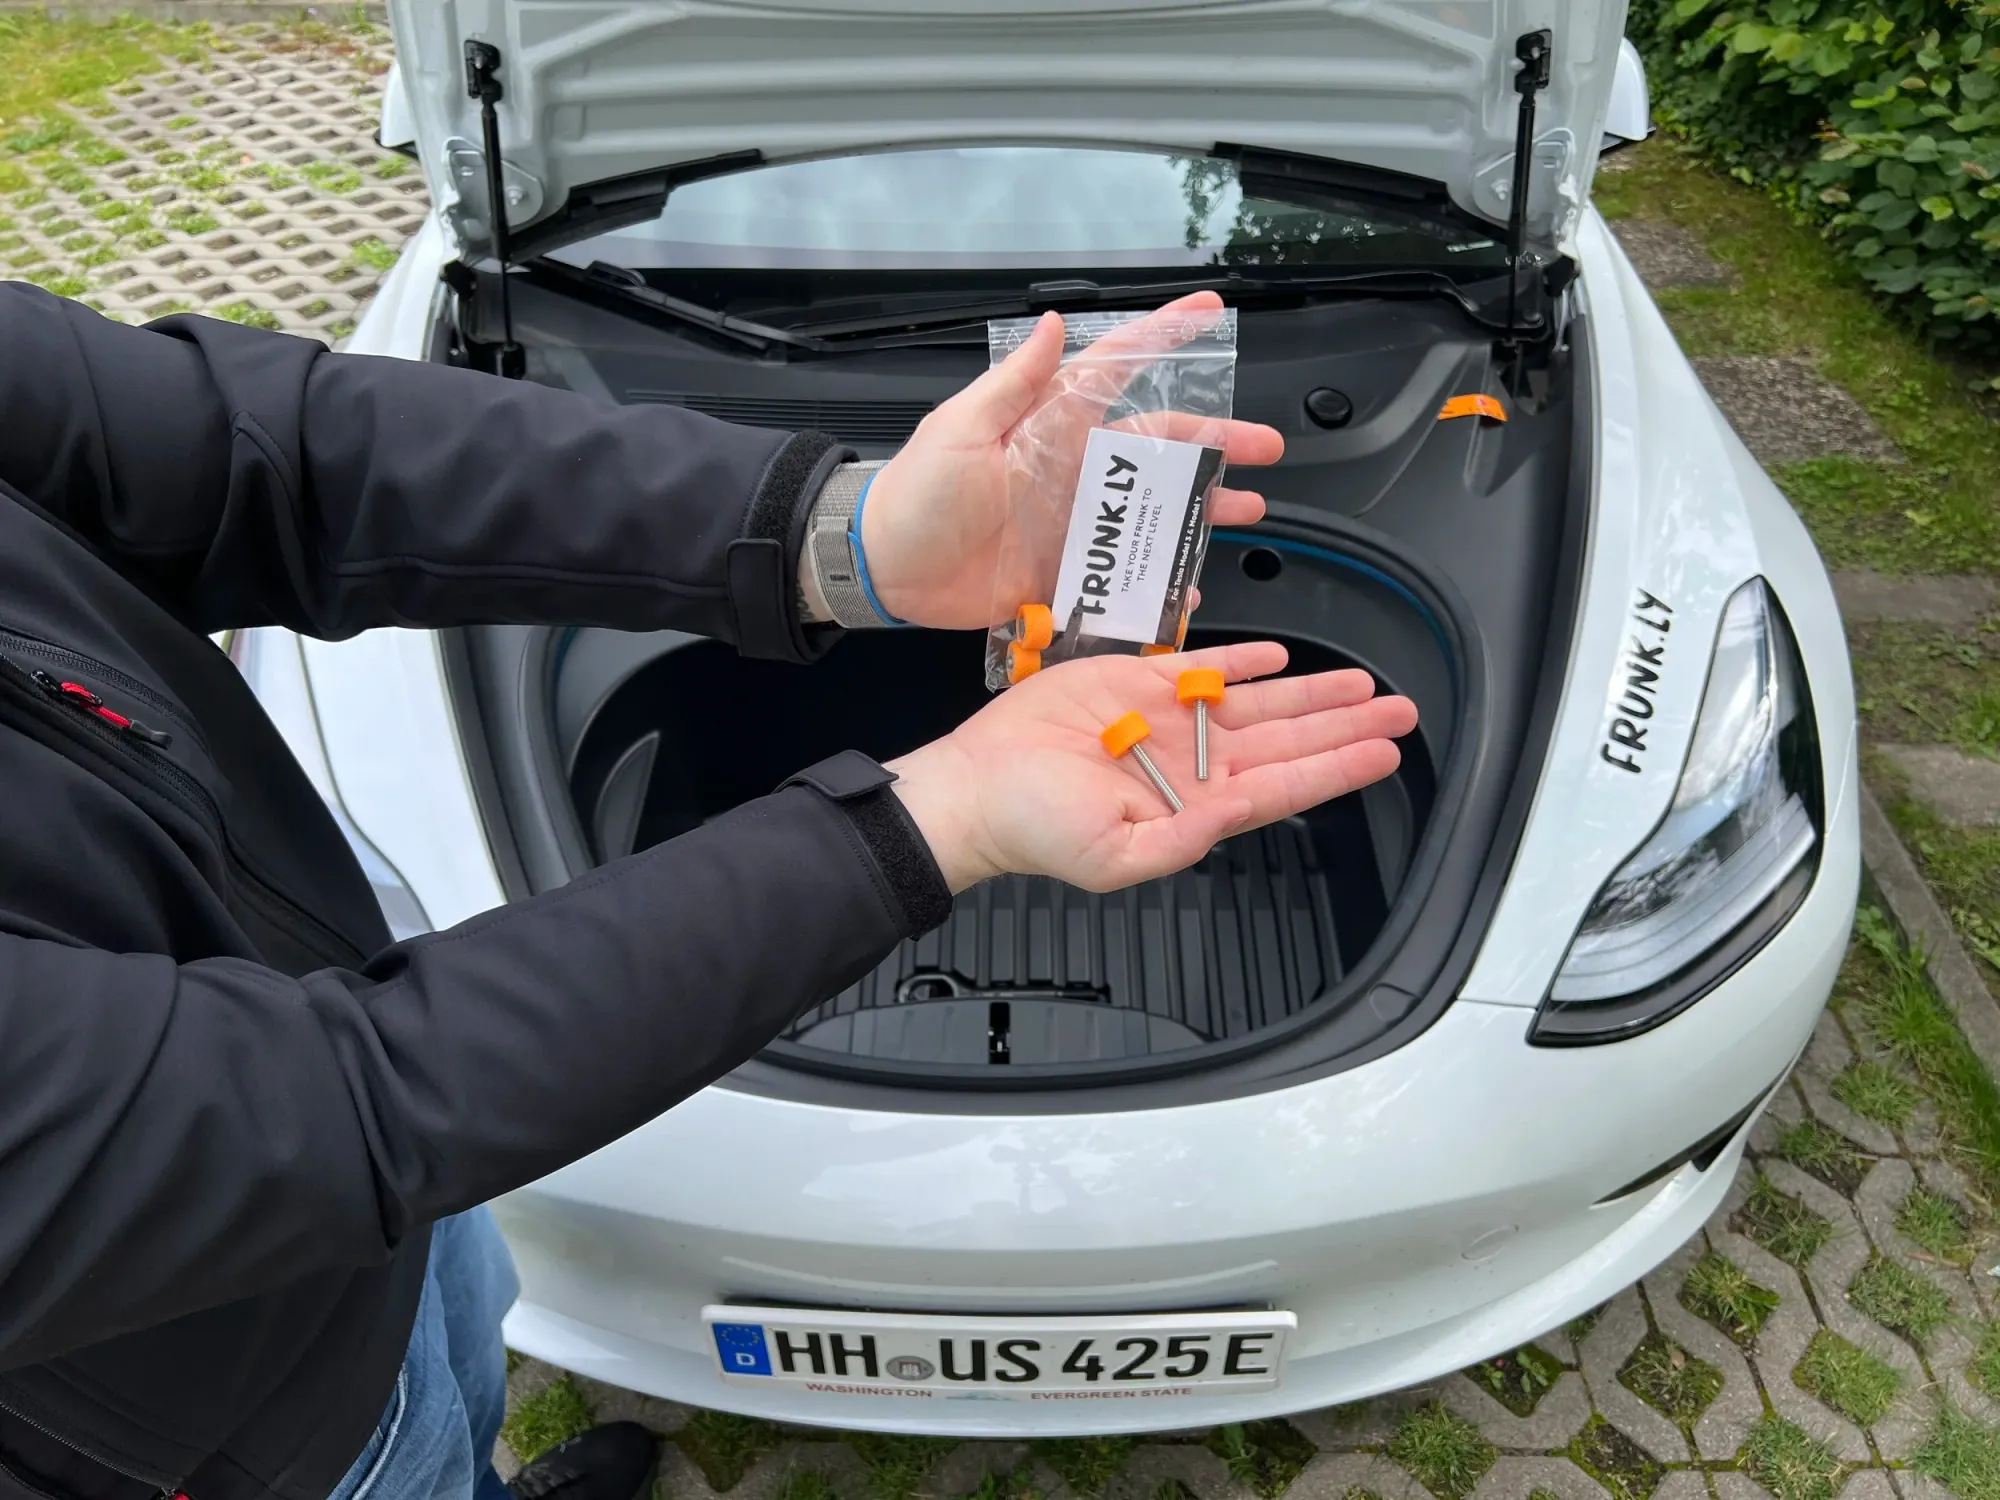
Step 6
Take the two short screws from the bag.
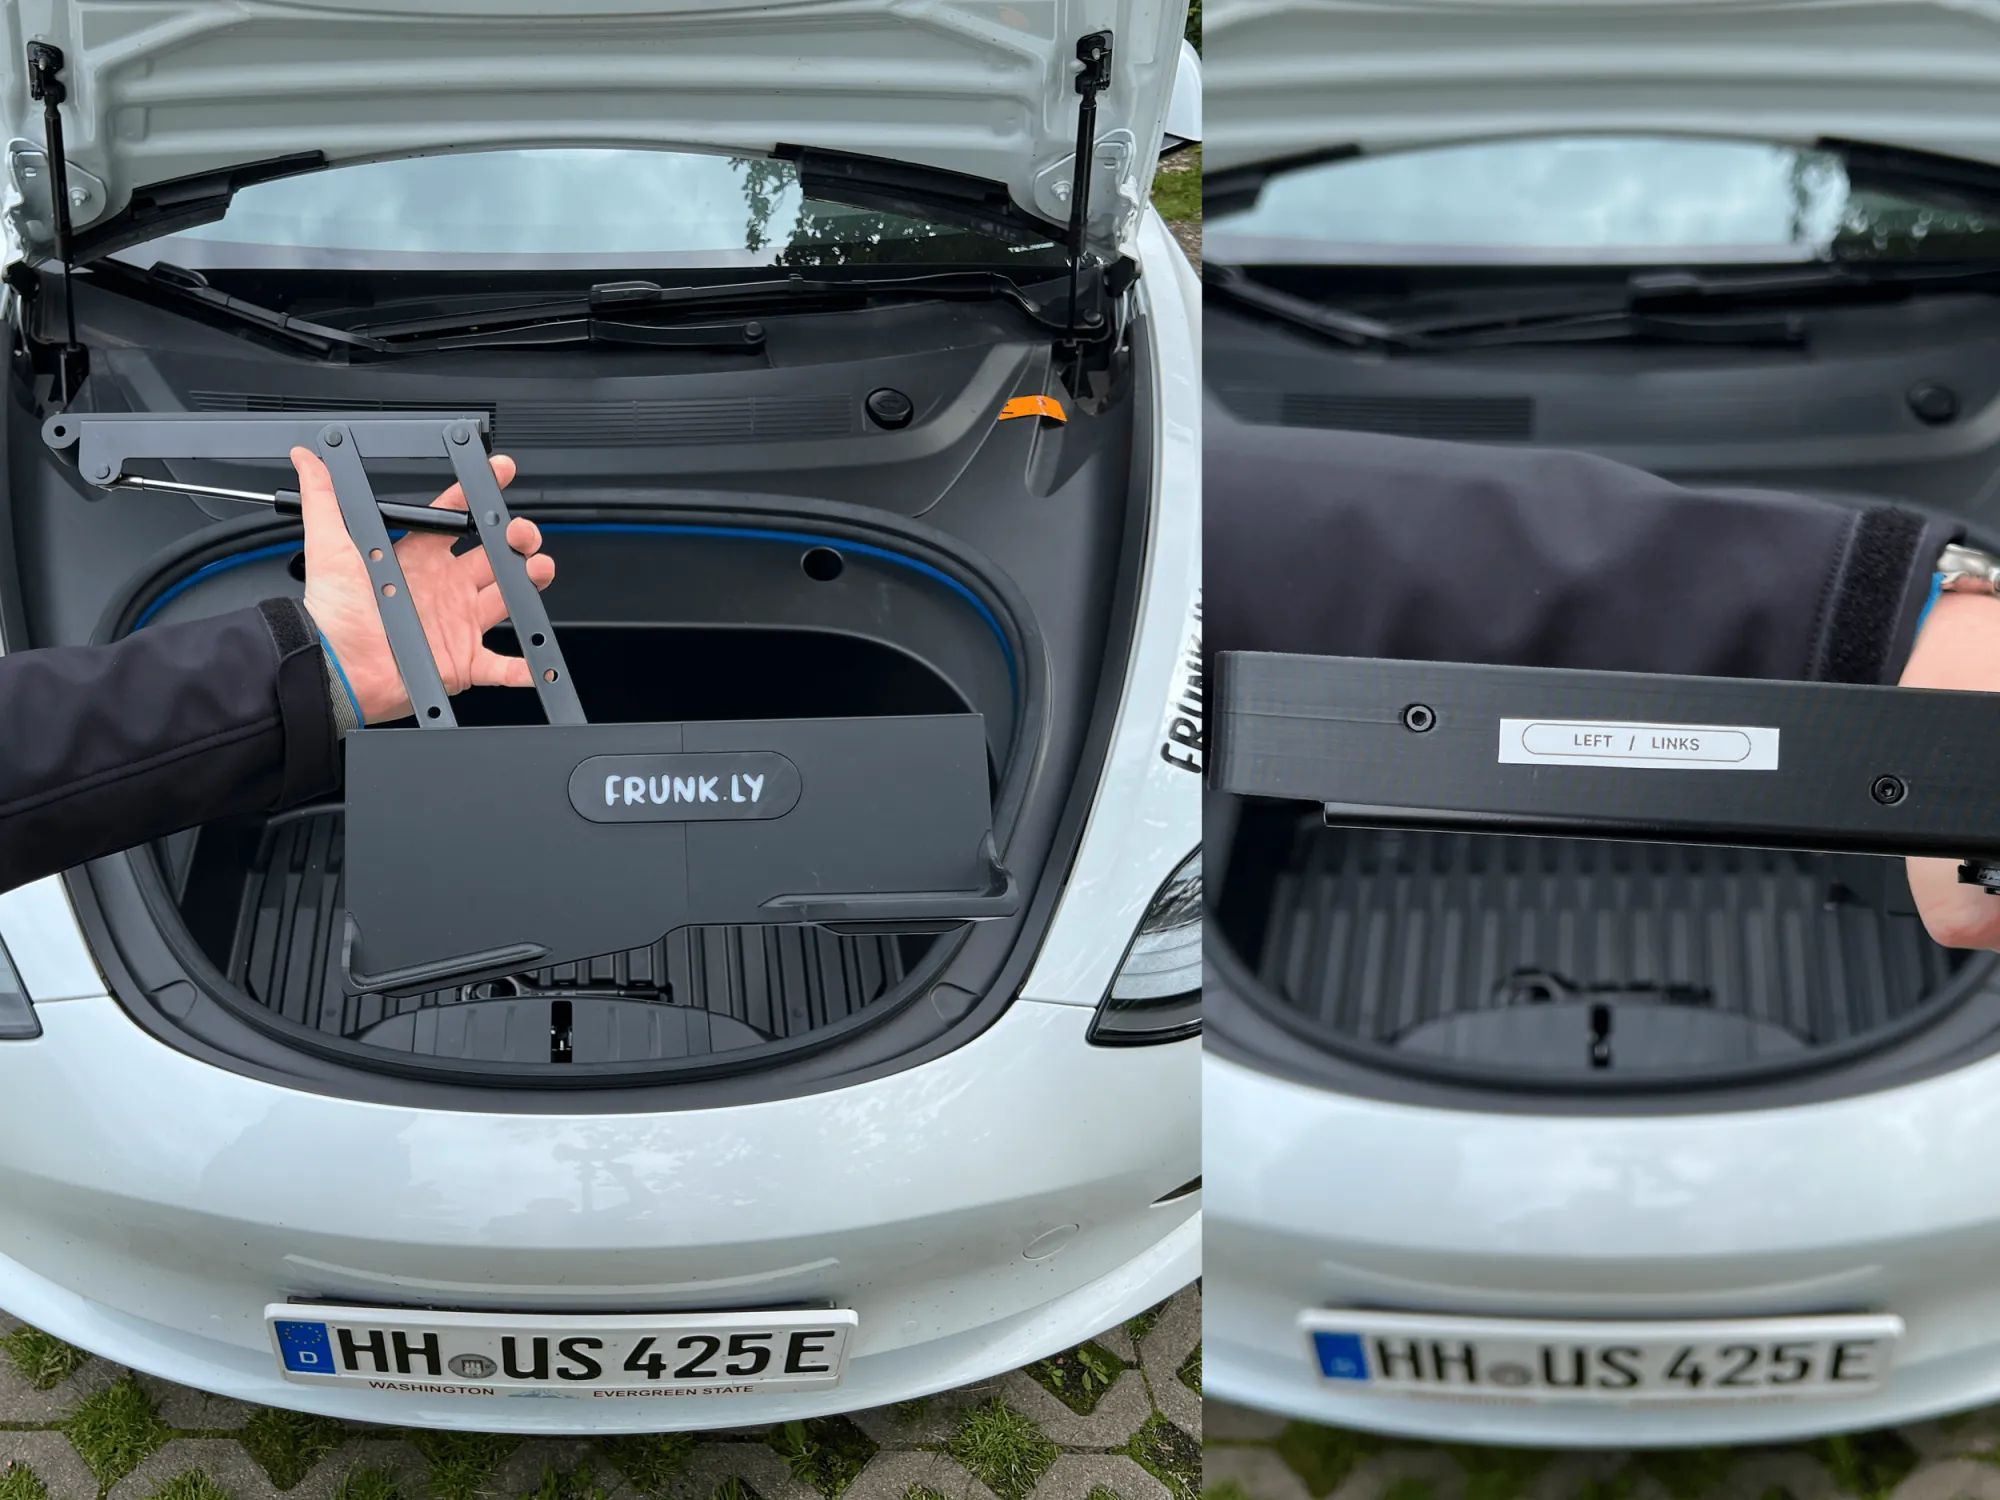
Step 7
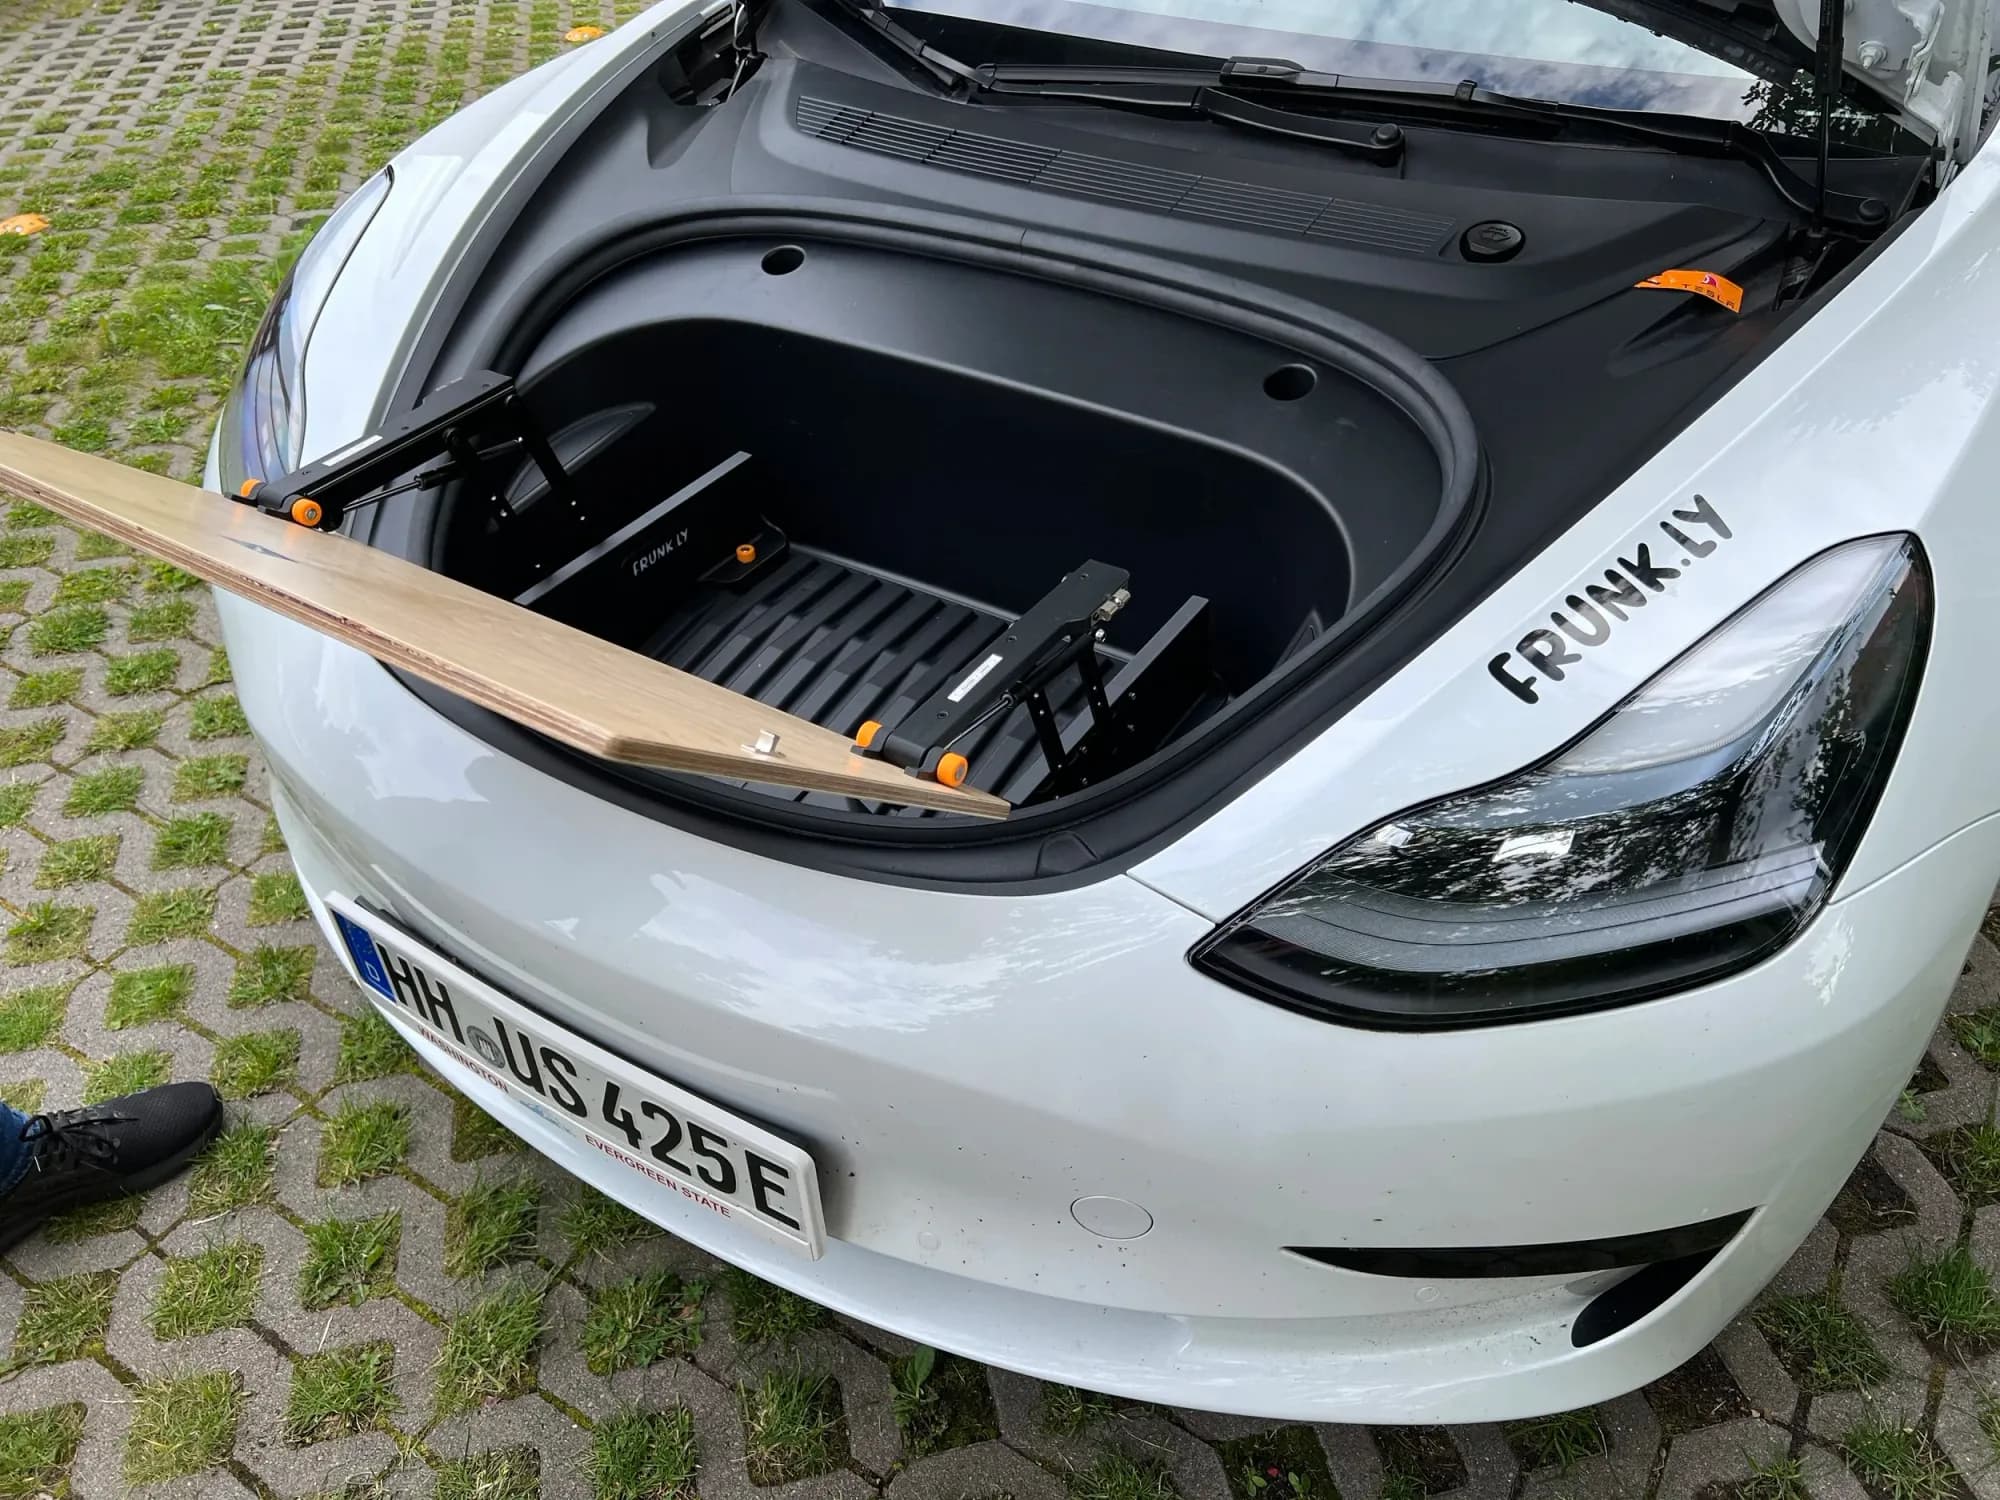
Take the left base frame.
Step 8
Insert the base frame into the frunk.
Step 9
Secure the frame with one of the short screws.
Step 10
Repeat the process for the right frame.
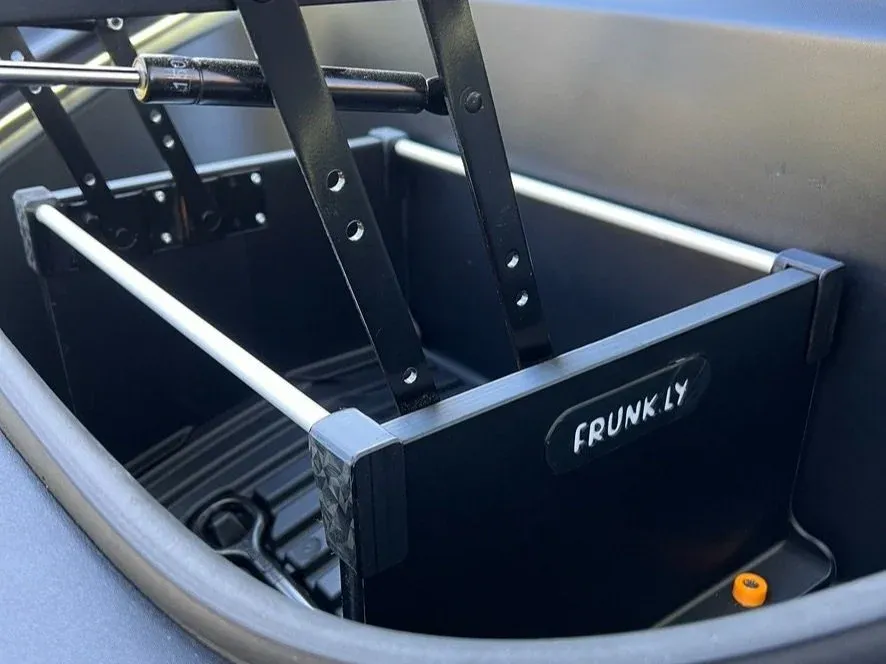
Step 10b
(Model Y only) Attach the support braces.
Model Y only

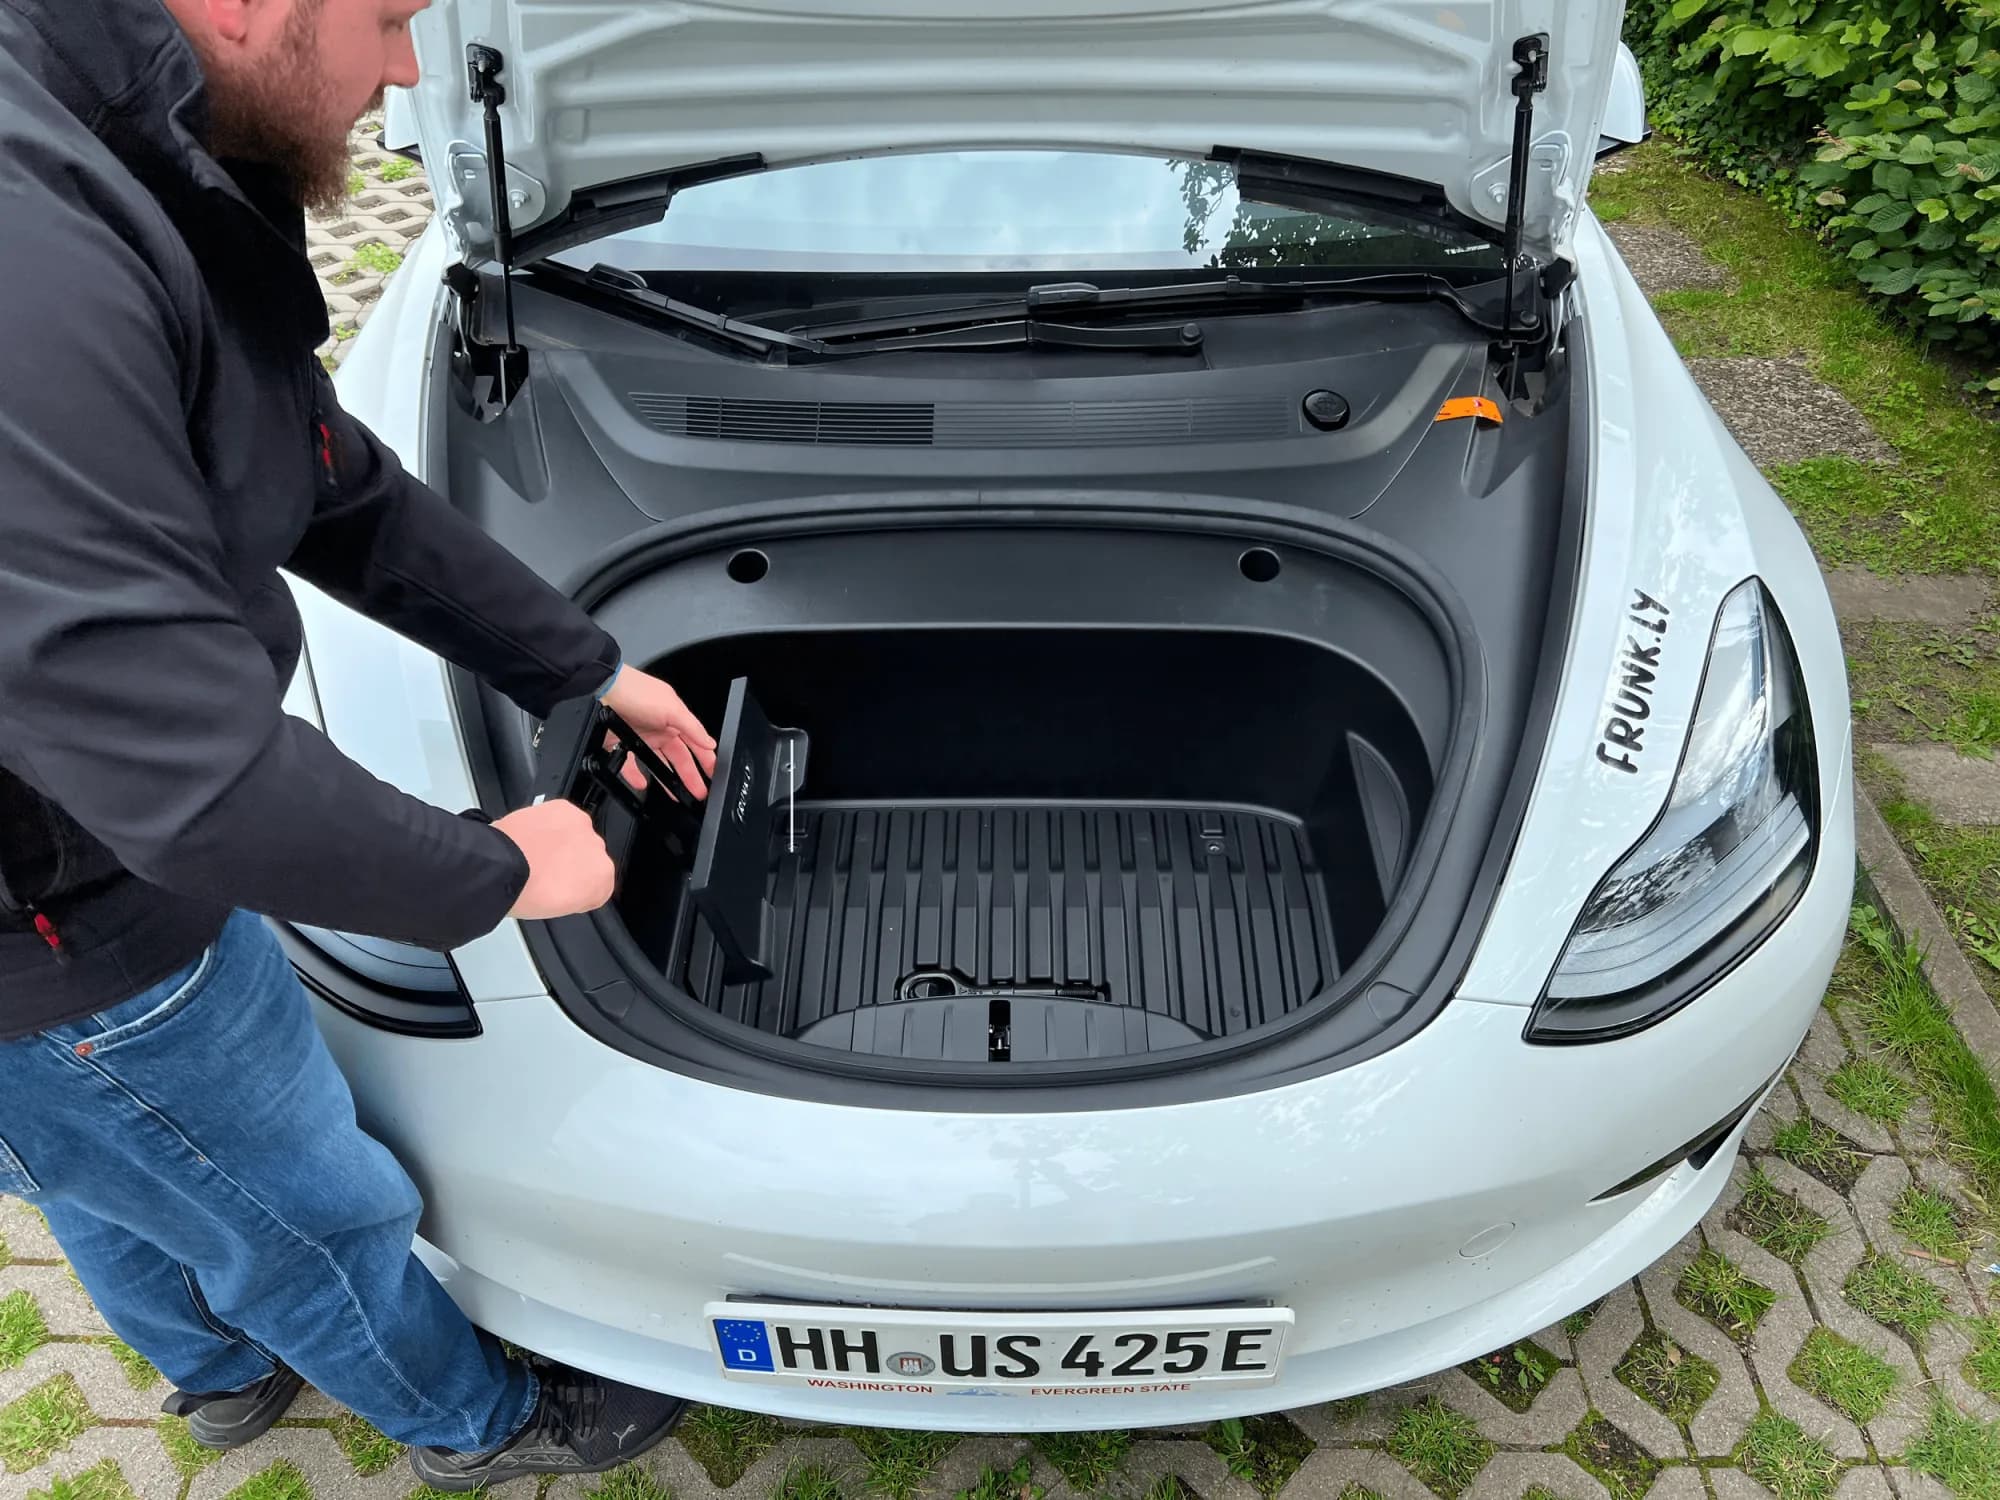
Step 11
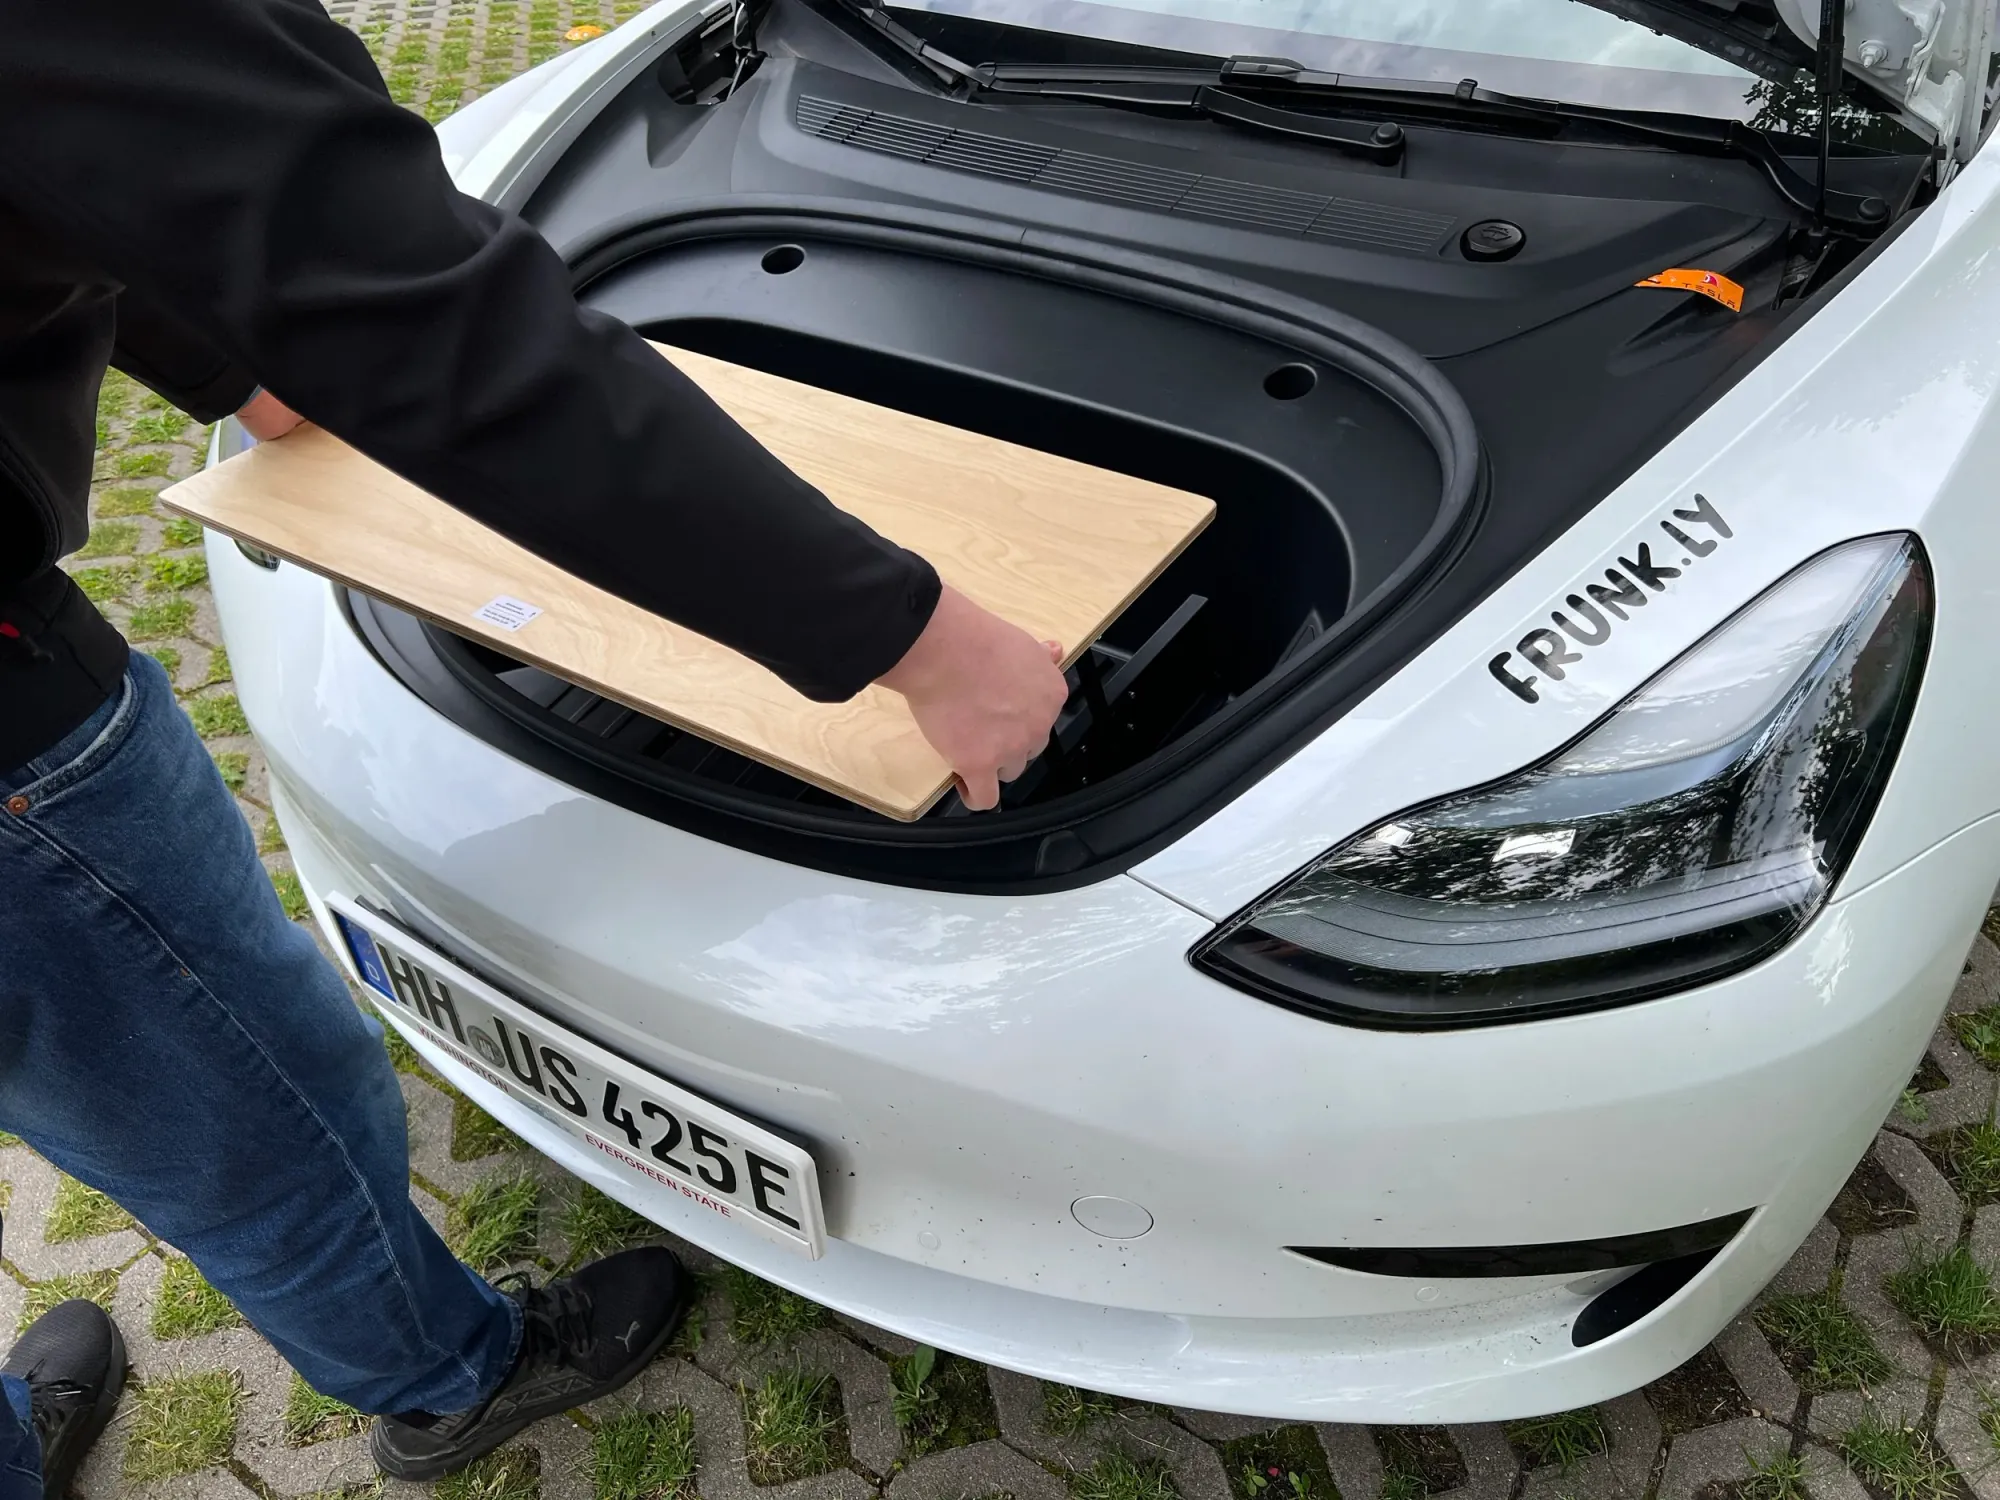
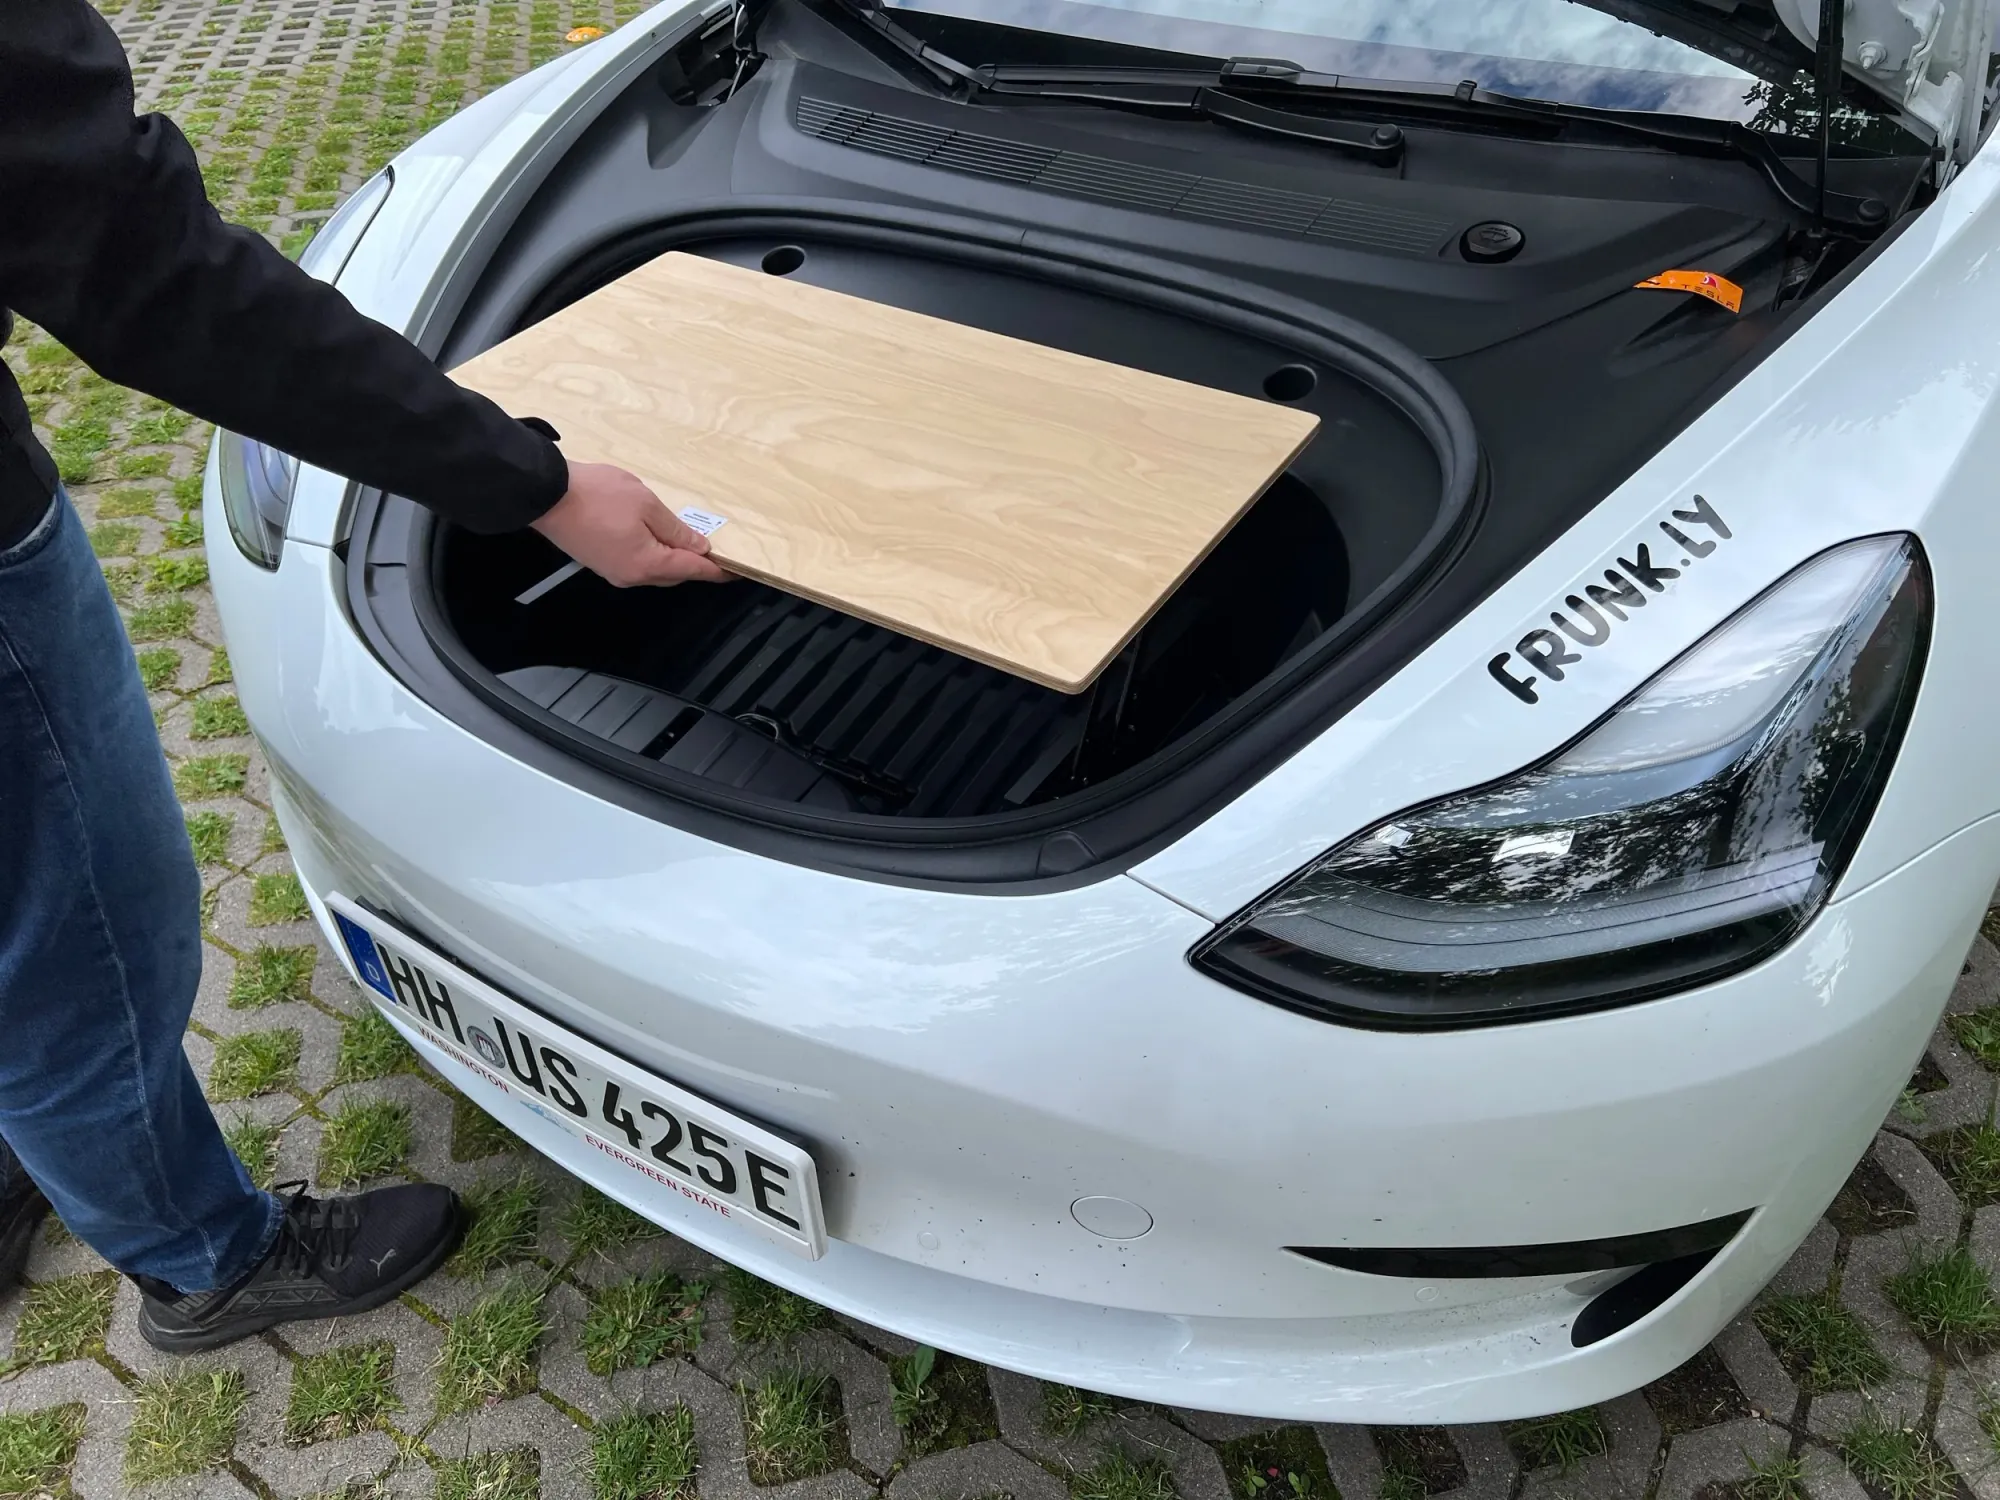
Get the table top.
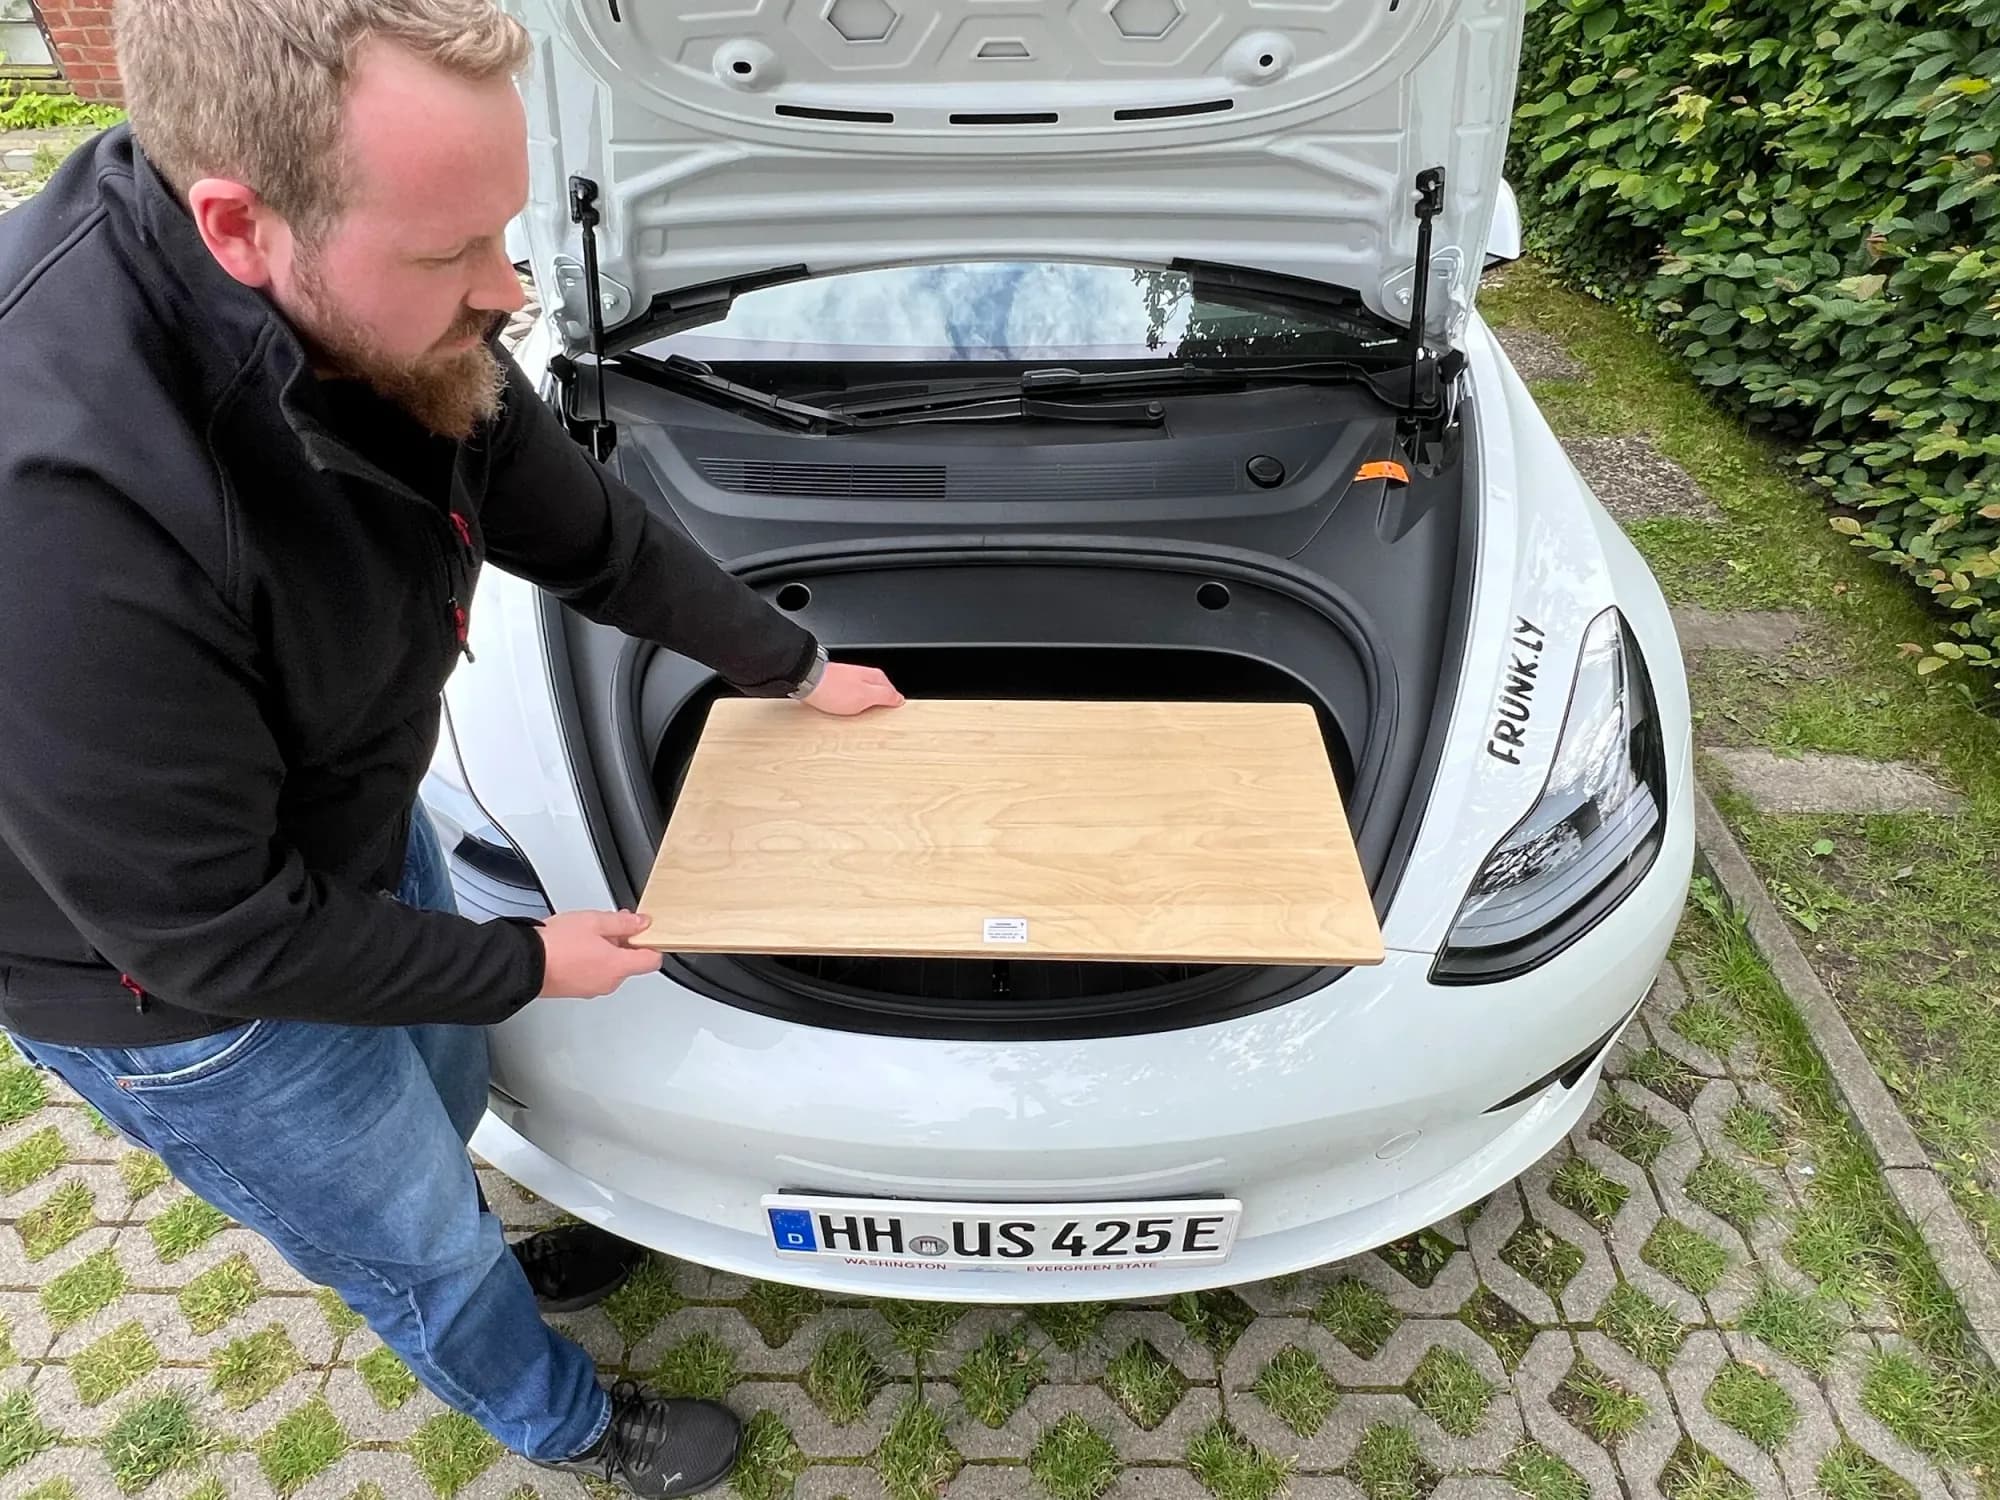
Step 12
Align the table top correctly.

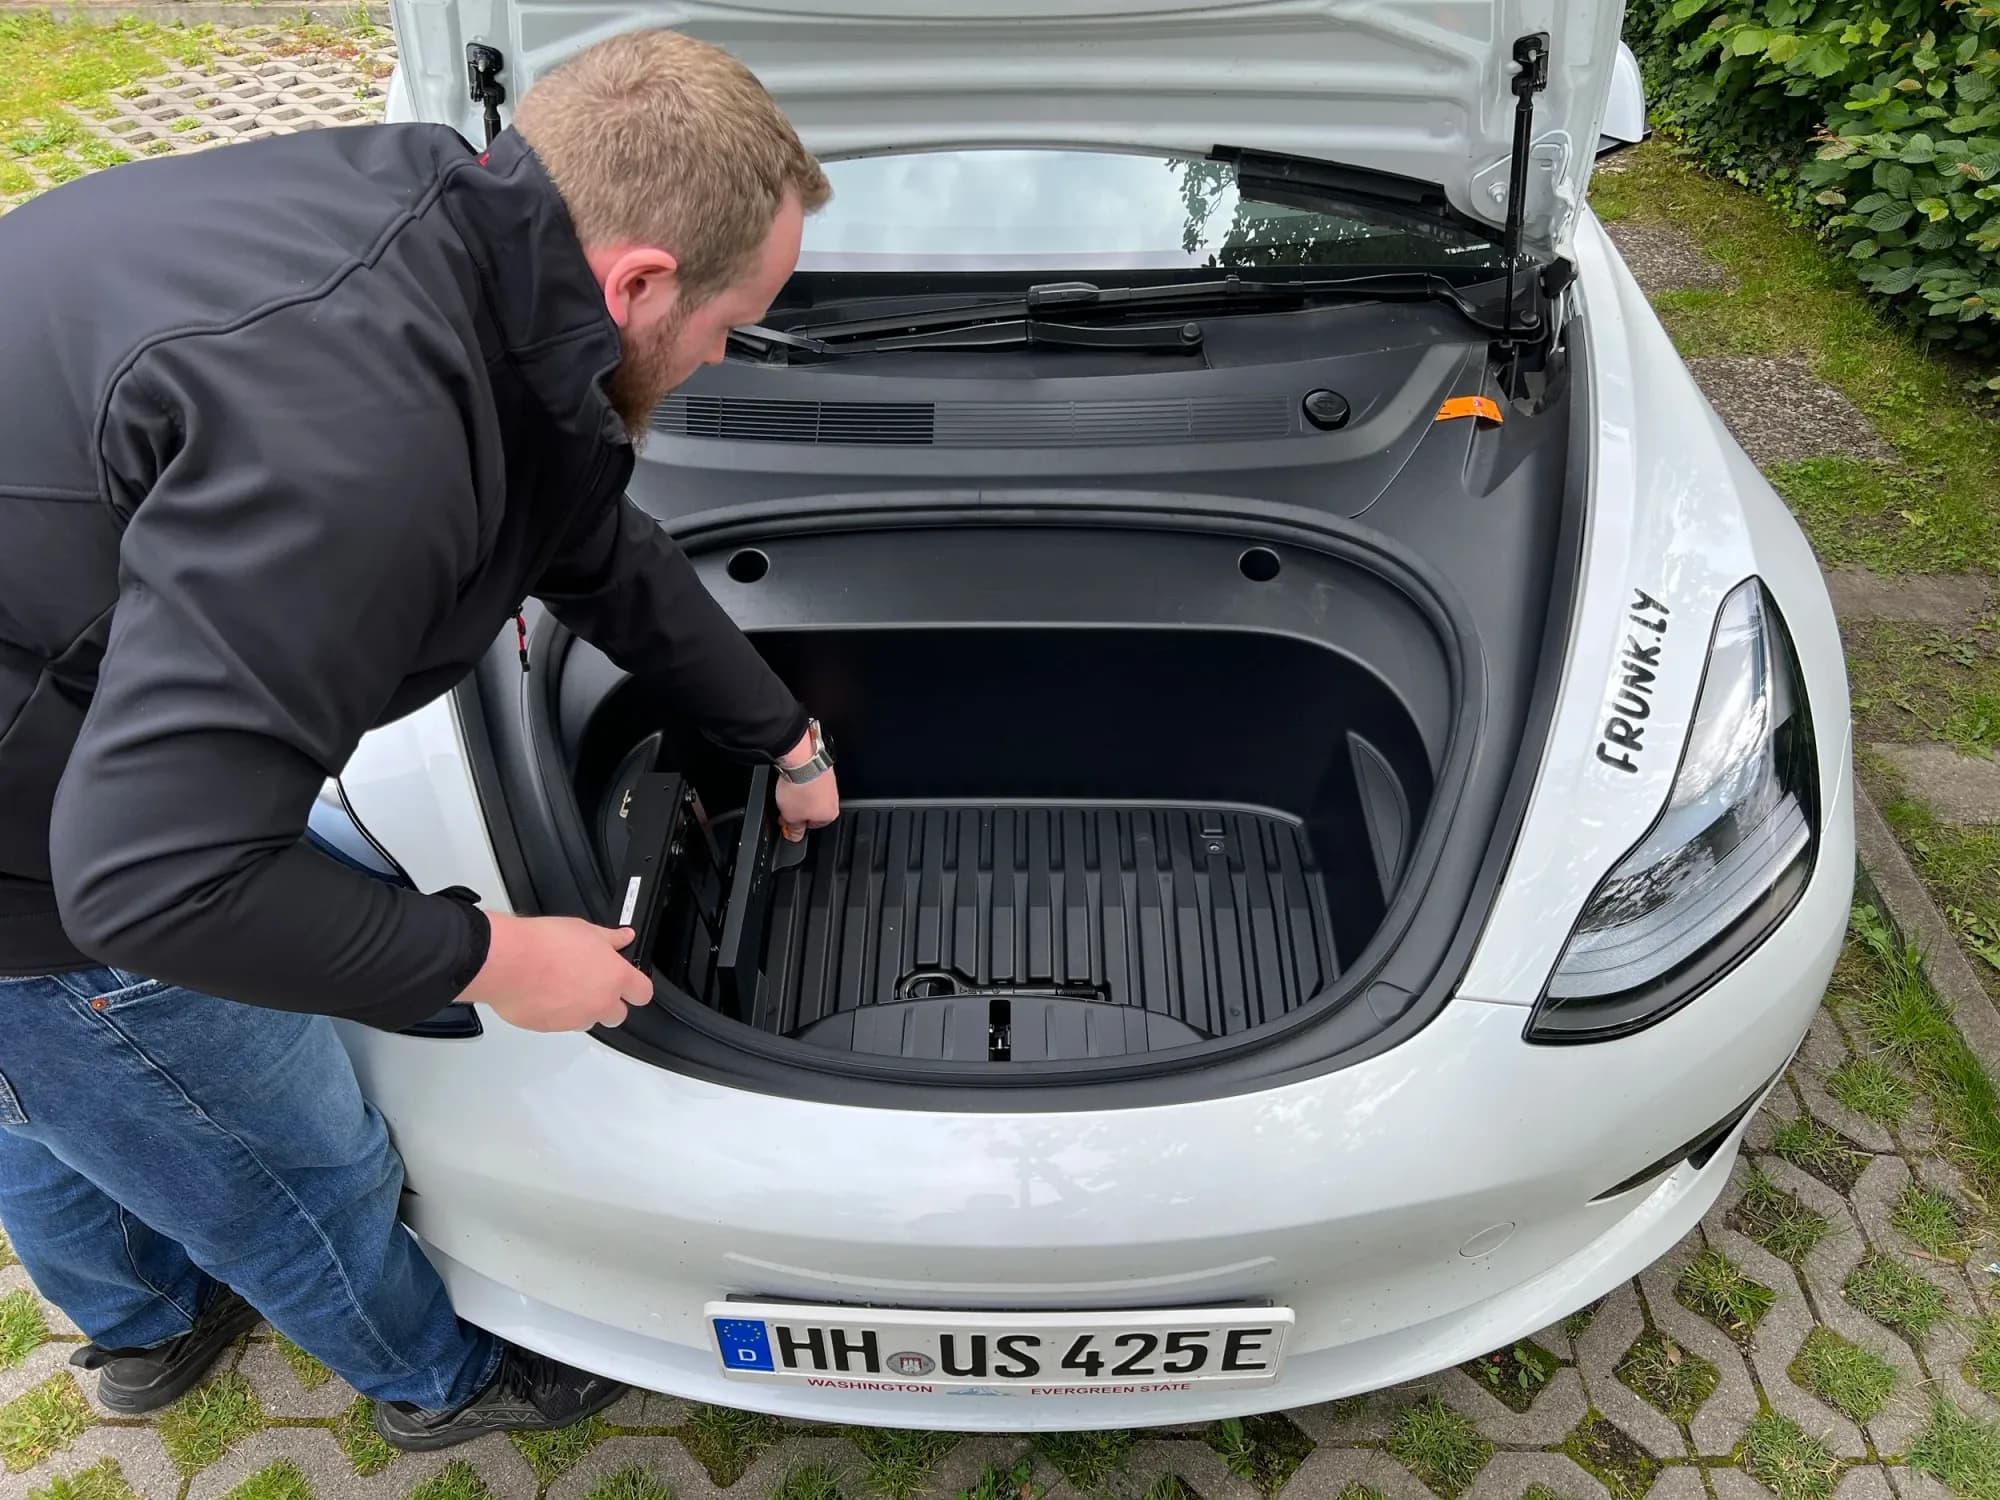
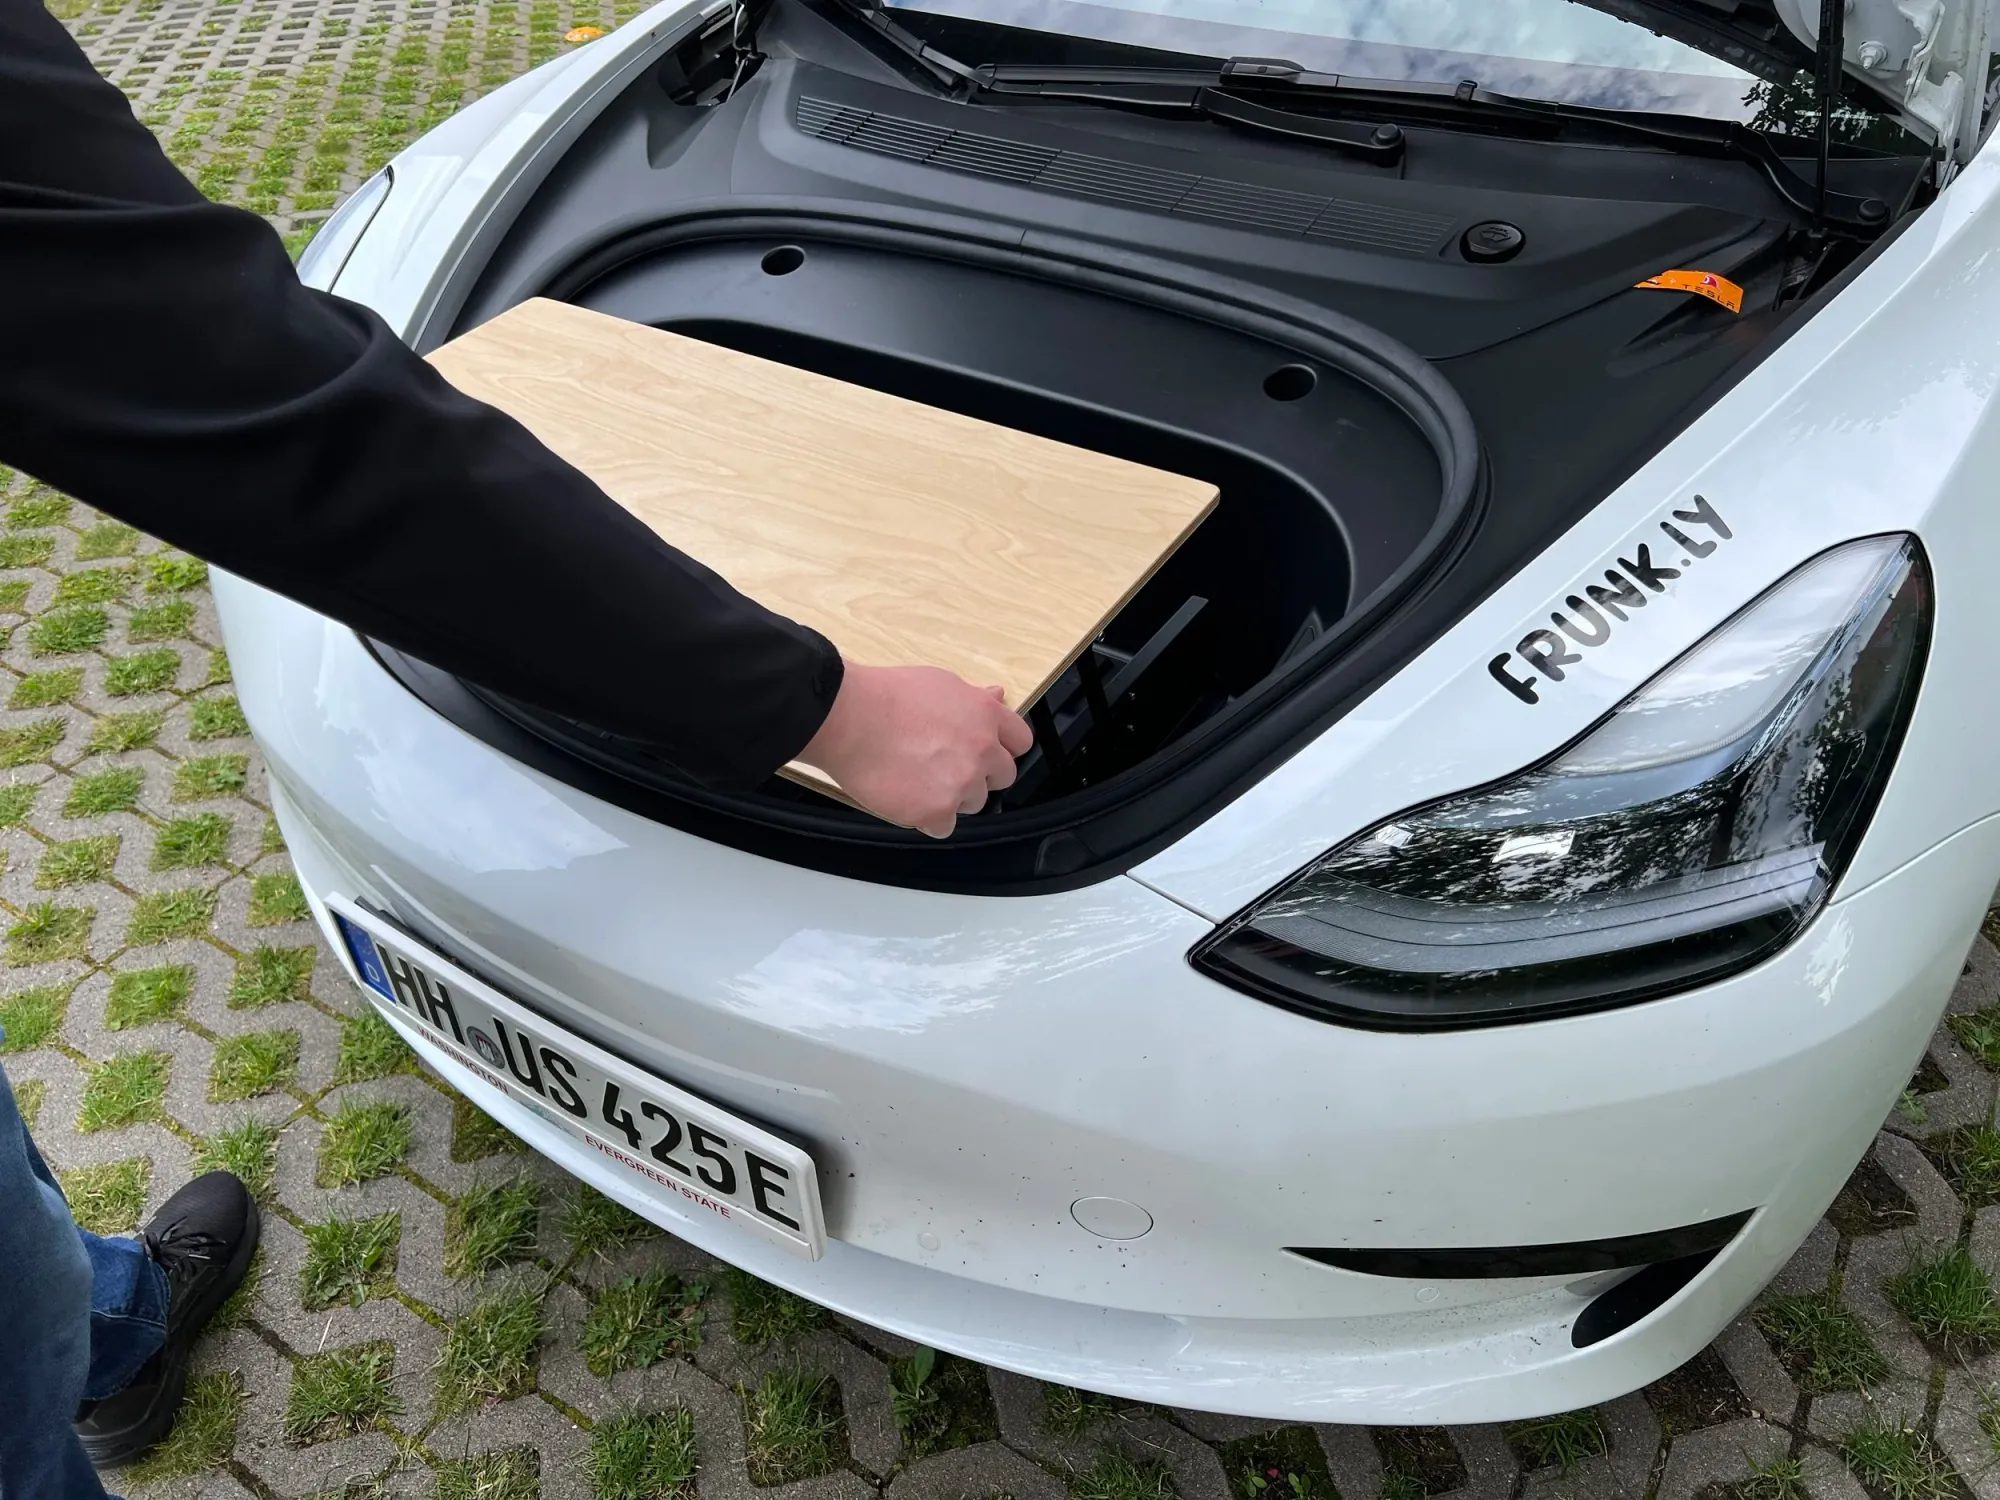
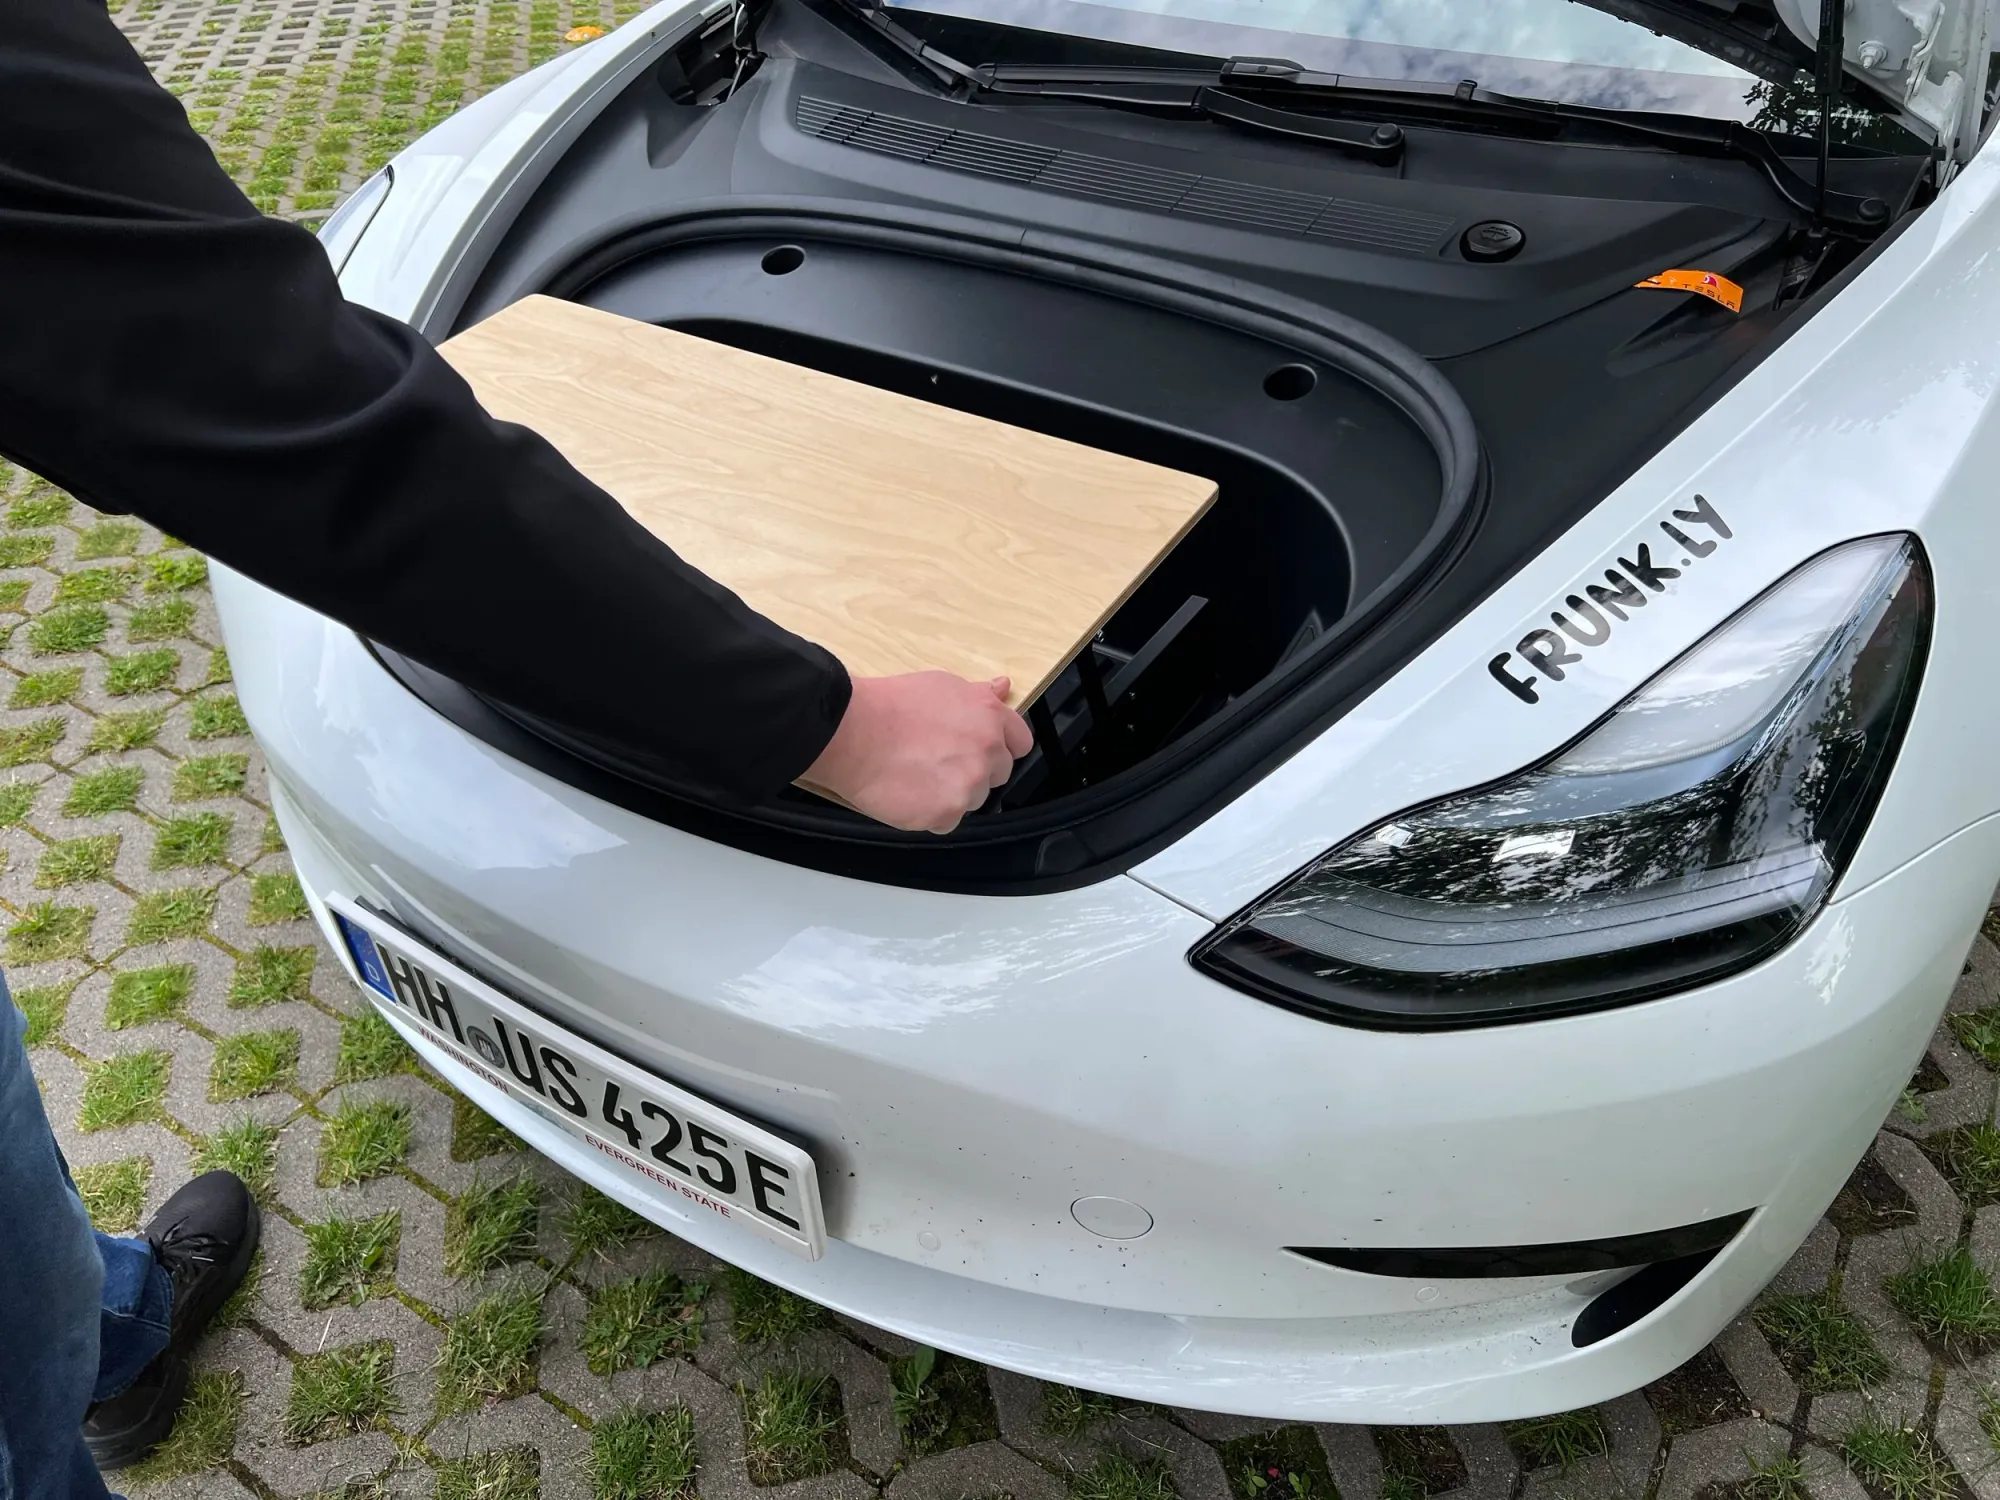
Step 13
Position the table top.
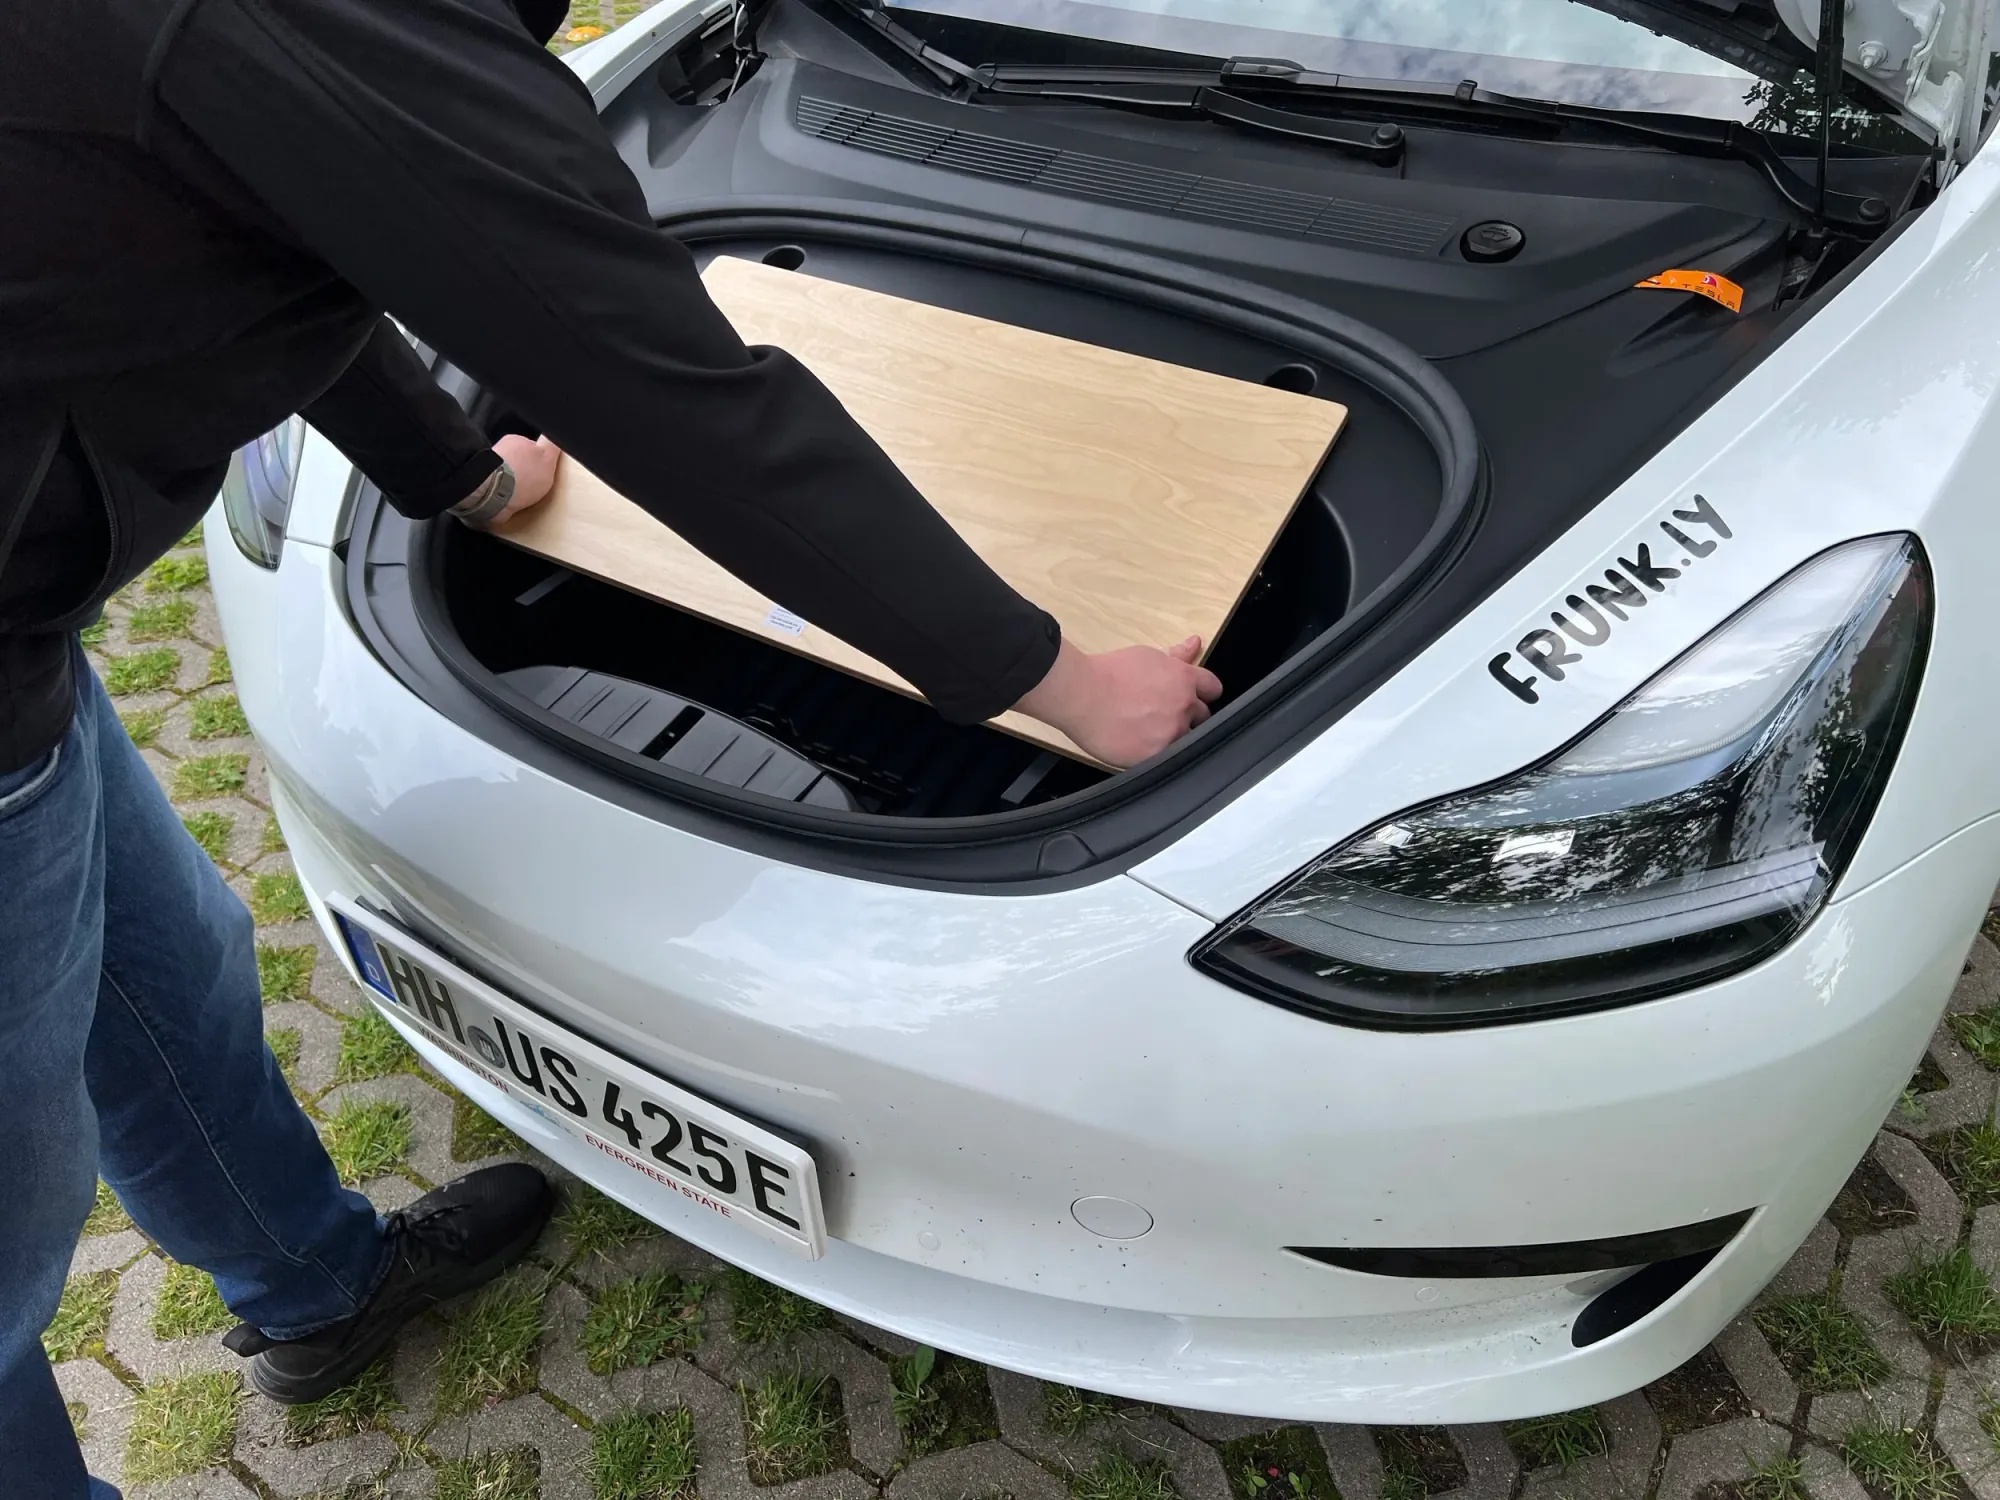
Step 14
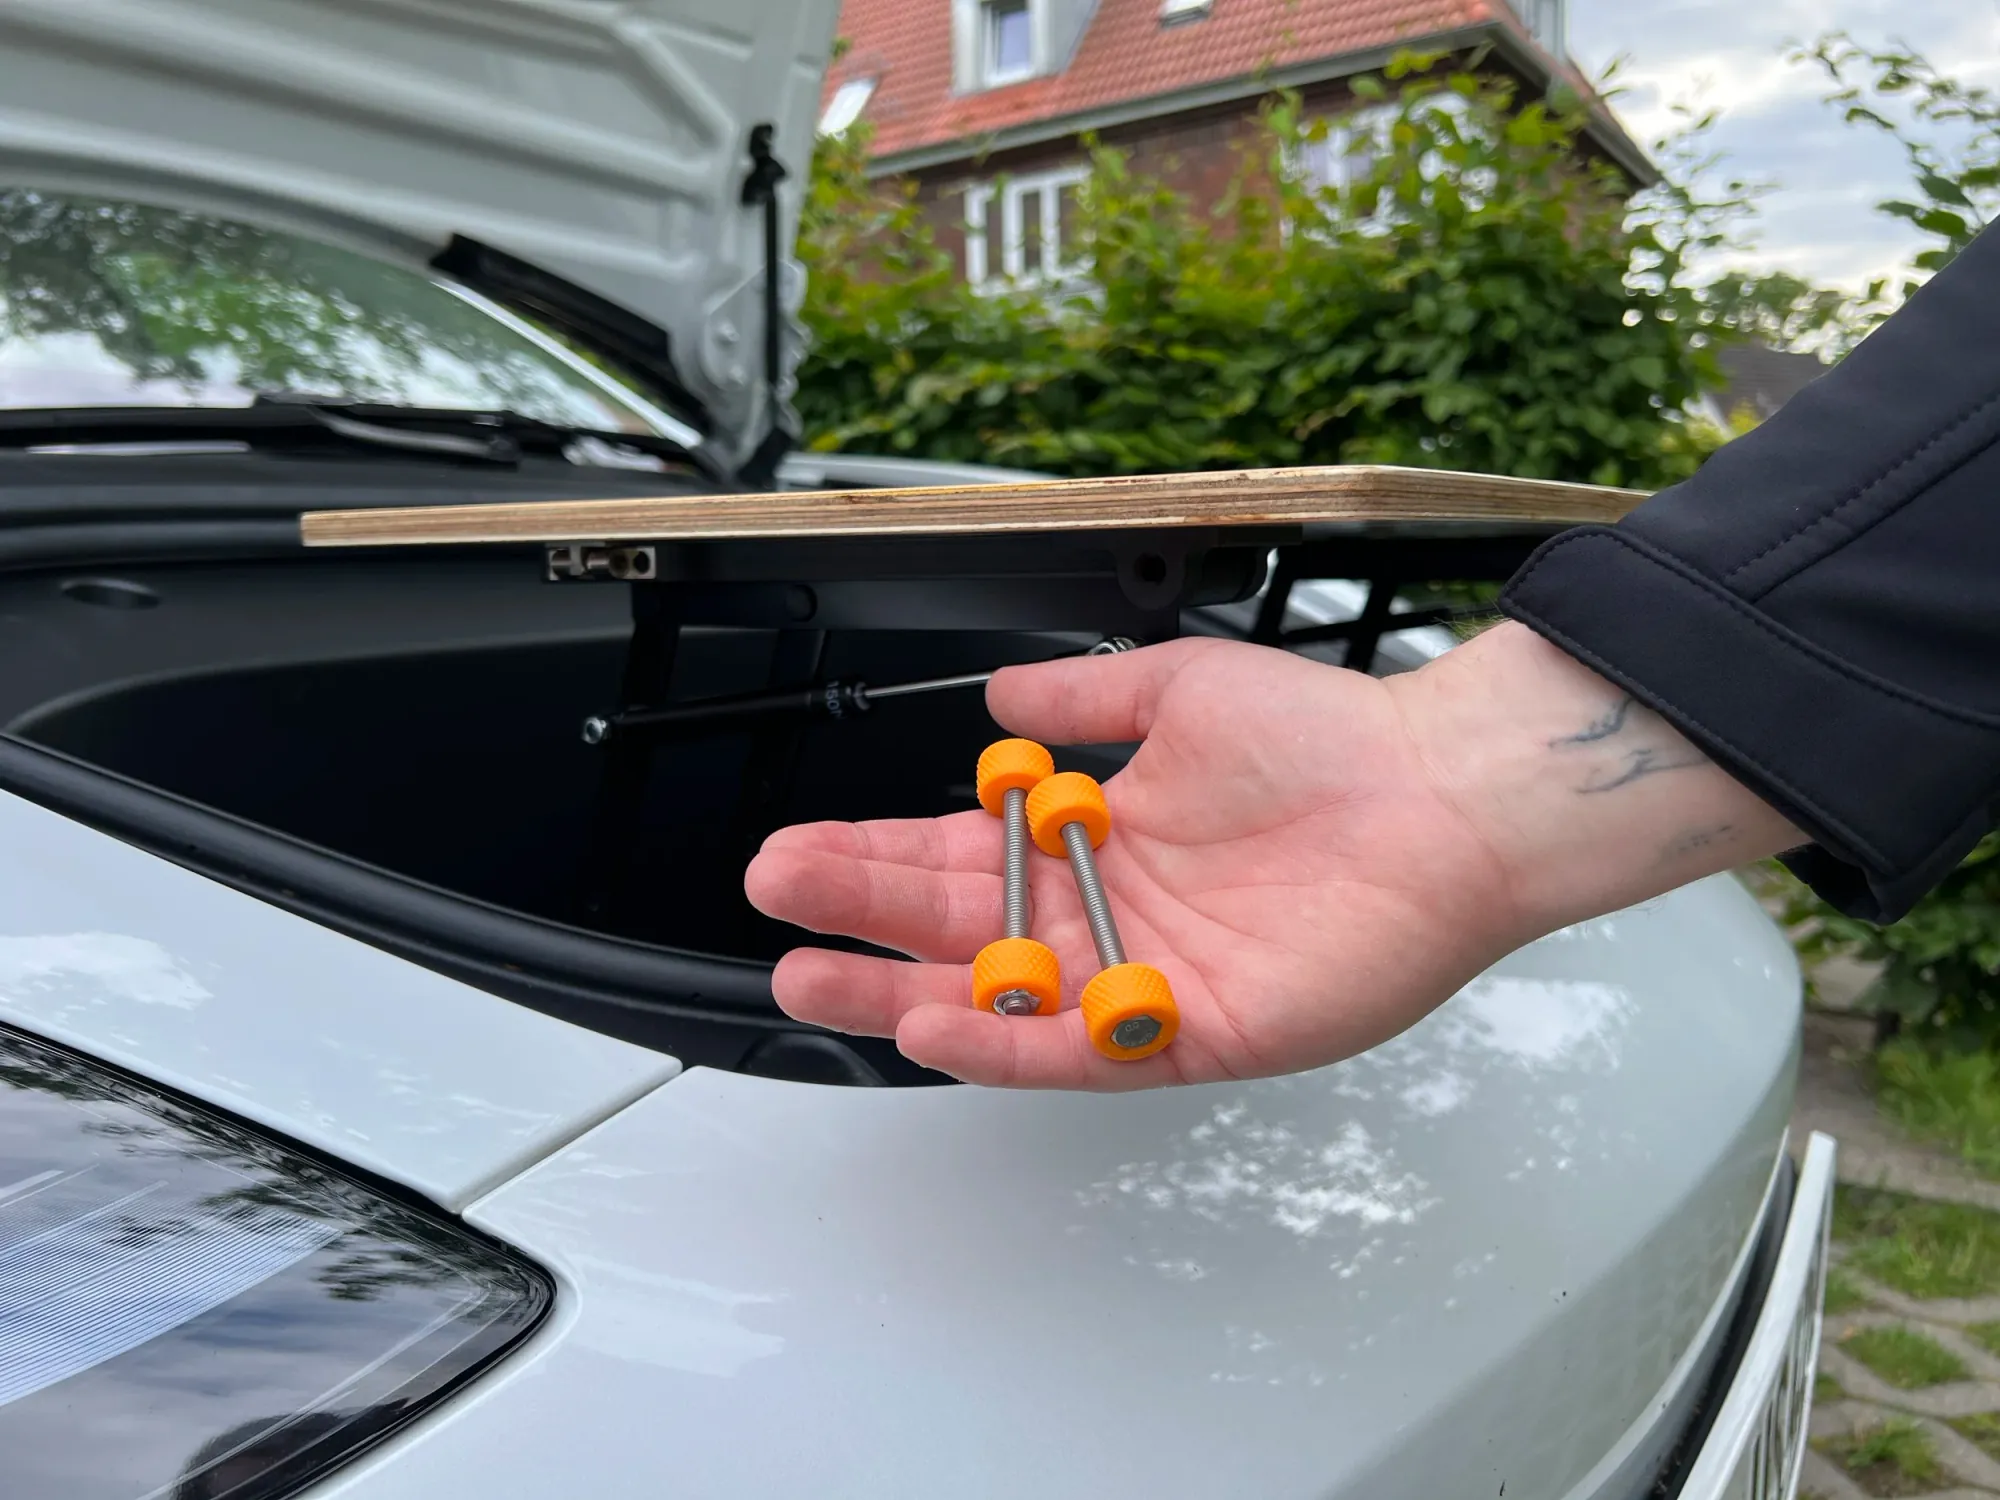
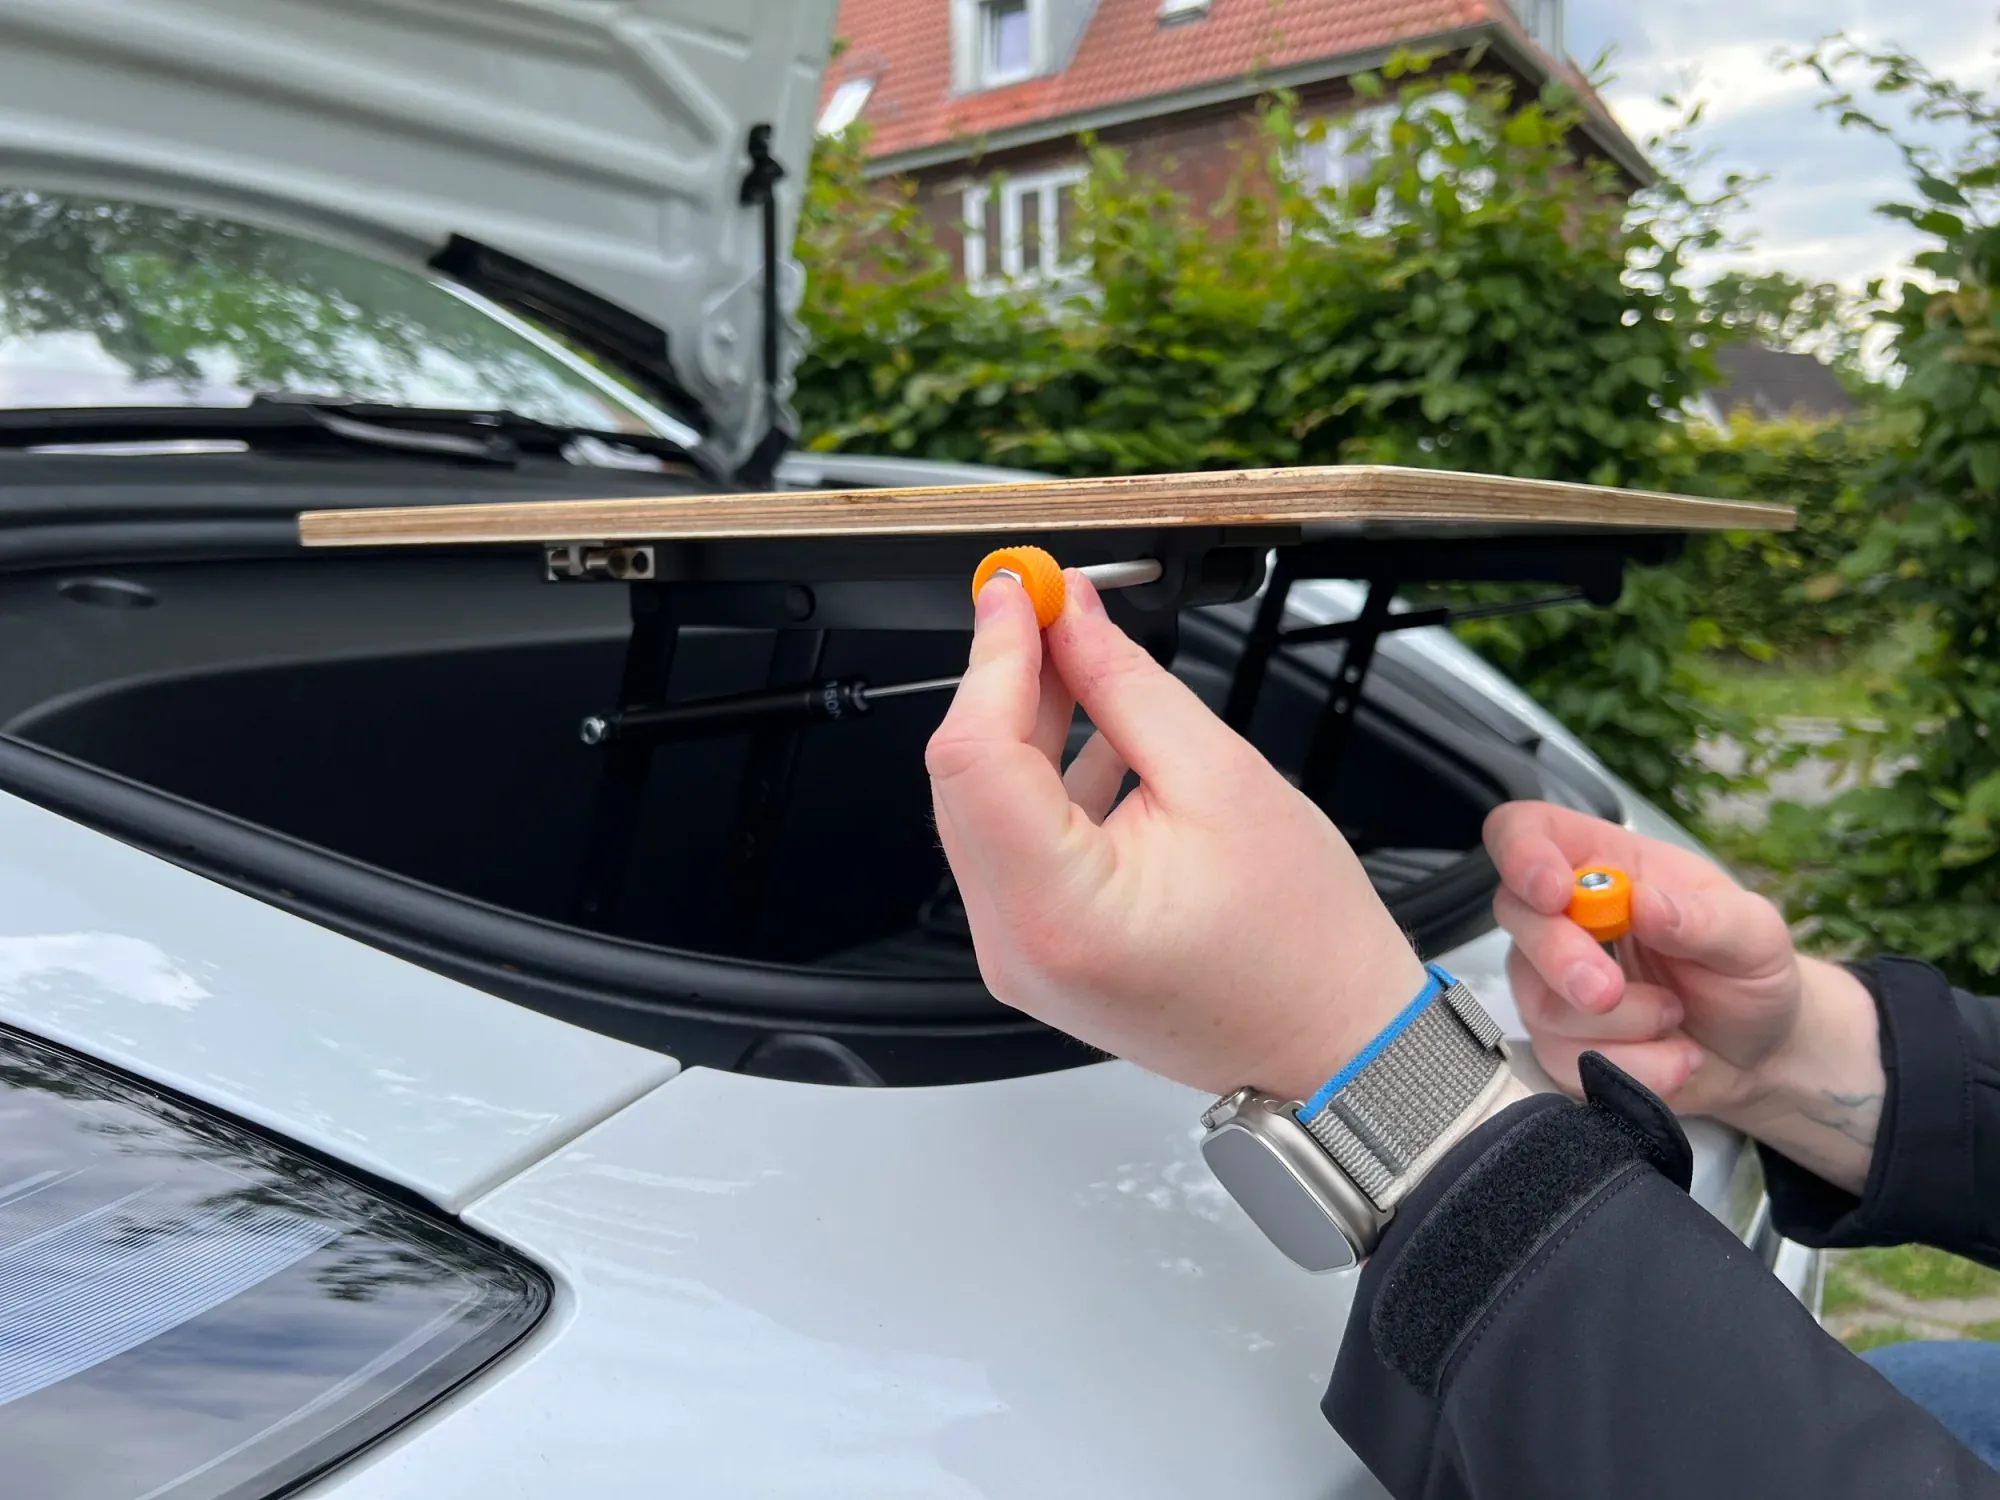
Take the two long screws from the bag.
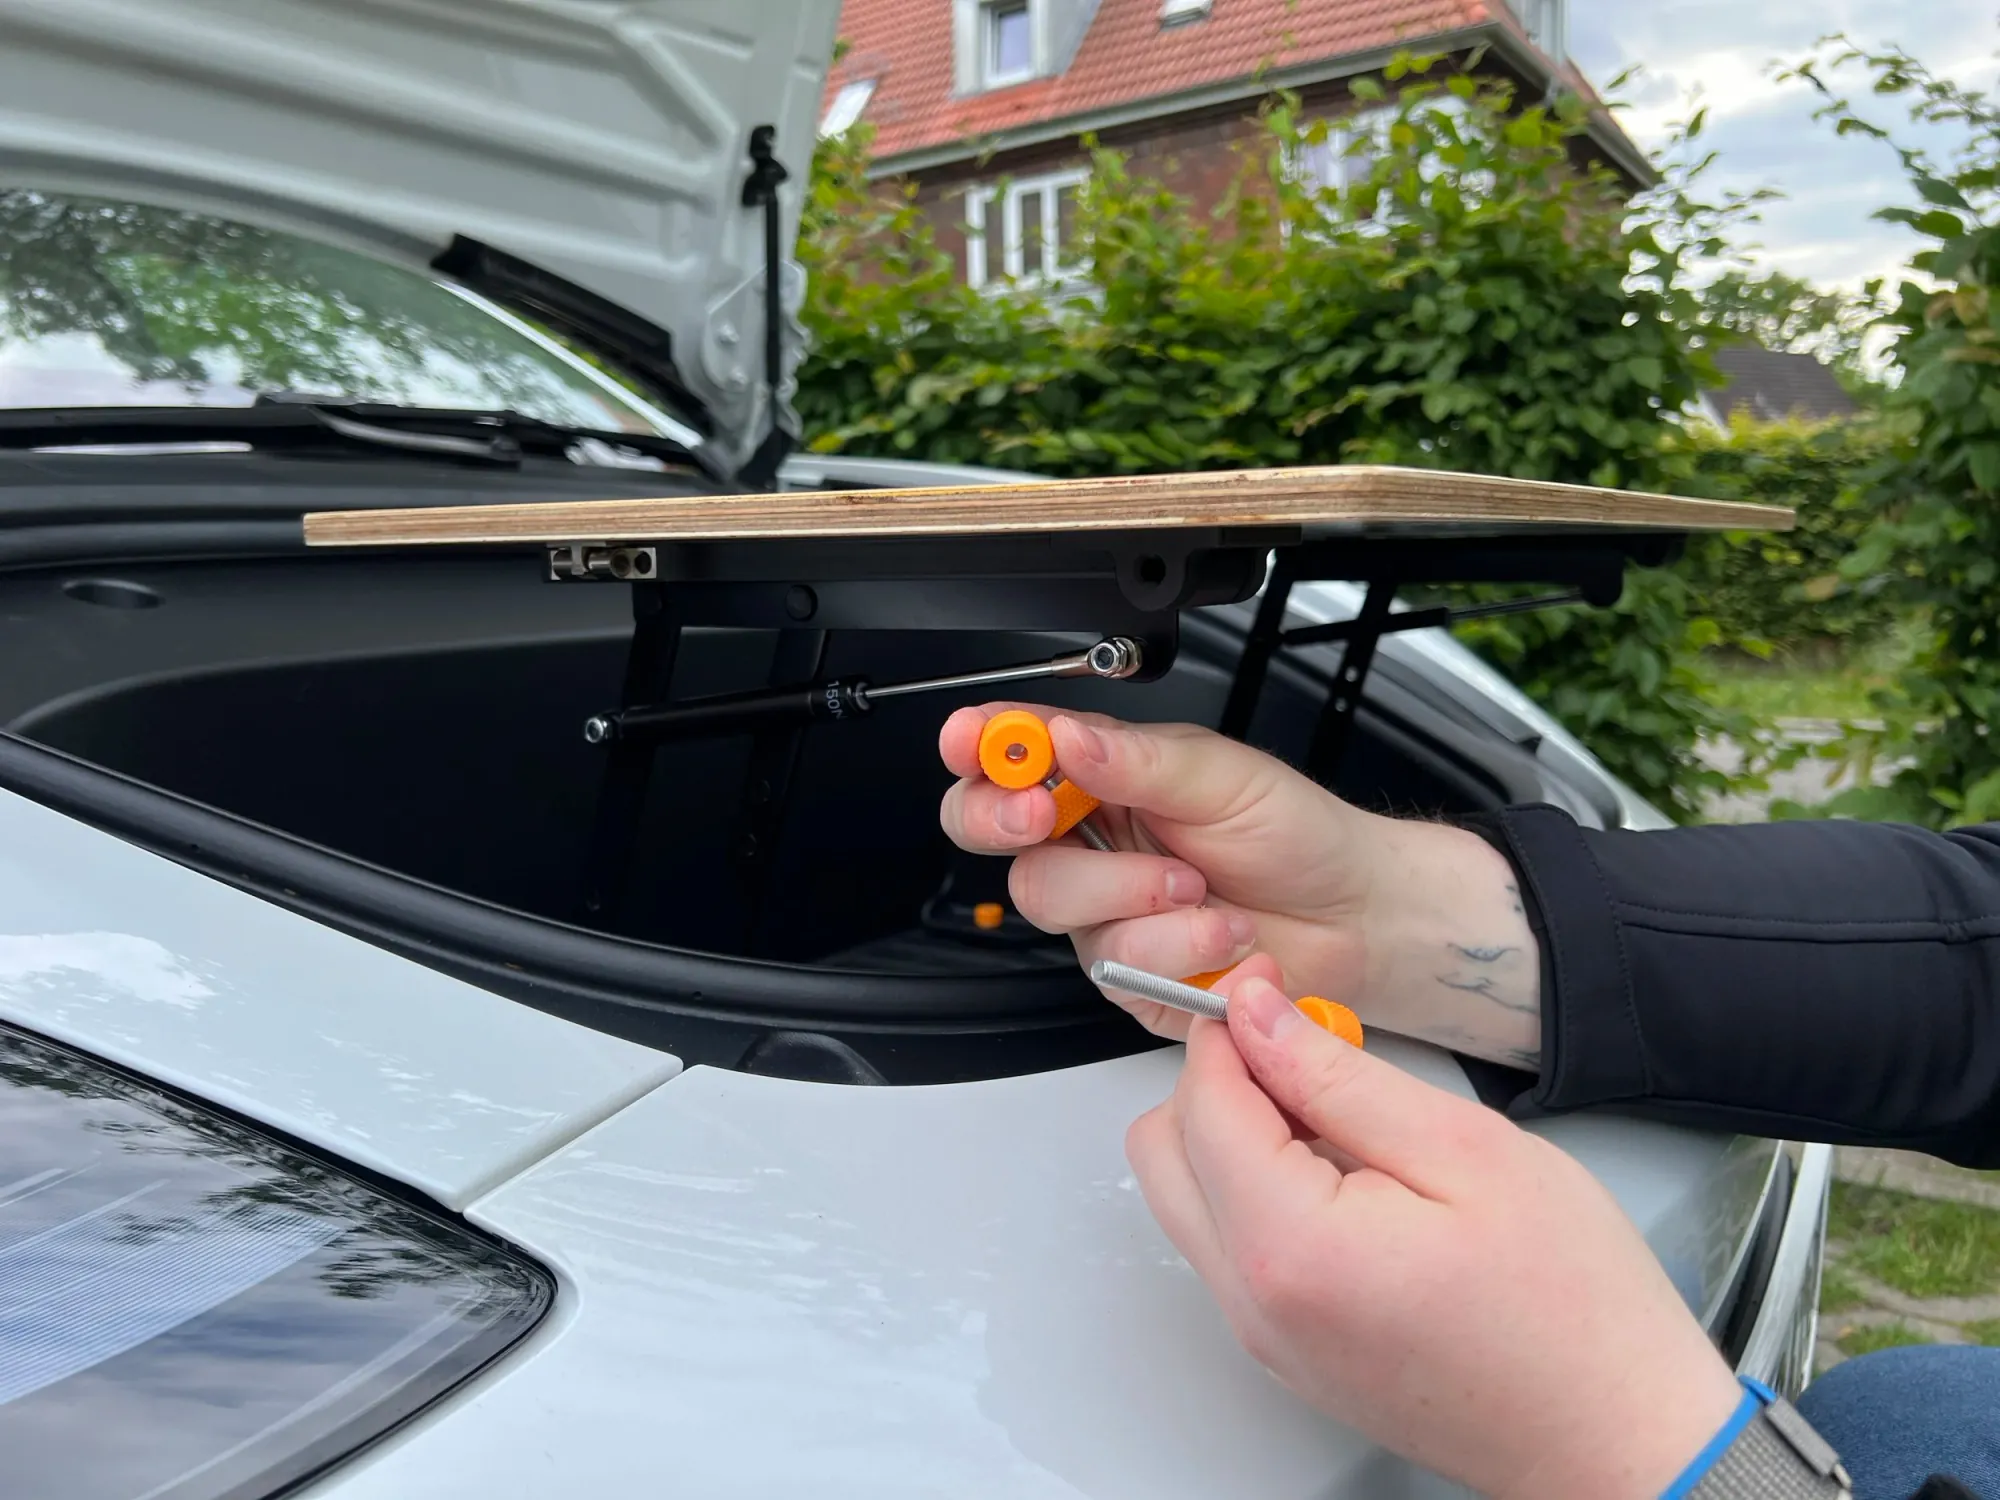
Step 15
Remove the screw nut.
Step 16
Insert the first screw through all holes on the left side.

Step 17
Secure the screw with the nut.
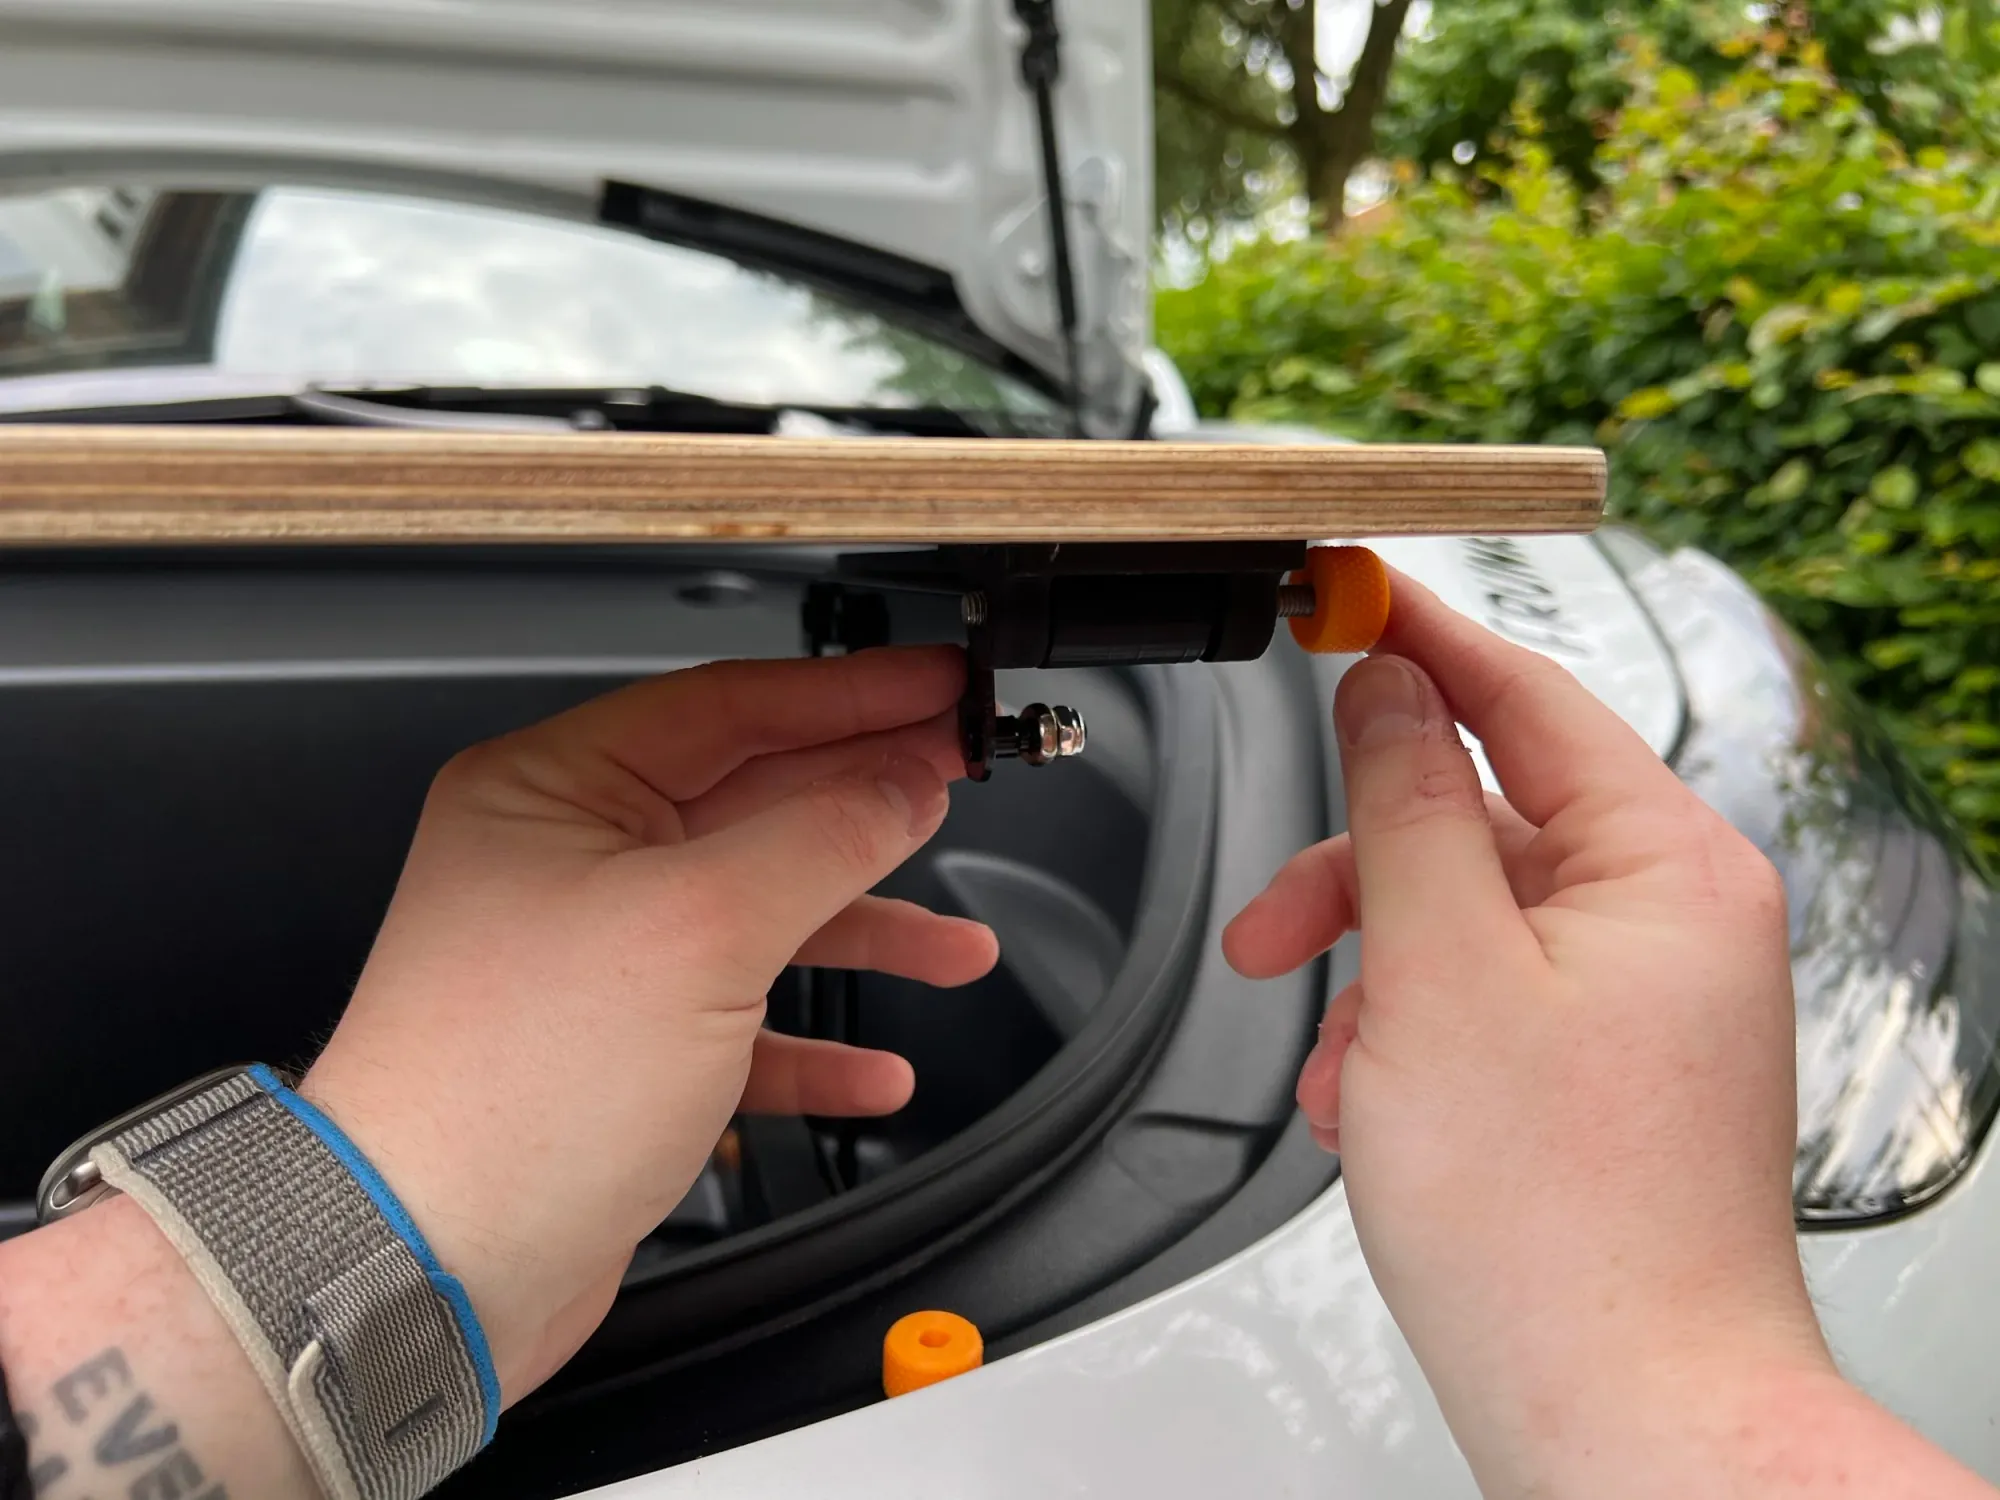
Step 18
Repeat for the right side.

Done!
Installation is complete.
Setup
How to set up the table in seconds.

Fold the table legs outward.
Align the legs.
Ready to use!
Teardown
How to quickly fold the table.
Fold the table legs in.
Lay the legs flat.
The table is stored.
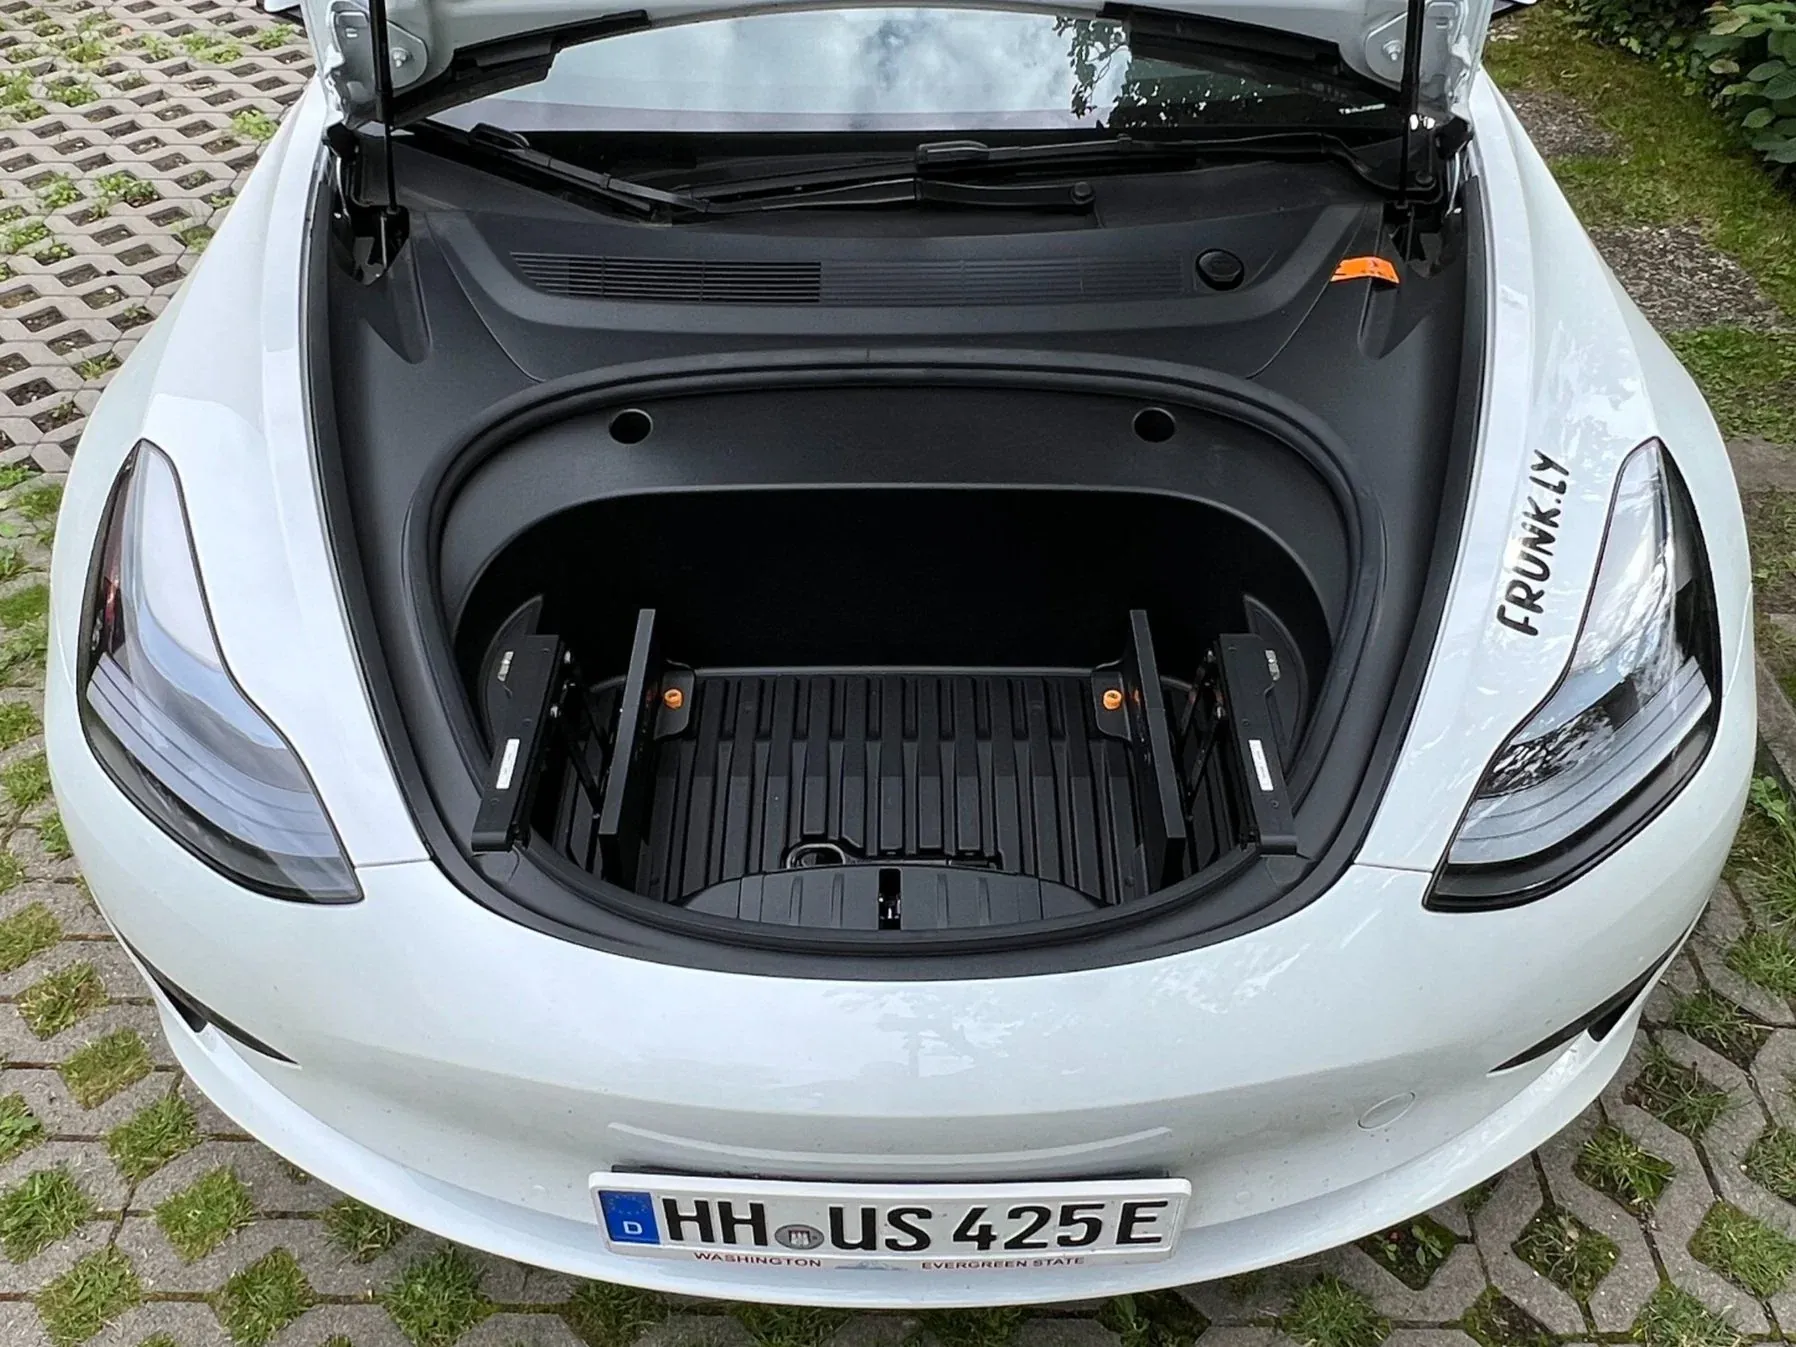
Frunk Access
How to access the frunk with the table installed.
Lift the table top.
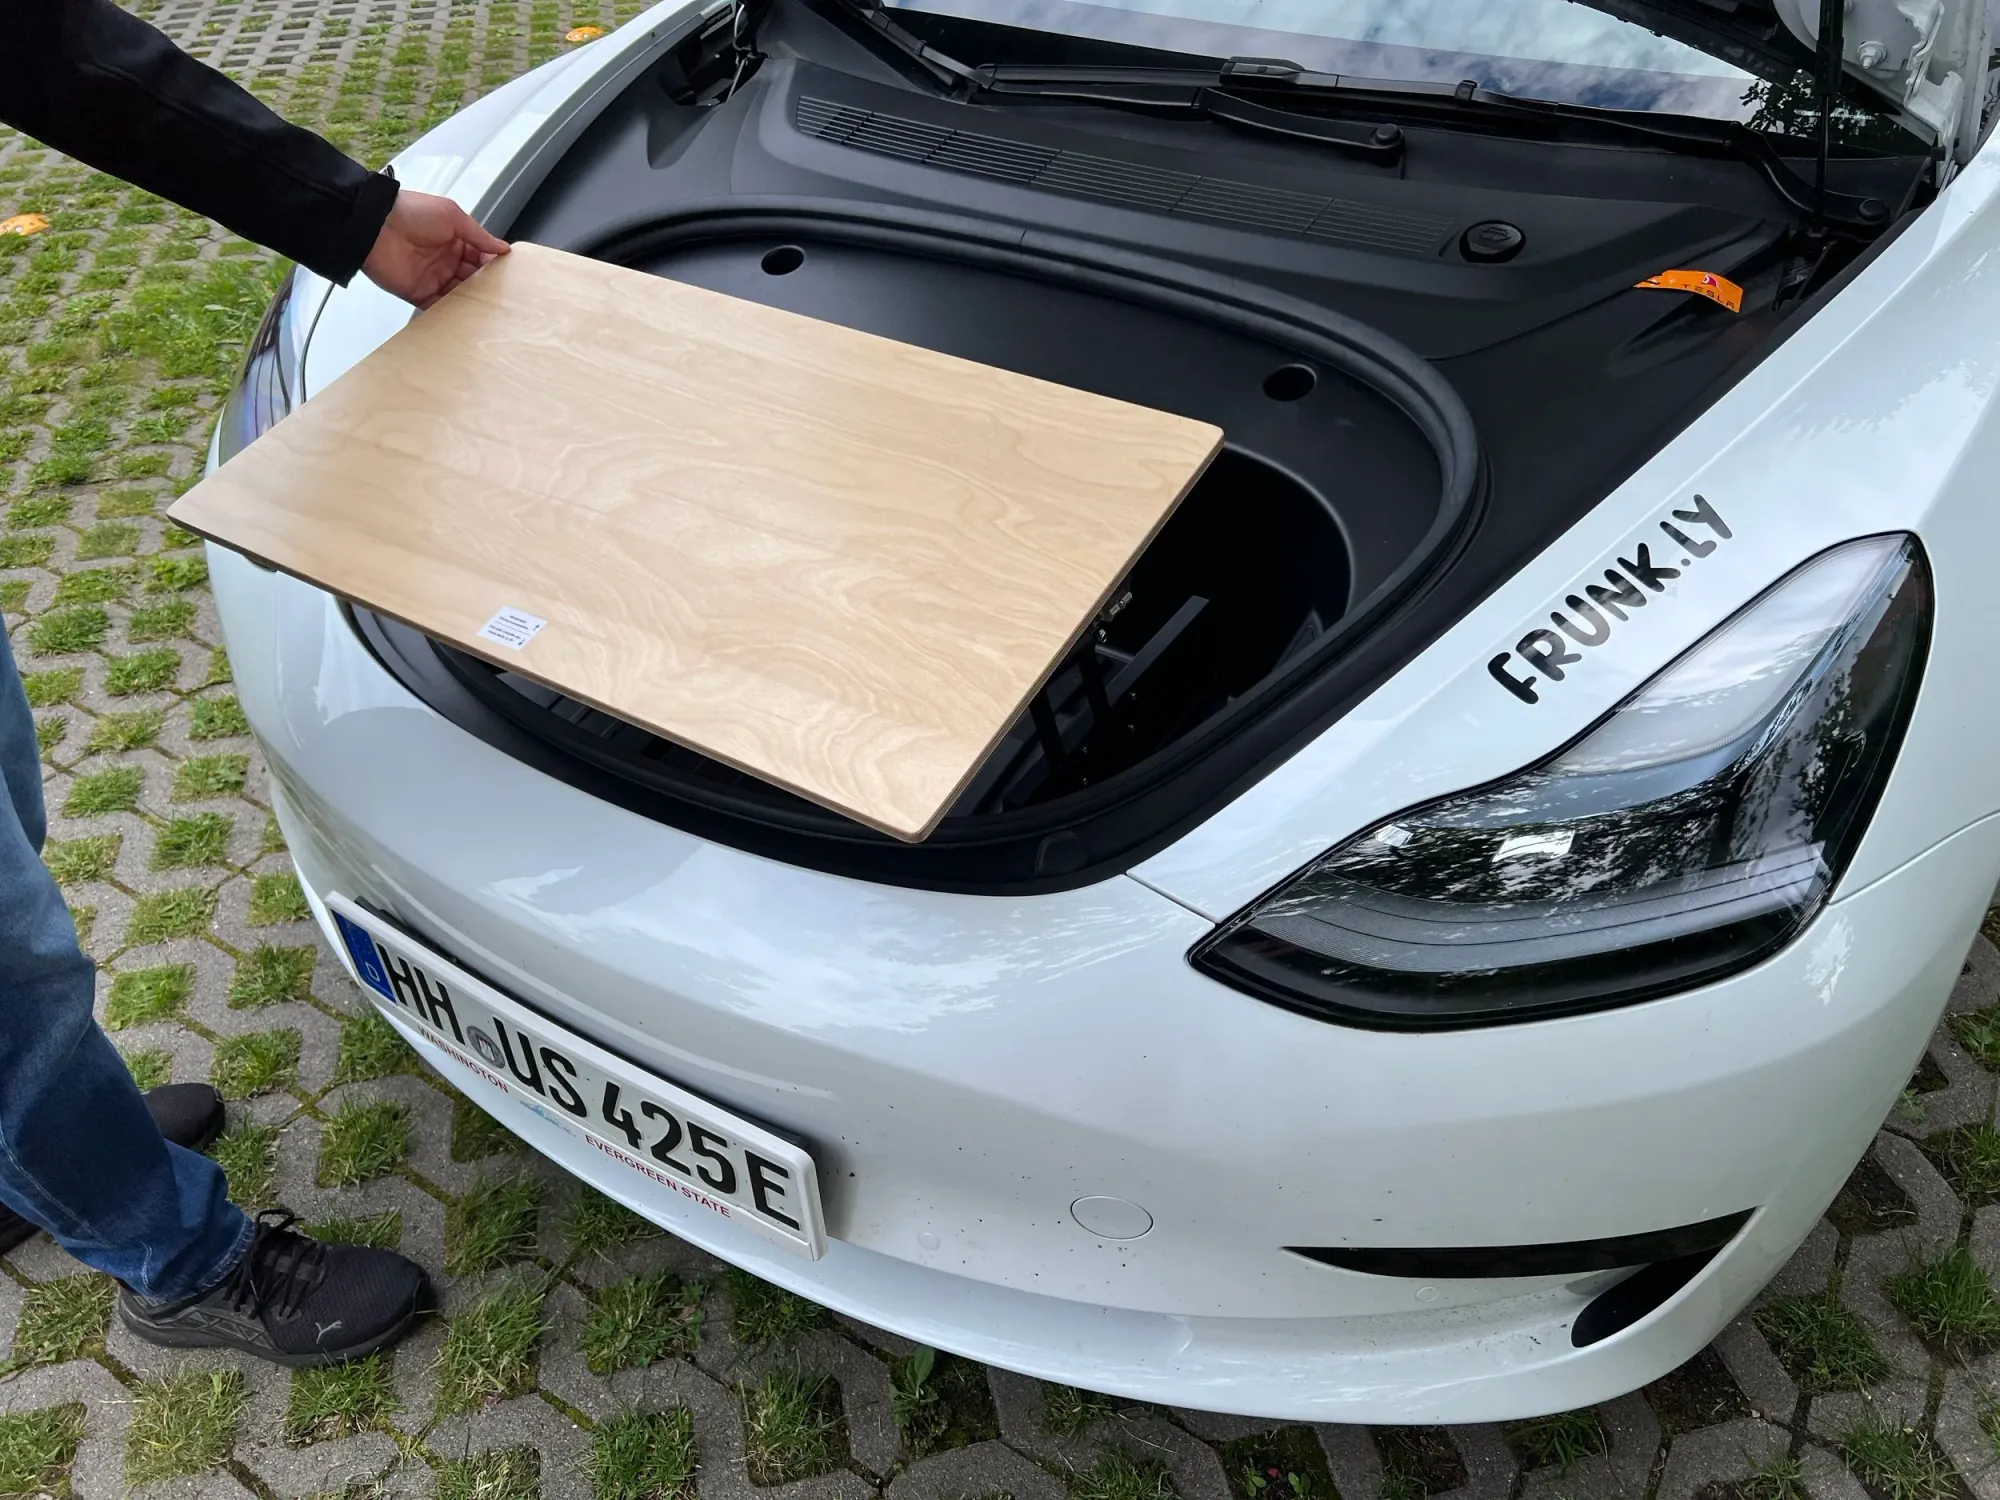
Fold it back.
Full access to the frunk.
Don't have a Frunkly yet?
Discover our Frunkly LT - the perfect companion for your Tesla adventure.
Discover Now