
DIY Tesla Frunk Table or Buy Ready-Made? The Honest Comparison
Build it yourself, the Maker Kit, or a finished frunk table - what is really worth it?
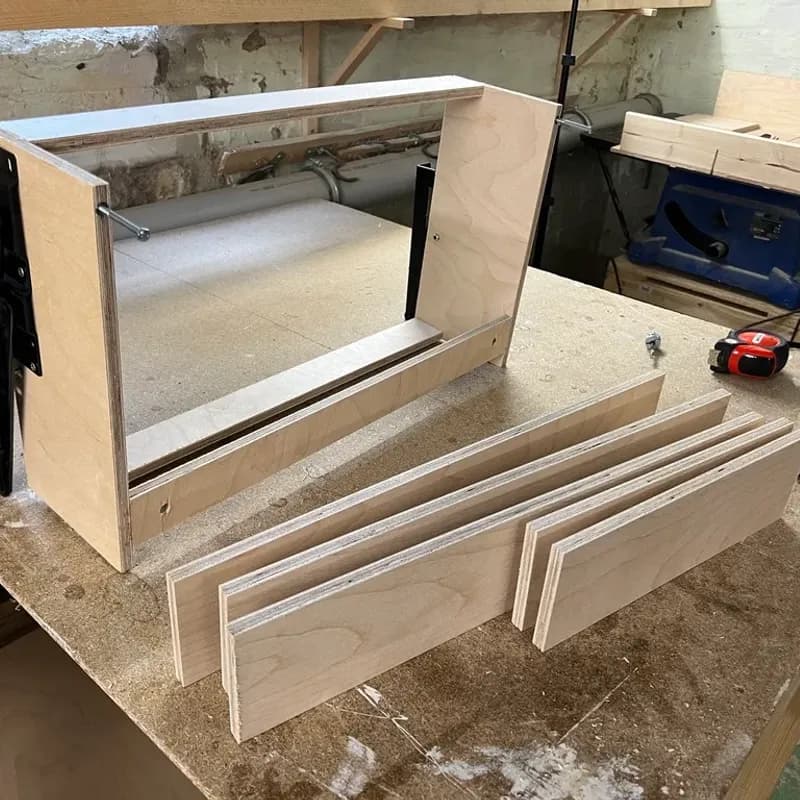
You drive a Tesla, you have a 3D printer or a workshop, and you think: "I could just build a frunk table myself." We know that thought well, because that is exactly how Frunkly began. Before it was a product, it was an after-hours project: a few boards, a pile of failed prototypes, and the question of why nobody sold this ready-made. In this post you get the honest comparison between three paths to a frunk table: build it completely yourself, use our Maker Kit as the middle ground, or buy the finished Frunkly. No sales pressure, with real cost math and a clear recommendation on which path suits which kind of person.
Why DIY Is Appealing (And We Get It)
Building your own frunk table has a genuine appeal that we are not going to talk down:
- You made it yourself. Something you build with your own hands and then use on your own car feels different from something you bought. That is real value.
- Full control. Material, color, shape, finish - all your call. Oak instead of birch? A cutout for the camp stove? Your logo engraved? When you build it yourself, all of that is possible.
- You can do what you can do. If you already have a 3D printer or another machine sitting at home, the idea of putting it to work here is obvious.
- The material cost looks low at first. A few boards, some filament, a handful of screws. At first glance that seems clearly cheaper than a finished table.
It is exactly this last point that deserves an honest second look. Because the equation "material is cheap, so DIY is cheap" rarely works out the way it looks on paper.
Our Own DIY Journey
Frunkly grew out of exactly this impulse in 2023. The founder is a software developer, not a furniture maker, and simply wanted a table that worked on the Model 3 without any setup. So: build it yourself.
What followed was a long series of prototypes. Frames that were too wobbly. Hinges that would not stay open or would not stay closed. Tabletops that warped. Mounts that slipped at the first pothole.
Only after dozens of attempts did a concept emerge that truly works: a friction hinge that holds any angle, permanently mounted, unfolded in around 10 seconds, with no drilling at all.
We do not tell you this to talk you out of building your own. Quite the opposite: anyone who enjoys tinkering will love that journey. We tell you so you know what really goes into it before you start. The whole story is here: Why we built Frunkly.
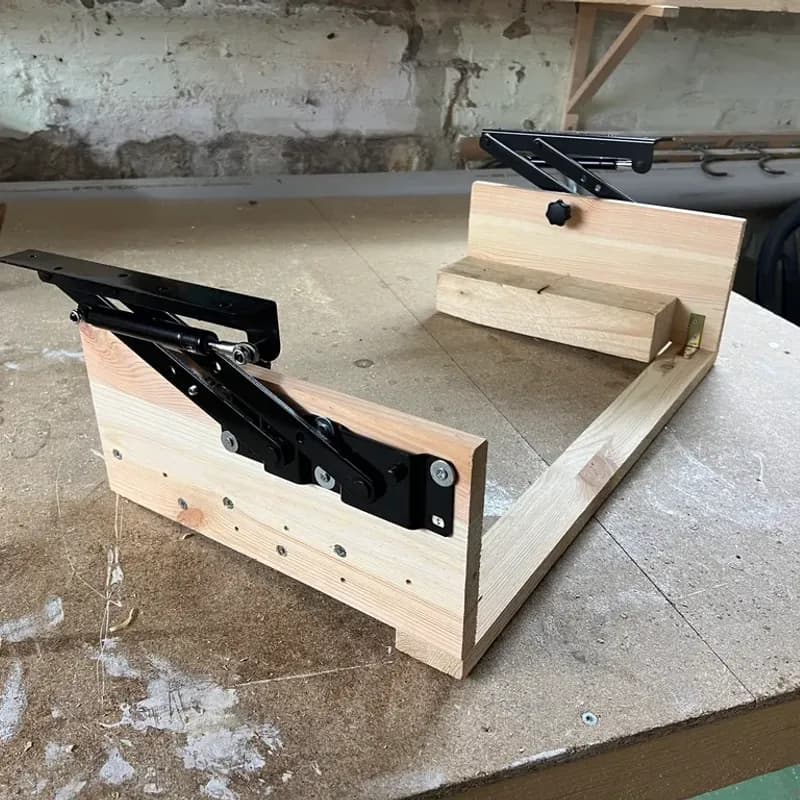
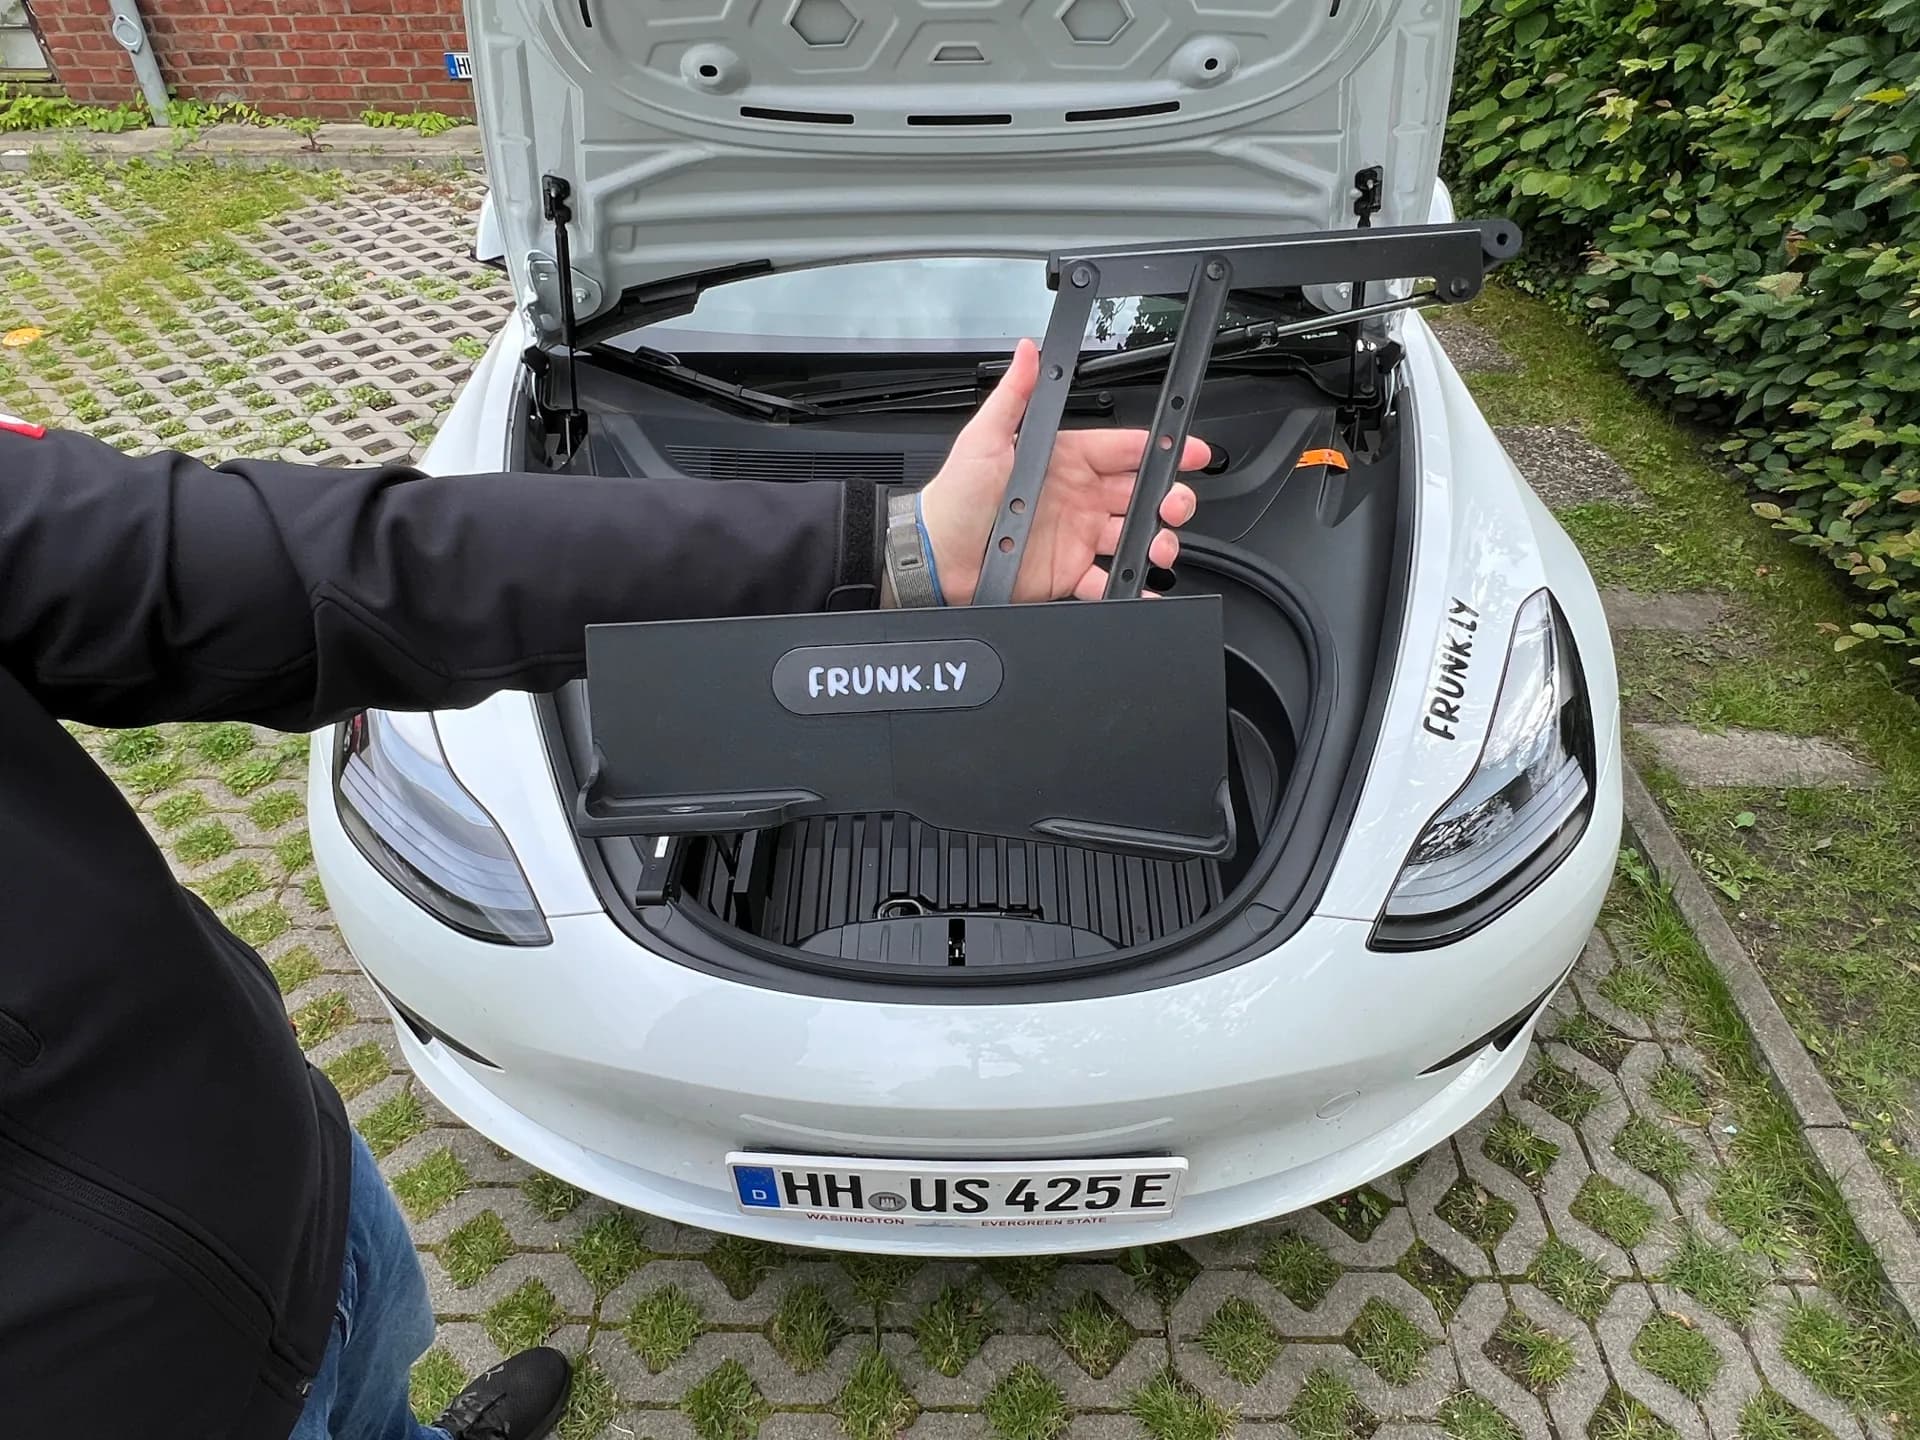
One of the first DIY frames. Weeks of tinkering already sat behind this point.
The Real Cost of DIY: Materials, Tools, and More
Let us talk money plainly. A DIY frunk table breaks down into roughly three cost blocks, and only the first one is obvious.
1. Materials. A tabletop (wood, plywood, acrylic, or carbon), material for the frame, hinges, screws, small parts. If you 3D print, add filament. Depending on your material choice this ranges from "already in the workshop" to a solid sum once you buy good wood and decent fittings.
2. Tools. This is where it gets underestimated fast. For a clean table you need, depending on the build, a jigsaw or circular saw, a cordless driver, drill bits, sandpaper or a sander, clamps, a caliper. If you 3D print, a working, calibrated printer. If you already own all of that, great. If not, a single table suddenly costs as much as kitting out a workshop.
3. Consumables and failed attempts. Lacquer, oil, or sealant. Saw blades. The board you cut wrong. The print that failed at hour 18. None of these show up on a materials list, yet they reliably add up.
Our honest conclusion: DIY can be cheaper than a finished table if you already own the tools and machine and everything works on the first try. The moment you have to buy tools or need a couple of attempts, the price advantage melts away quickly.
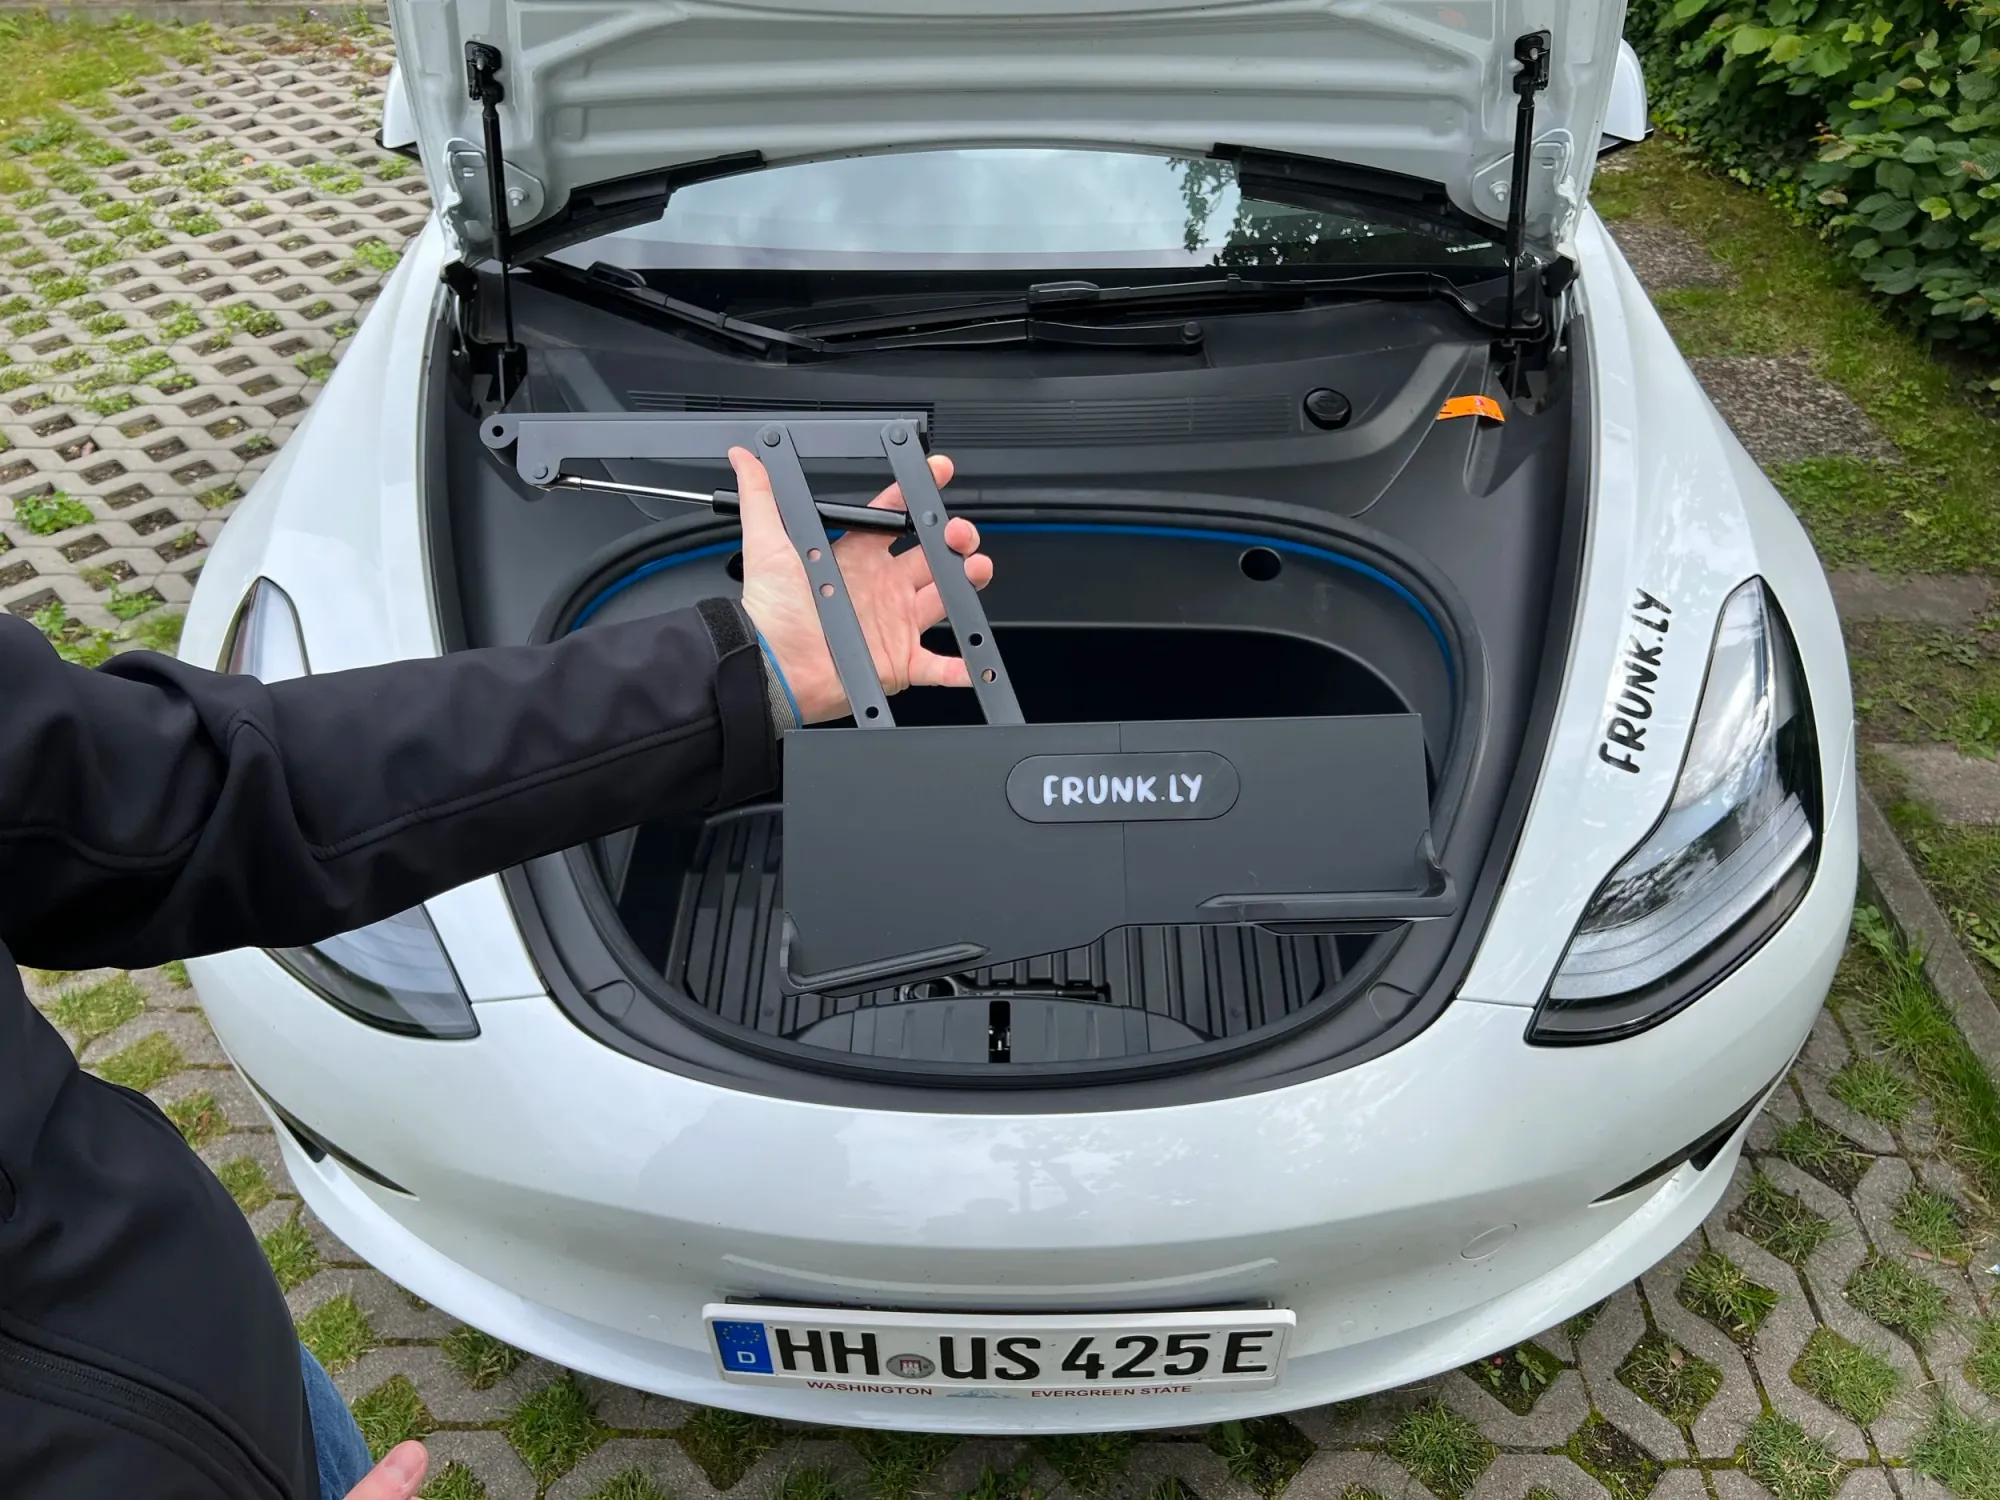
This is how many individual parts a pure DIY build means sourcing and matching up first.
Everything That Has to Fit Together
A frunk table is more than a board with legs. The real difficulty is the interface with the car: the table has to sit securely on the frunk rim, must not scratch anything, should stay permanently mounted, and still fold flat.
For that to work, a whole chain of parts has to interact precisely:
- brackets that match the geometry of your exact model (Model 3 and Model Y differ)
- hinges with the right resistance, so the table holds both open and closed
- a frame that carries up to 10 kg evenly distributed without sagging
- screws and small parts in the right length and strength
This is exactly the part we spent the longest tinkering on. And it is the part most DIY projects underestimate.
Time Investment: From Design to Finished Table
Materials cost money, but time often costs more - especially if your evenings are precious to you. A realistic DIY frunk table is not a weekend afternoon, but more like a project across several sessions:
- Research and design: take measurements, understand the frunk geometry, develop a mounting concept or find a template.
- Sourcing: get material and any missing tools, wait for deliveries.
- Build: cutting, drilling, sanding, assembly. For 3D printing alone, figure roughly a full day of print time per set, plus finishing work.
- Finish: lacquer or oil, factor in drying times.
- Adjustment: almost always a second round, because something wobbles, sticks, or does not quite fit.
Anyone who has done this knows: the first version is rarely the final one. Plan for iterations. That is completely normal when tinkering and part of the fun - but it is time you invest.
The Hidden Costs Nobody Talks About
Three things are missing from almost every DIY calculation: First, the tools you buy only for this one project. Second, the failed attempts - the board cut wrong, the failed print, the second material delivery. Third, your time. Even at just 10 to 15 hours spread across several evenings: work out once what those hours are worth to you. This is exactly where the math often flips - what looked "cheaper" ends up costing more than expected.
Quality Comparison: Fit, Finish, and Durability
The final honest point is about the result. A self-built table can turn out excellent - if you have experience with wood or construction and are willing not to cut corners on the details. But it can just as easily wobble, warp, or leave marks on the frunk rim.
The critical spots are always the same:
- Fit on the car: does the bracket sit snugly without scratching anything? Here a millimeter decides between "rock solid" and "slips when braking".
- Hinge: does it hold every angle, or does the table fold away under load? This is exactly where many of our early prototypes failed.
- Load capacity: does the table carry up to 10 kg evenly distributed without sagging?
- Finish and weather: does the lacquer or oil withstand dew, sun, and a spilled coffee?
The finished Frunkly LT is engineered around precisely these points: a tabletop of birch plywood with protective lacquer, a 3D-printed ABS base, hinges and fittings made of metal, rated for up to 10 kg evenly distributed. That is not by chance, but the result of many discarded versions. If you build it yourself, this exact level is your target - and it is achievable, but it costs skill and patience.
Where the Difference Shows in the End
Good DIY work is impressive. But the jump from "it holds for now" to "it still holds cleanly after 200 road trips" is a big one. That is exactly where the detail decisions add up: the right hinge, a finish that tolerates moisture, brackets that do not scratch anything, and a geometry that fits Model 3 or Model Y exactly.
Our Frunkly LT is handmade in Hamburg, including the 3D-printed ABS base, which we print ourselves. You cannot see that effort in the finished table. You feel it every time you unfold it in 10 seconds and nothing wobbles.
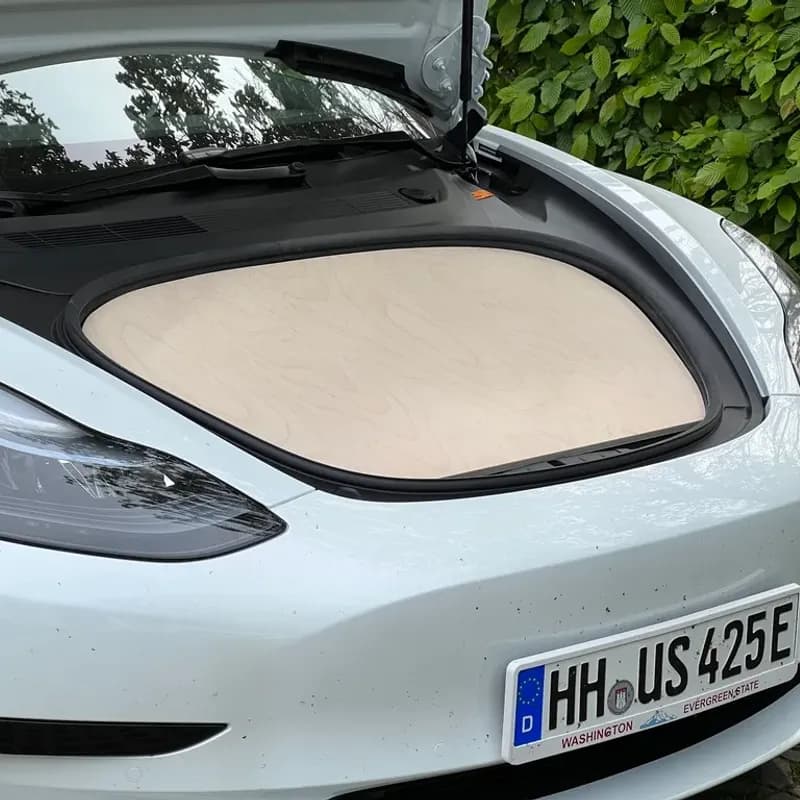
The difference between "it works" and "it works cleanly for years" lives in the details.
The DIY Process Step by Step
Measure and plan
Measure your model's frunk geometry precisely. Model 3 and Model Y differ, and not every model year is identical. Note: the new base frunk from 2025 on Model 3 and Model Y is smaller and needs a different solution.
Design the mount
This is the hardest step. How does the table sit on the frunk rim without scratching and without slipping while driving? This decides whether the whole table is any good.
Source materials and tools
Tabletop, frame material, hinges, screws, lacquer. Plus any tools you do not have yet. Factor in delivery times.
Cut and rough build
Cut the top and frame, drill, do a first assembly. For 3D printing: print the base - roughly a full day of print time, then deburr and finish.
Treat the surface
Sand, then lacquer or oil. Respect the drying times or durability suffers. For outdoor use, the surface has to cope with dew, sun, and spills.
Mount, test, refine
Put it all together, test it on the car, load it with real weight. A second round almost always follows because something wobbles or sticks. That is normal - plan for it.
The Middle Ground: The Frunkly Maker Kit
What if you enjoy building yourself but do not want to solve the entire mounting and hinge problem from scratch? That is exactly what the Frunkly Maker Kit is for.
The idea: we supply the part that is hard to get right - the fully engineered mechanism. You contribute the tabletop, and with it the creative part.
Included in the Maker Kit:
- base frame with folding hinges
- mounting brackets
- all screws and small parts
- build instructions
You choose and build the tabletop yourself - the material is entirely your decision: wood, acrylic, carbon, or 3D print. That way you get the proven, secure Frunkly mechanism and still end up with a one-off that matches exactly what you had in mind. There are matching versions for Model 3 and Model Y.
The Maker Kit is the honest middle ground: less risk than a full self-build, more creative freedom than a finished table.
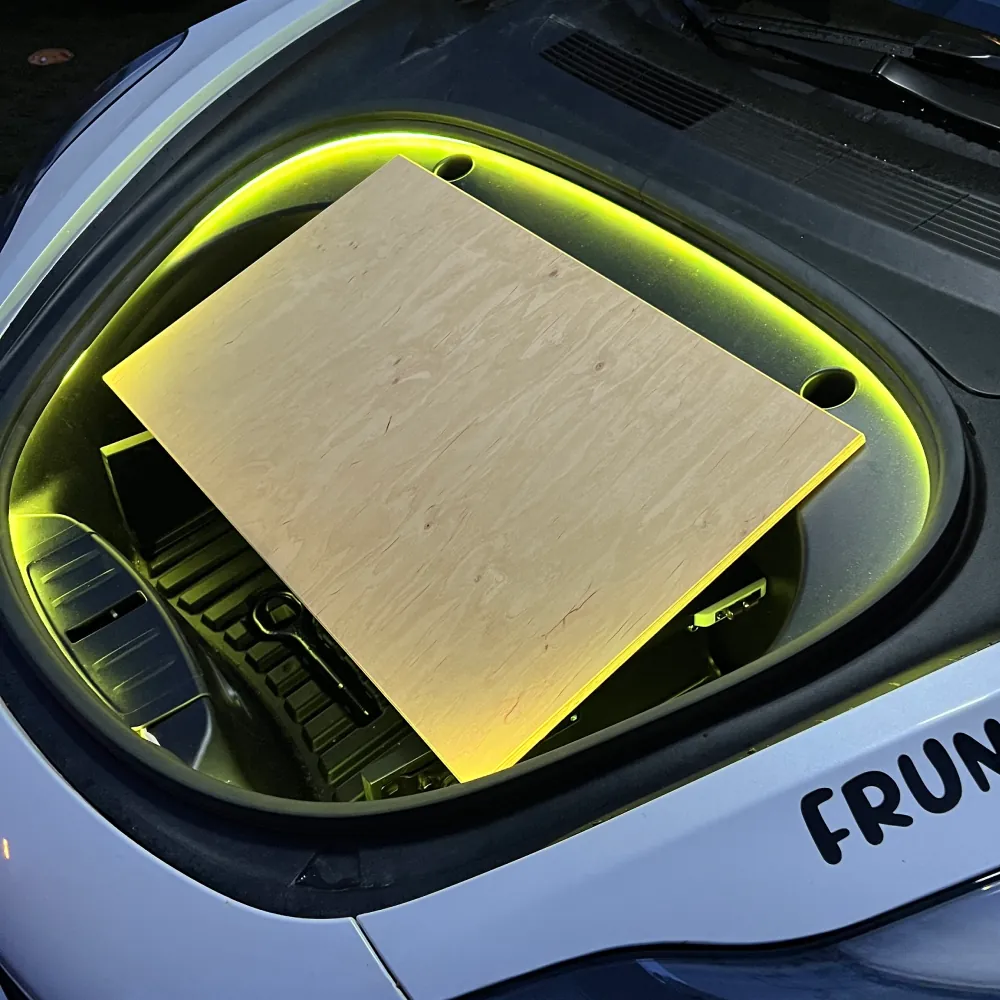
Frunkly LT Maker Kit
Frunkly Maker Kit
The fully engineered frunk mechanism: base frame with folding hinges, mounting brackets, all screws and small parts plus build instructions. Your tabletop, your material, your design. For Model 3 and Model Y.
View ProductSide-by-Side Comparison: DIY, Maker Kit, and Finished Table
So you can see the three paths next to each other, here is the honest comparison. We deliberately leave prices out, because DIY costs swing enormously depending on tools and material choice. You can always find the current prices for the Maker Kit and the finished table in the store.
| Criterion | Full self-build | Frunkly Maker Kit | Frunkly LT (finished) |
|---|---|---|---|
| Time investment | High (several sessions, often a 2nd round) | Medium (build top + mount) | None (arrives ready to install) |
| Tools needed | Many (saw, driver, maybe printer) | Few to medium (for the top) | None |
| Skill required | High | Medium | None |
| Mount on the car | Solve yourself (hard) | Fully engineered, in the kit | Fully engineered |
| Hinge mechanism | Solve yourself | Ready in the kit | Pre-assembled |
| Creative freedom | Maximum | High (your own top) | Fixed design |
| Fit Model 3 / Y | Ensure it yourself | Model-specific versions | Made model-specific |
| Load capacity | Engineer yourself | Frame is rated | Up to 10 kg, evenly distributed |
| Finish / weather resistance | Ensure it yourself | Treat your own top | Birch plywood with protective lacquer |
| Warranty / spare parts | None | On the kit parts | 2-year statutory warranty, spare parts |
| Risk of error | High | Low | None |
| The best part | Entirely your work | Mechanism solved, top is yours | Unbox and drive off |
In short: the further right in the table, the less risk and effort. The further left, the more control and own work. The Maker Kit deliberately takes the hardest part off your plate and leaves you the creative one.
Decision Framework: Who Should Build, Who Should Buy
No blanket answer - it depends on you. These three profiles capture it pretty well:
Build it completely yourself if ...
- you already own the tools (and a calibrated 3D printer if needed)
- you bring experience with wood or construction
- the tinkering itself brings you joy and time is not a bottleneck
- you love the feeling of having something entirely your own on the car
Take the Maker Kit if ...
- you like to get hands-on but do not want to solve the mounting and hinge problem
- you want your own tabletop in the material of your choice
- you value a proven, secure mechanism without starting from zero
- you want to keep the risk of expensive failed attempts small
Buy the finished Frunkly if ...
- you want a solution that works immediately and permanently
- you have no tools, no time, or no appetite for a build project
- a 2-year statutory warranty and available spare parts matter to you
- you want to unfold it in around 10 seconds without ever readjusting anything
And yes: precisely because we come from DIY ourselves, we consider all three paths legitimate. There is no "right" one - only what suits your type, your workshop, and your time. You can read more about us and our journey here.
Common Questions About DIY vs. Buying
Is a self-built frunk table really cheaper?
What is the difference between the Maker Kit and the finished Frunkly?
What material should I use for my own tabletop?
Do I need special tools for the Maker Kit?
Does a self-built table fit every Tesla?
Will I damage my car if I build it myself?
Frunkly LT - the finished frunk table
Frunkly LT
If you want to skip the DIY route: ready to install, unfolded in around 10 seconds, no drilling. Birch plywood tabletop with protective lacquer, rated up to 10 kg, handmade in Hamburg. Fits Tesla Model 3 and Model Y.
View Product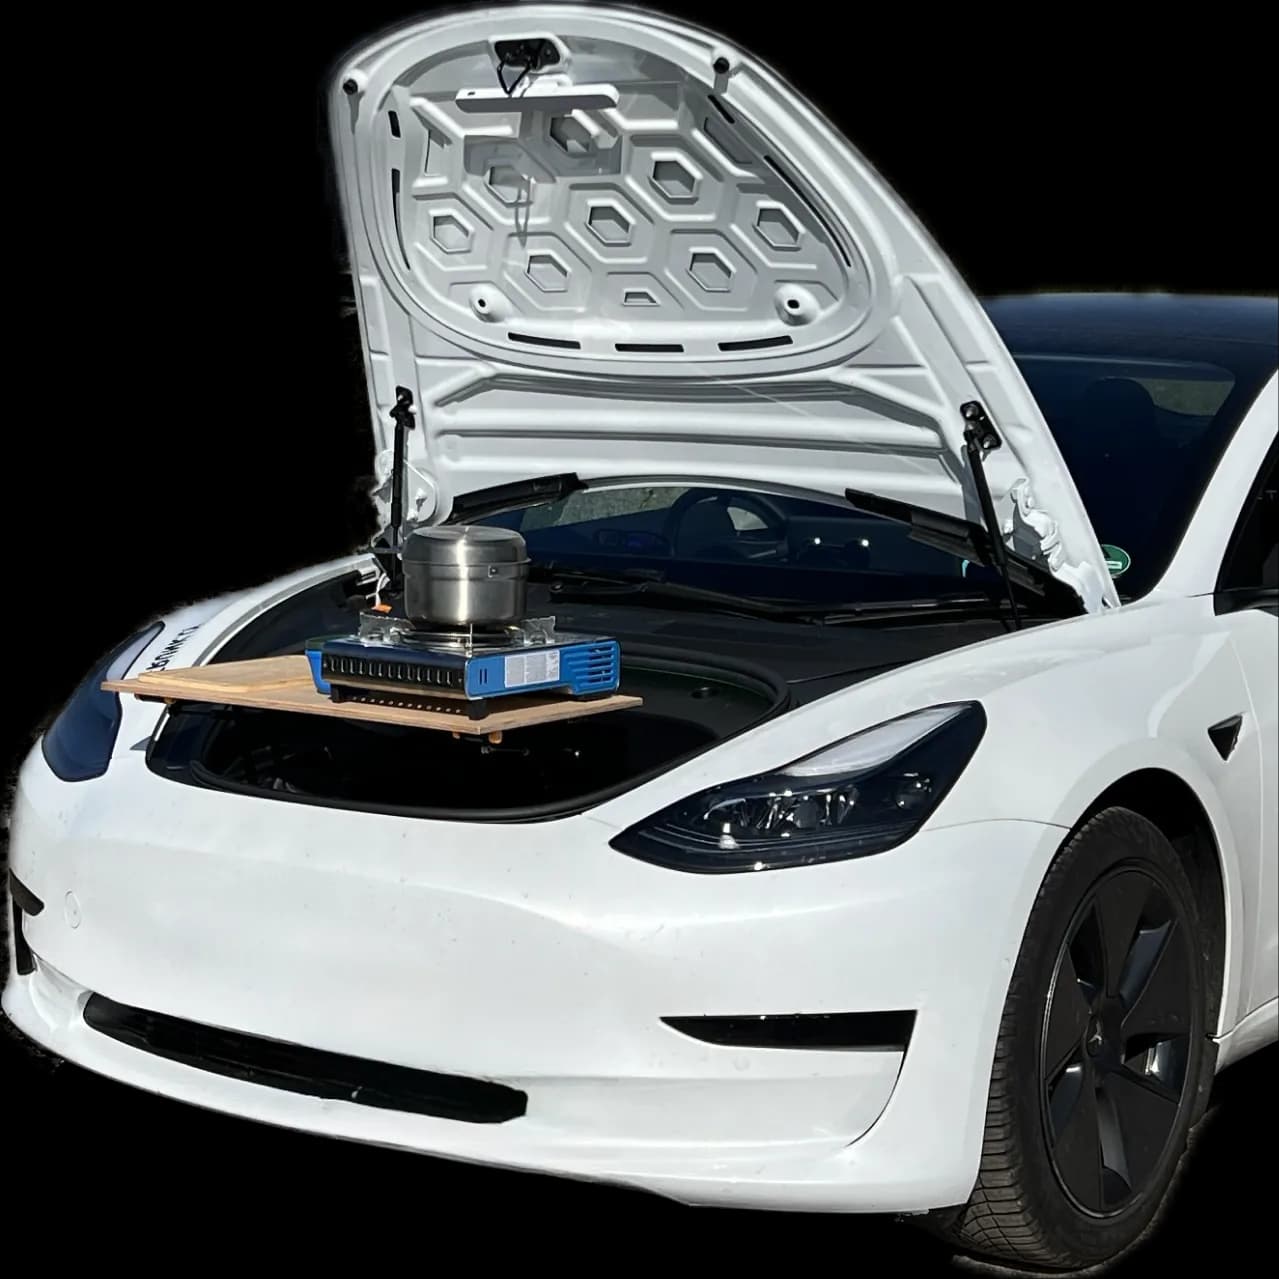

Related Posts
Ready for Your Next Adventure?
Your Tesla can do more. With Frunkly, transform your frunk into a practical workspace in seconds.